Step-by-step guide for assembling and operating the GRLLR Connect Stove Unit. The instructions are organized into clear sections to ensure safe assembly, gas connection, and operation for optimal outdoor use.
Product Information
GRLLR Connect Stove Unit
Elevate your outdoor cooking with the GRLLR Connect Stove Unit.
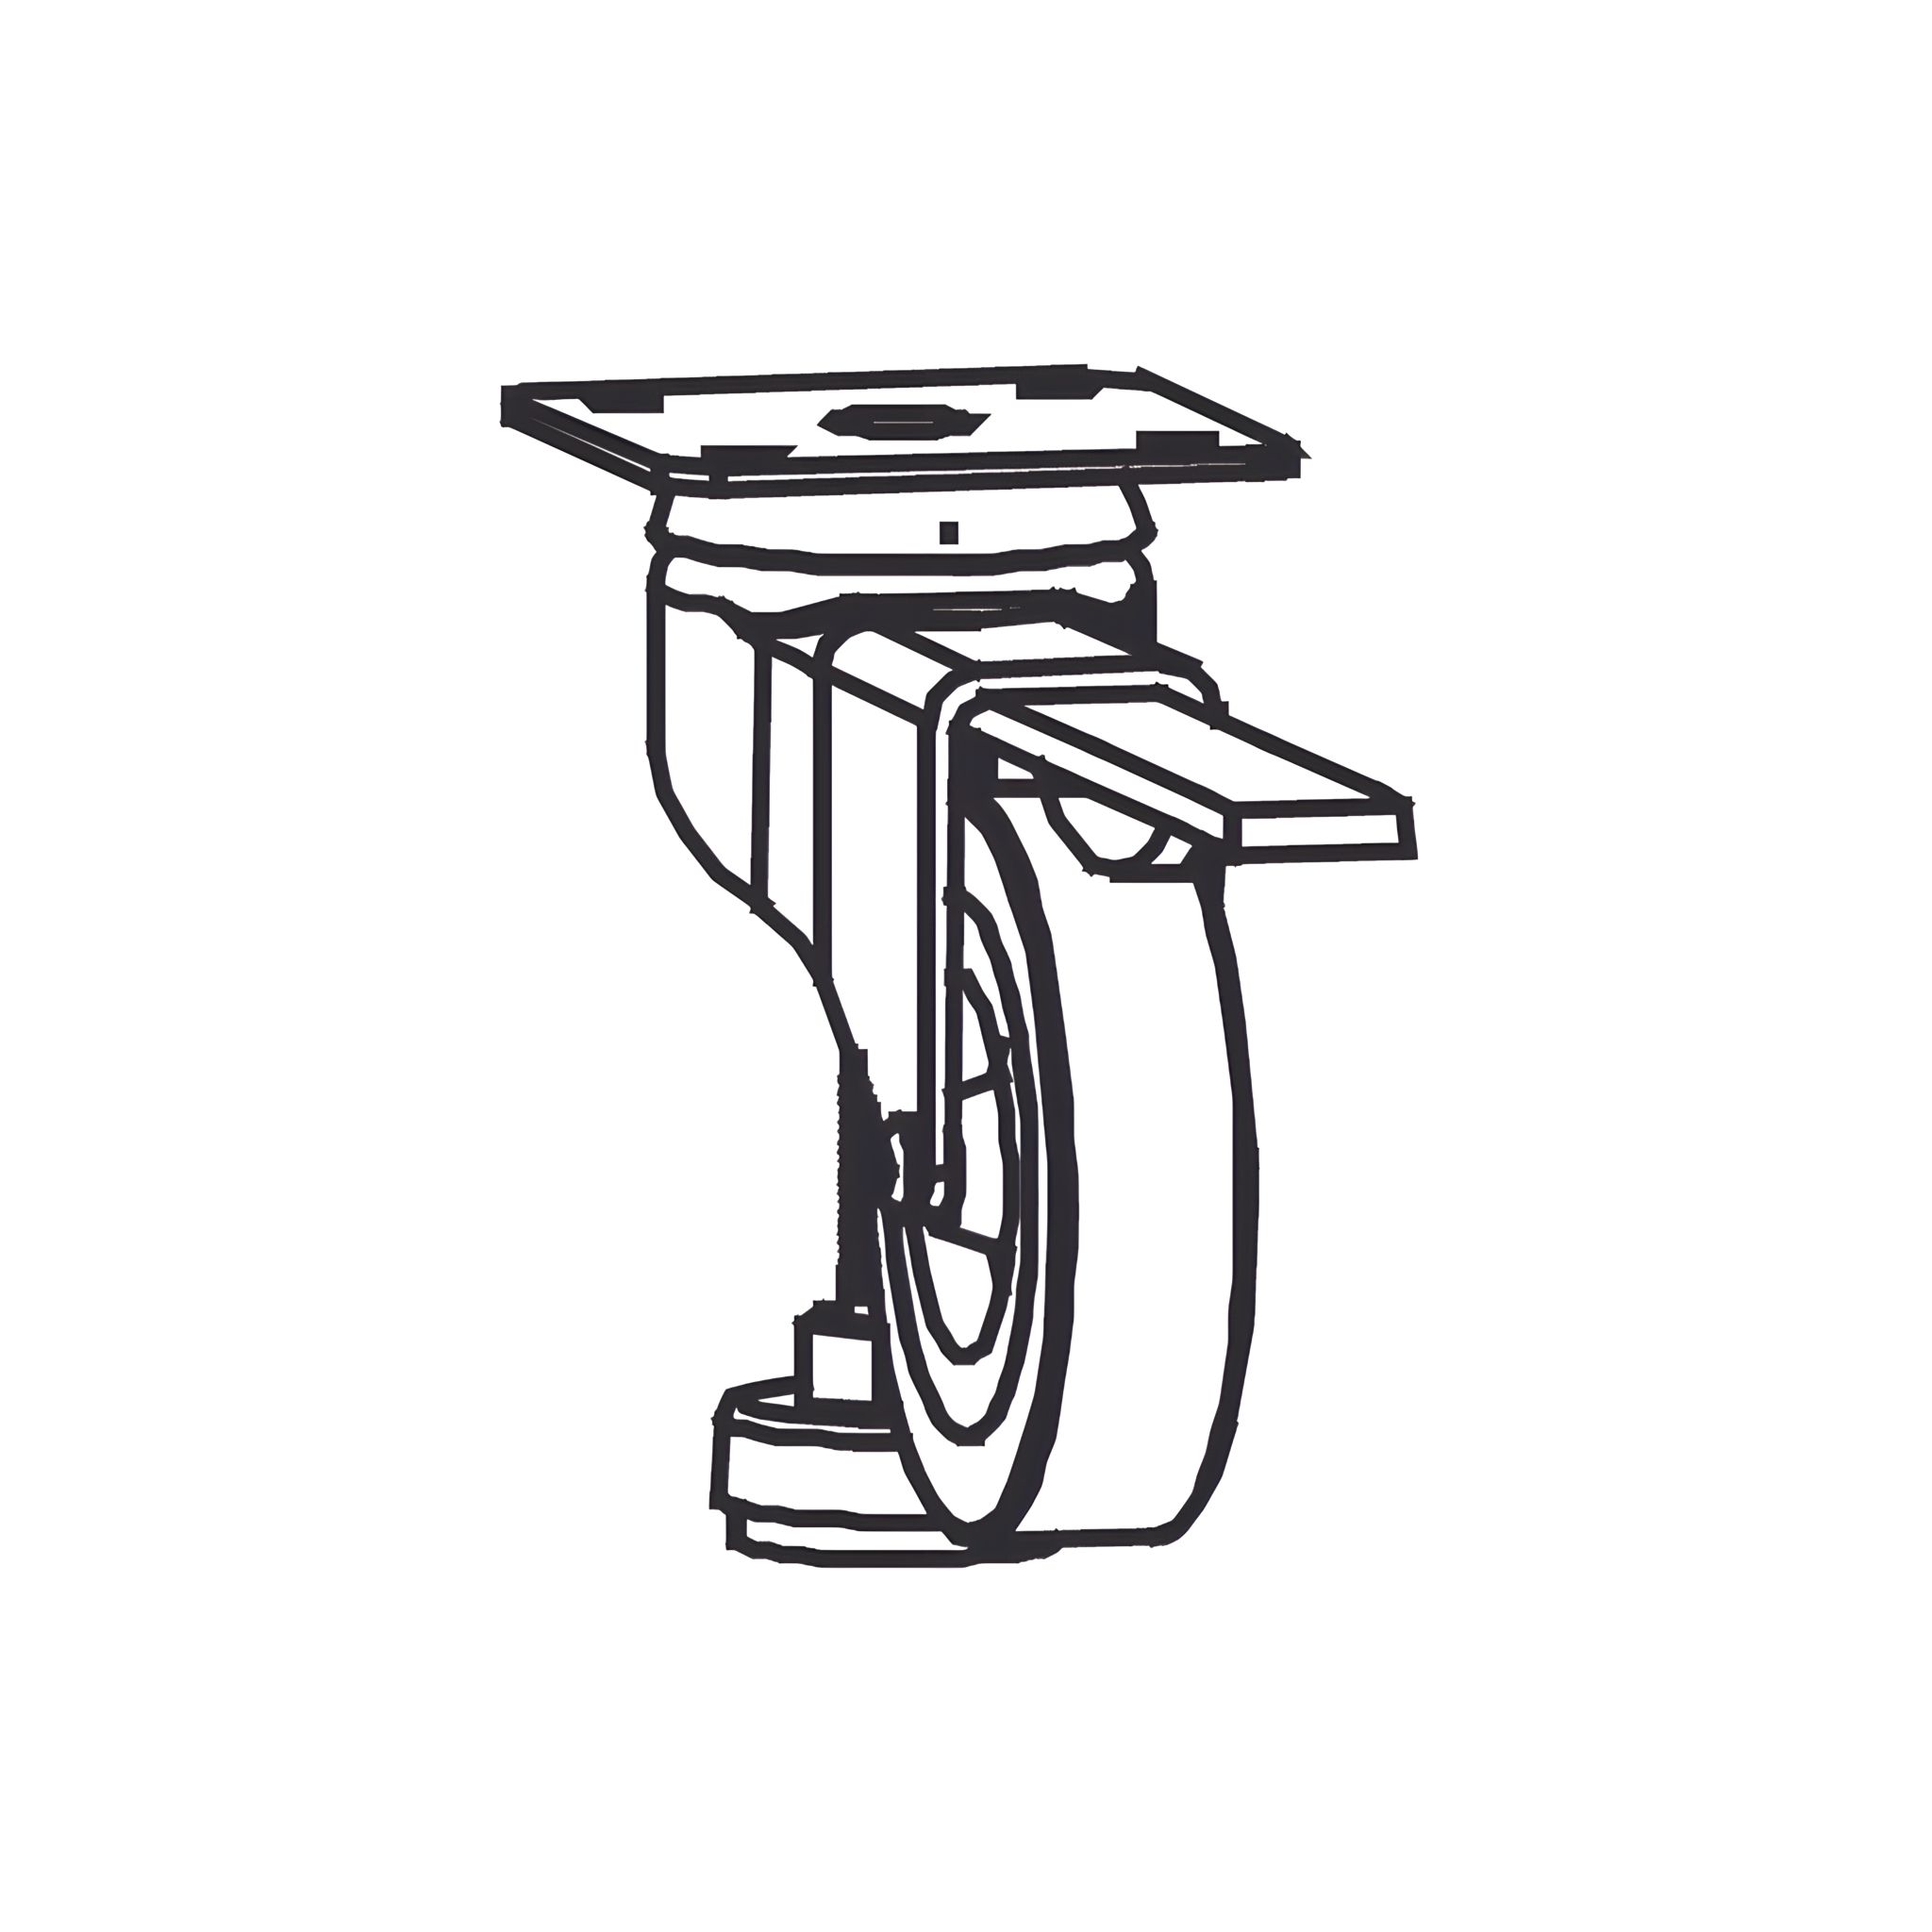
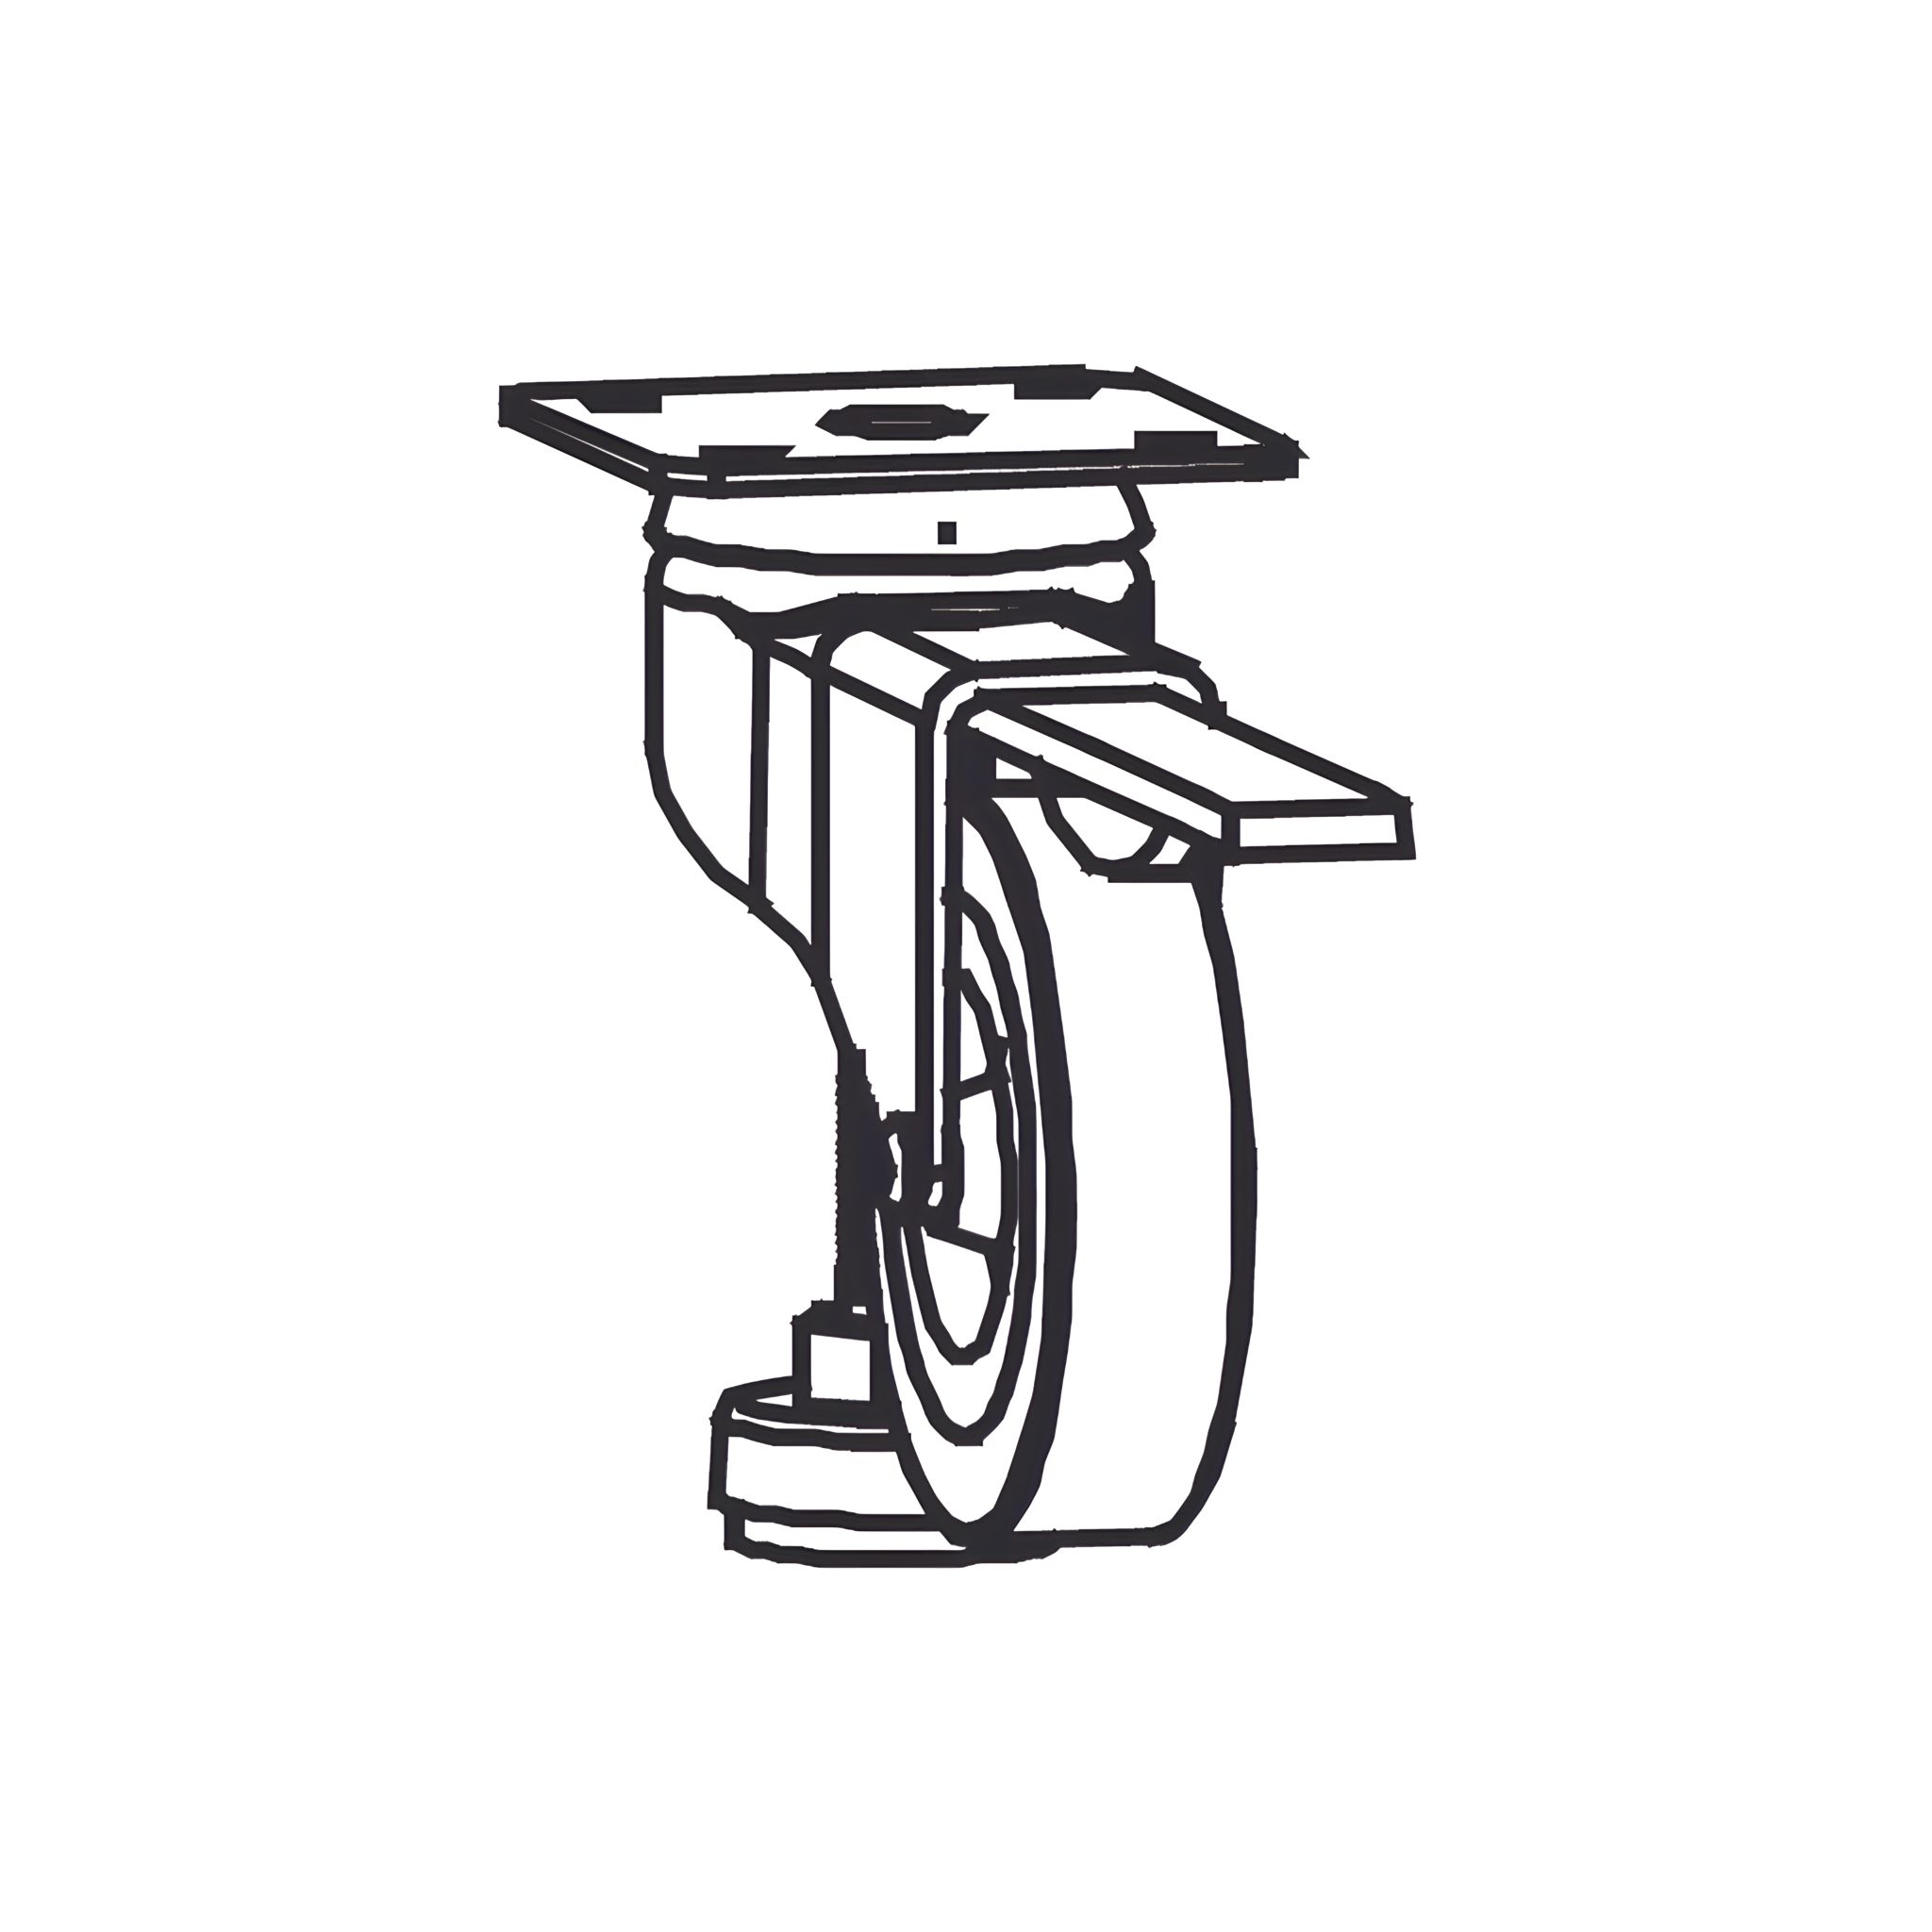
Crafted from premium materials, this 2-burner gas hob guarantees impeccable results every time, with features like soft close doors and heavy-duty casters for added convenience and stability.
Seamlessly integrate with other GRLLR Connect-series units for endless culinary possibilities and reignite your passion for barbecue.
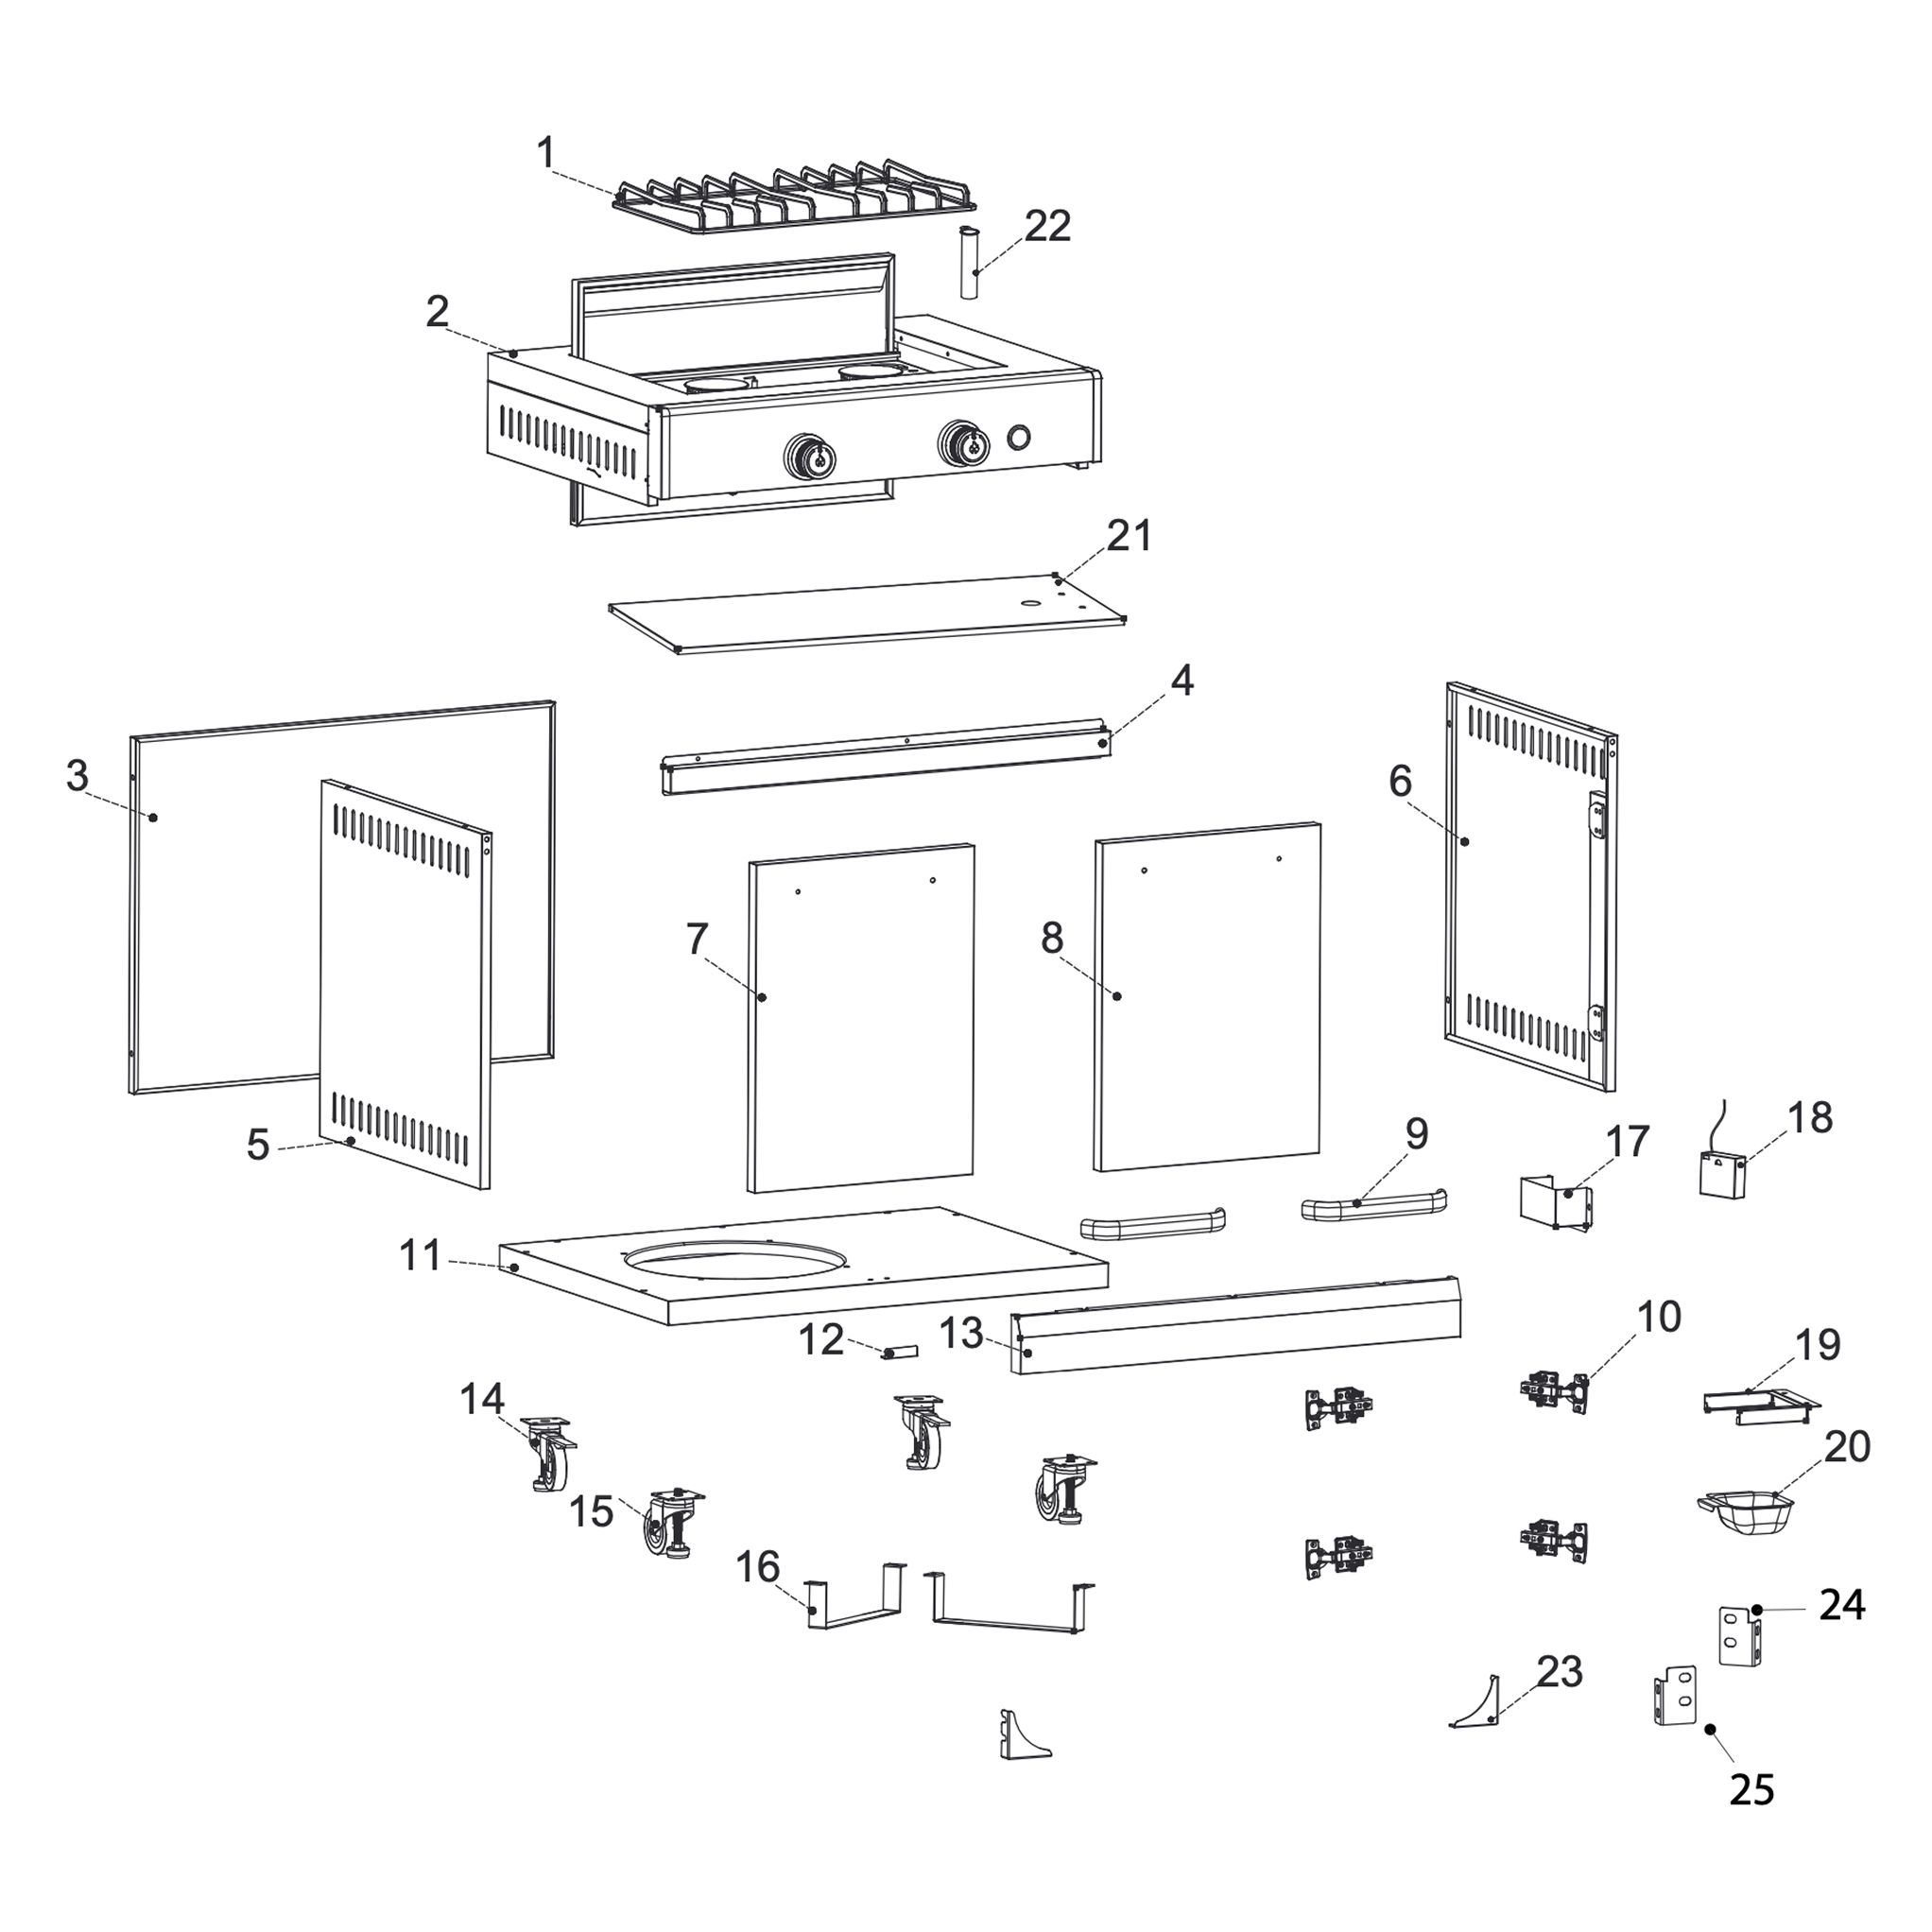
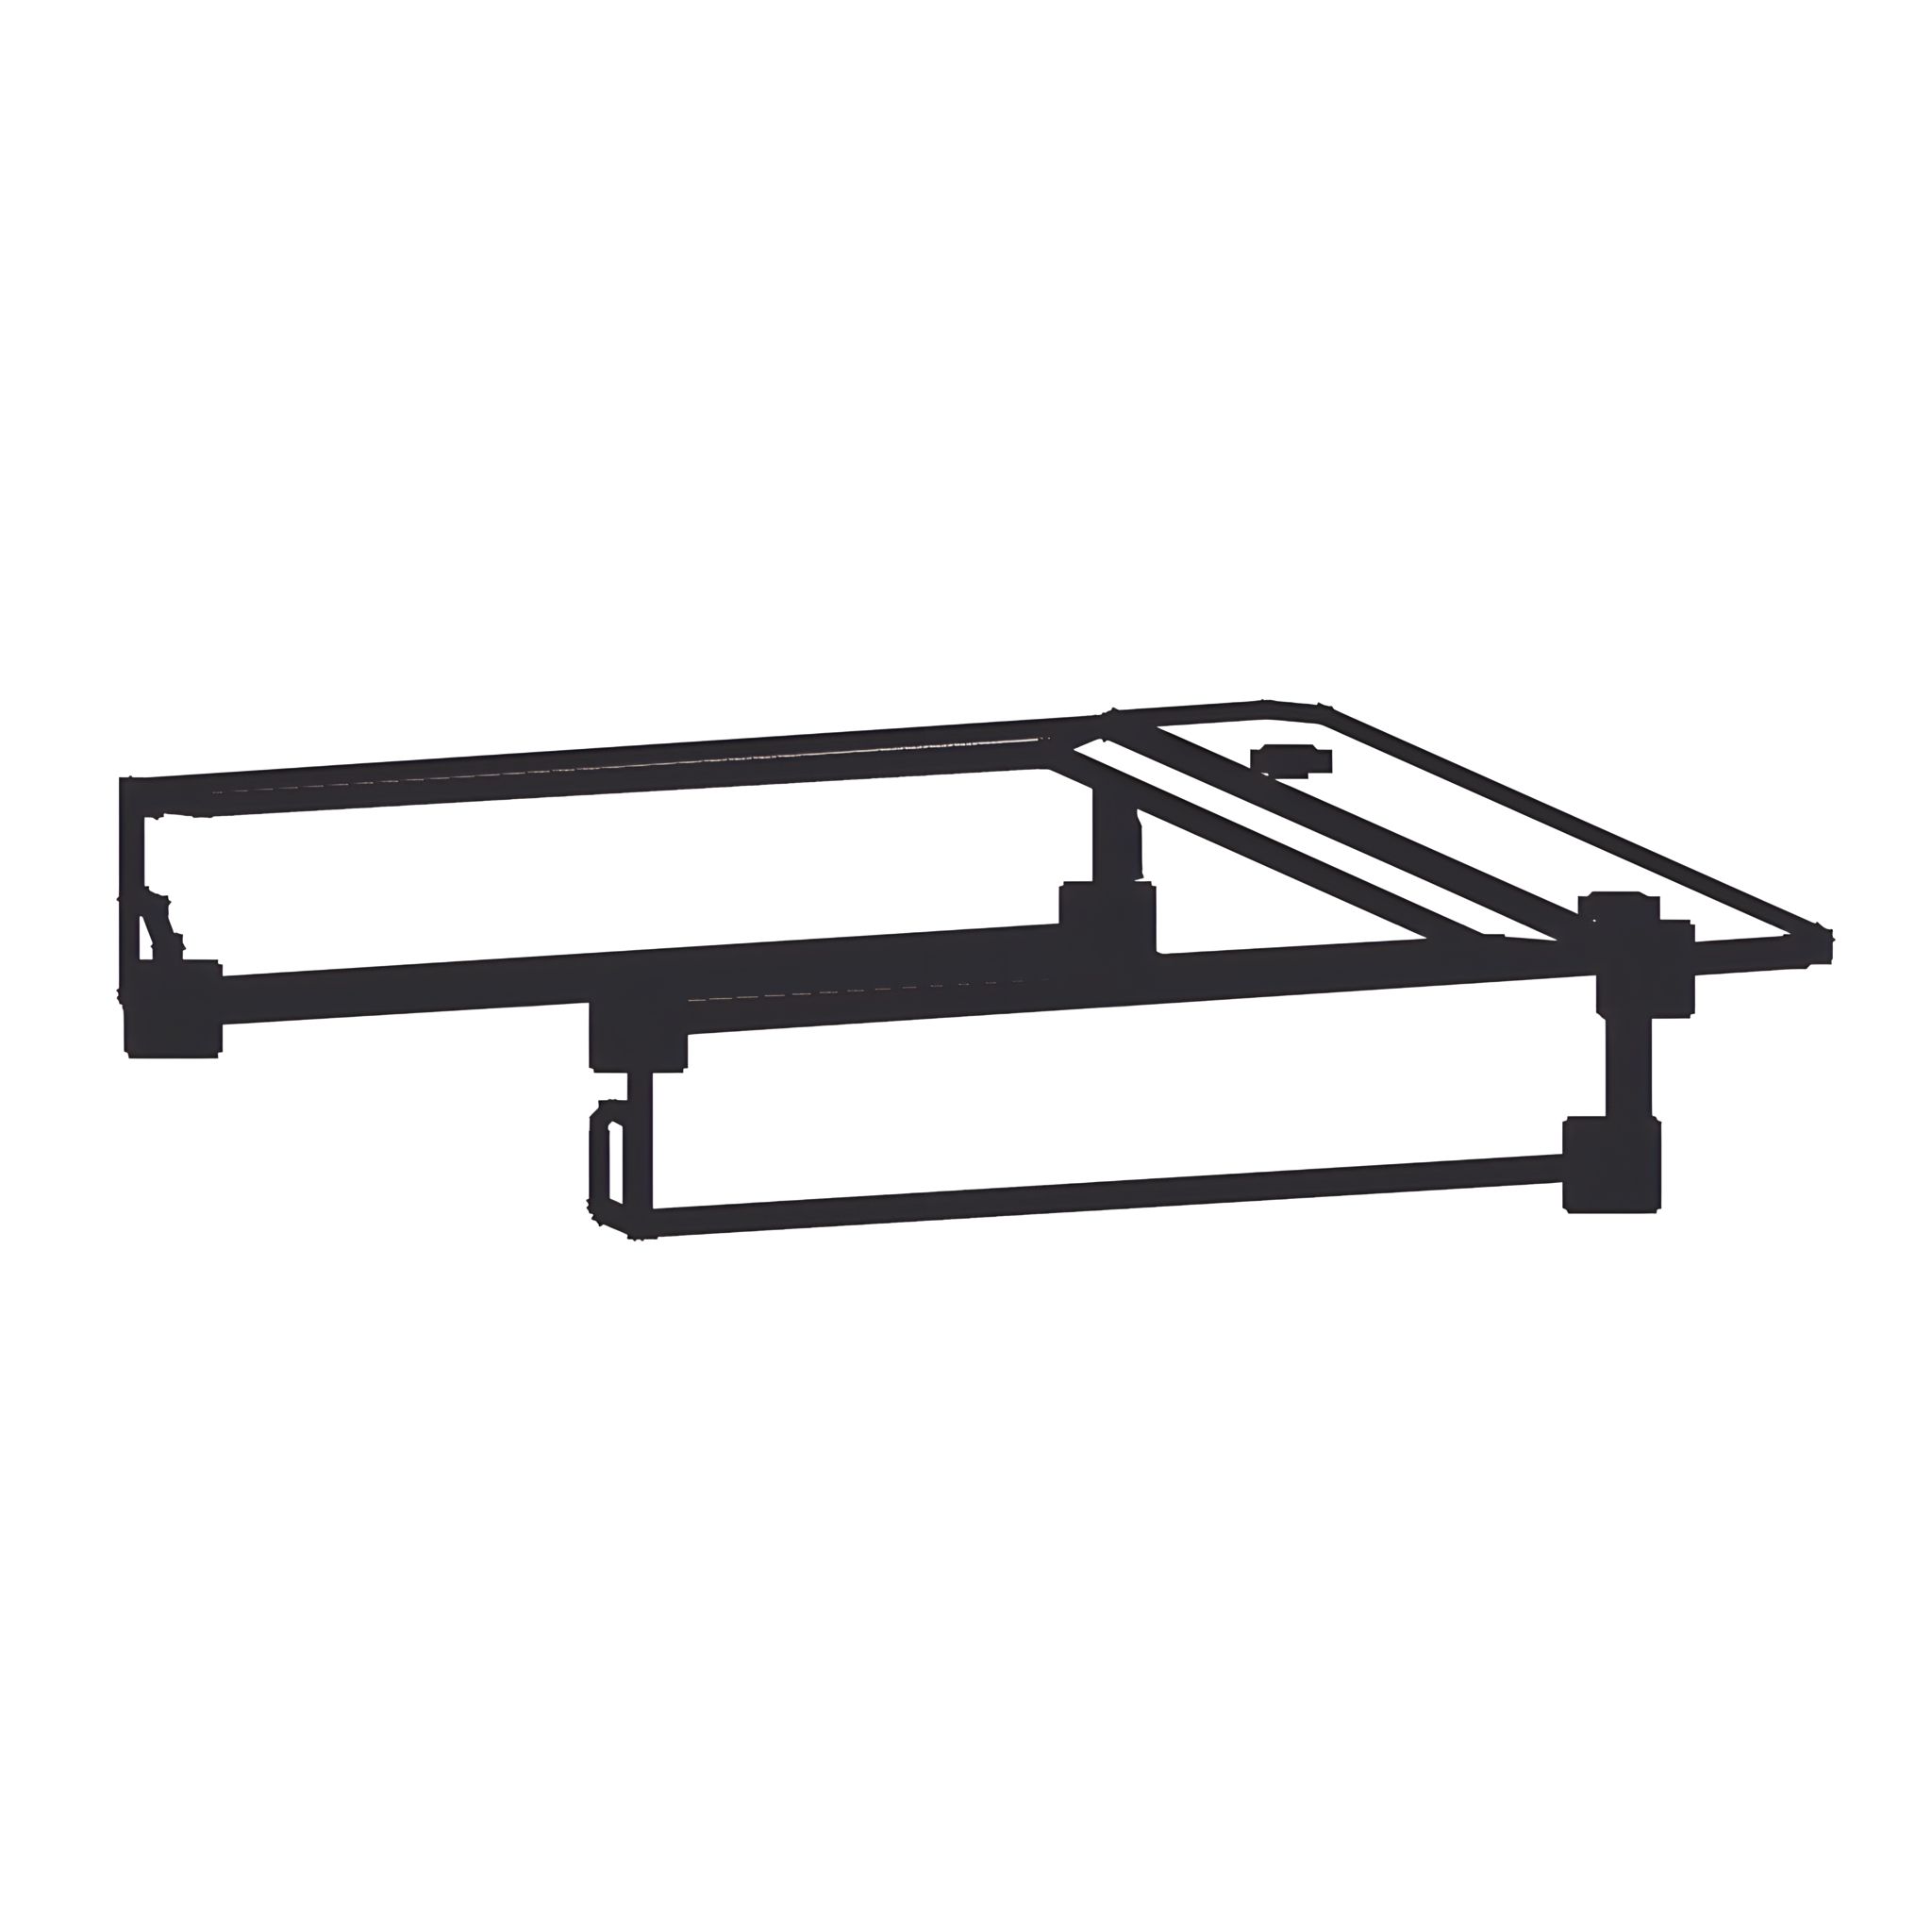
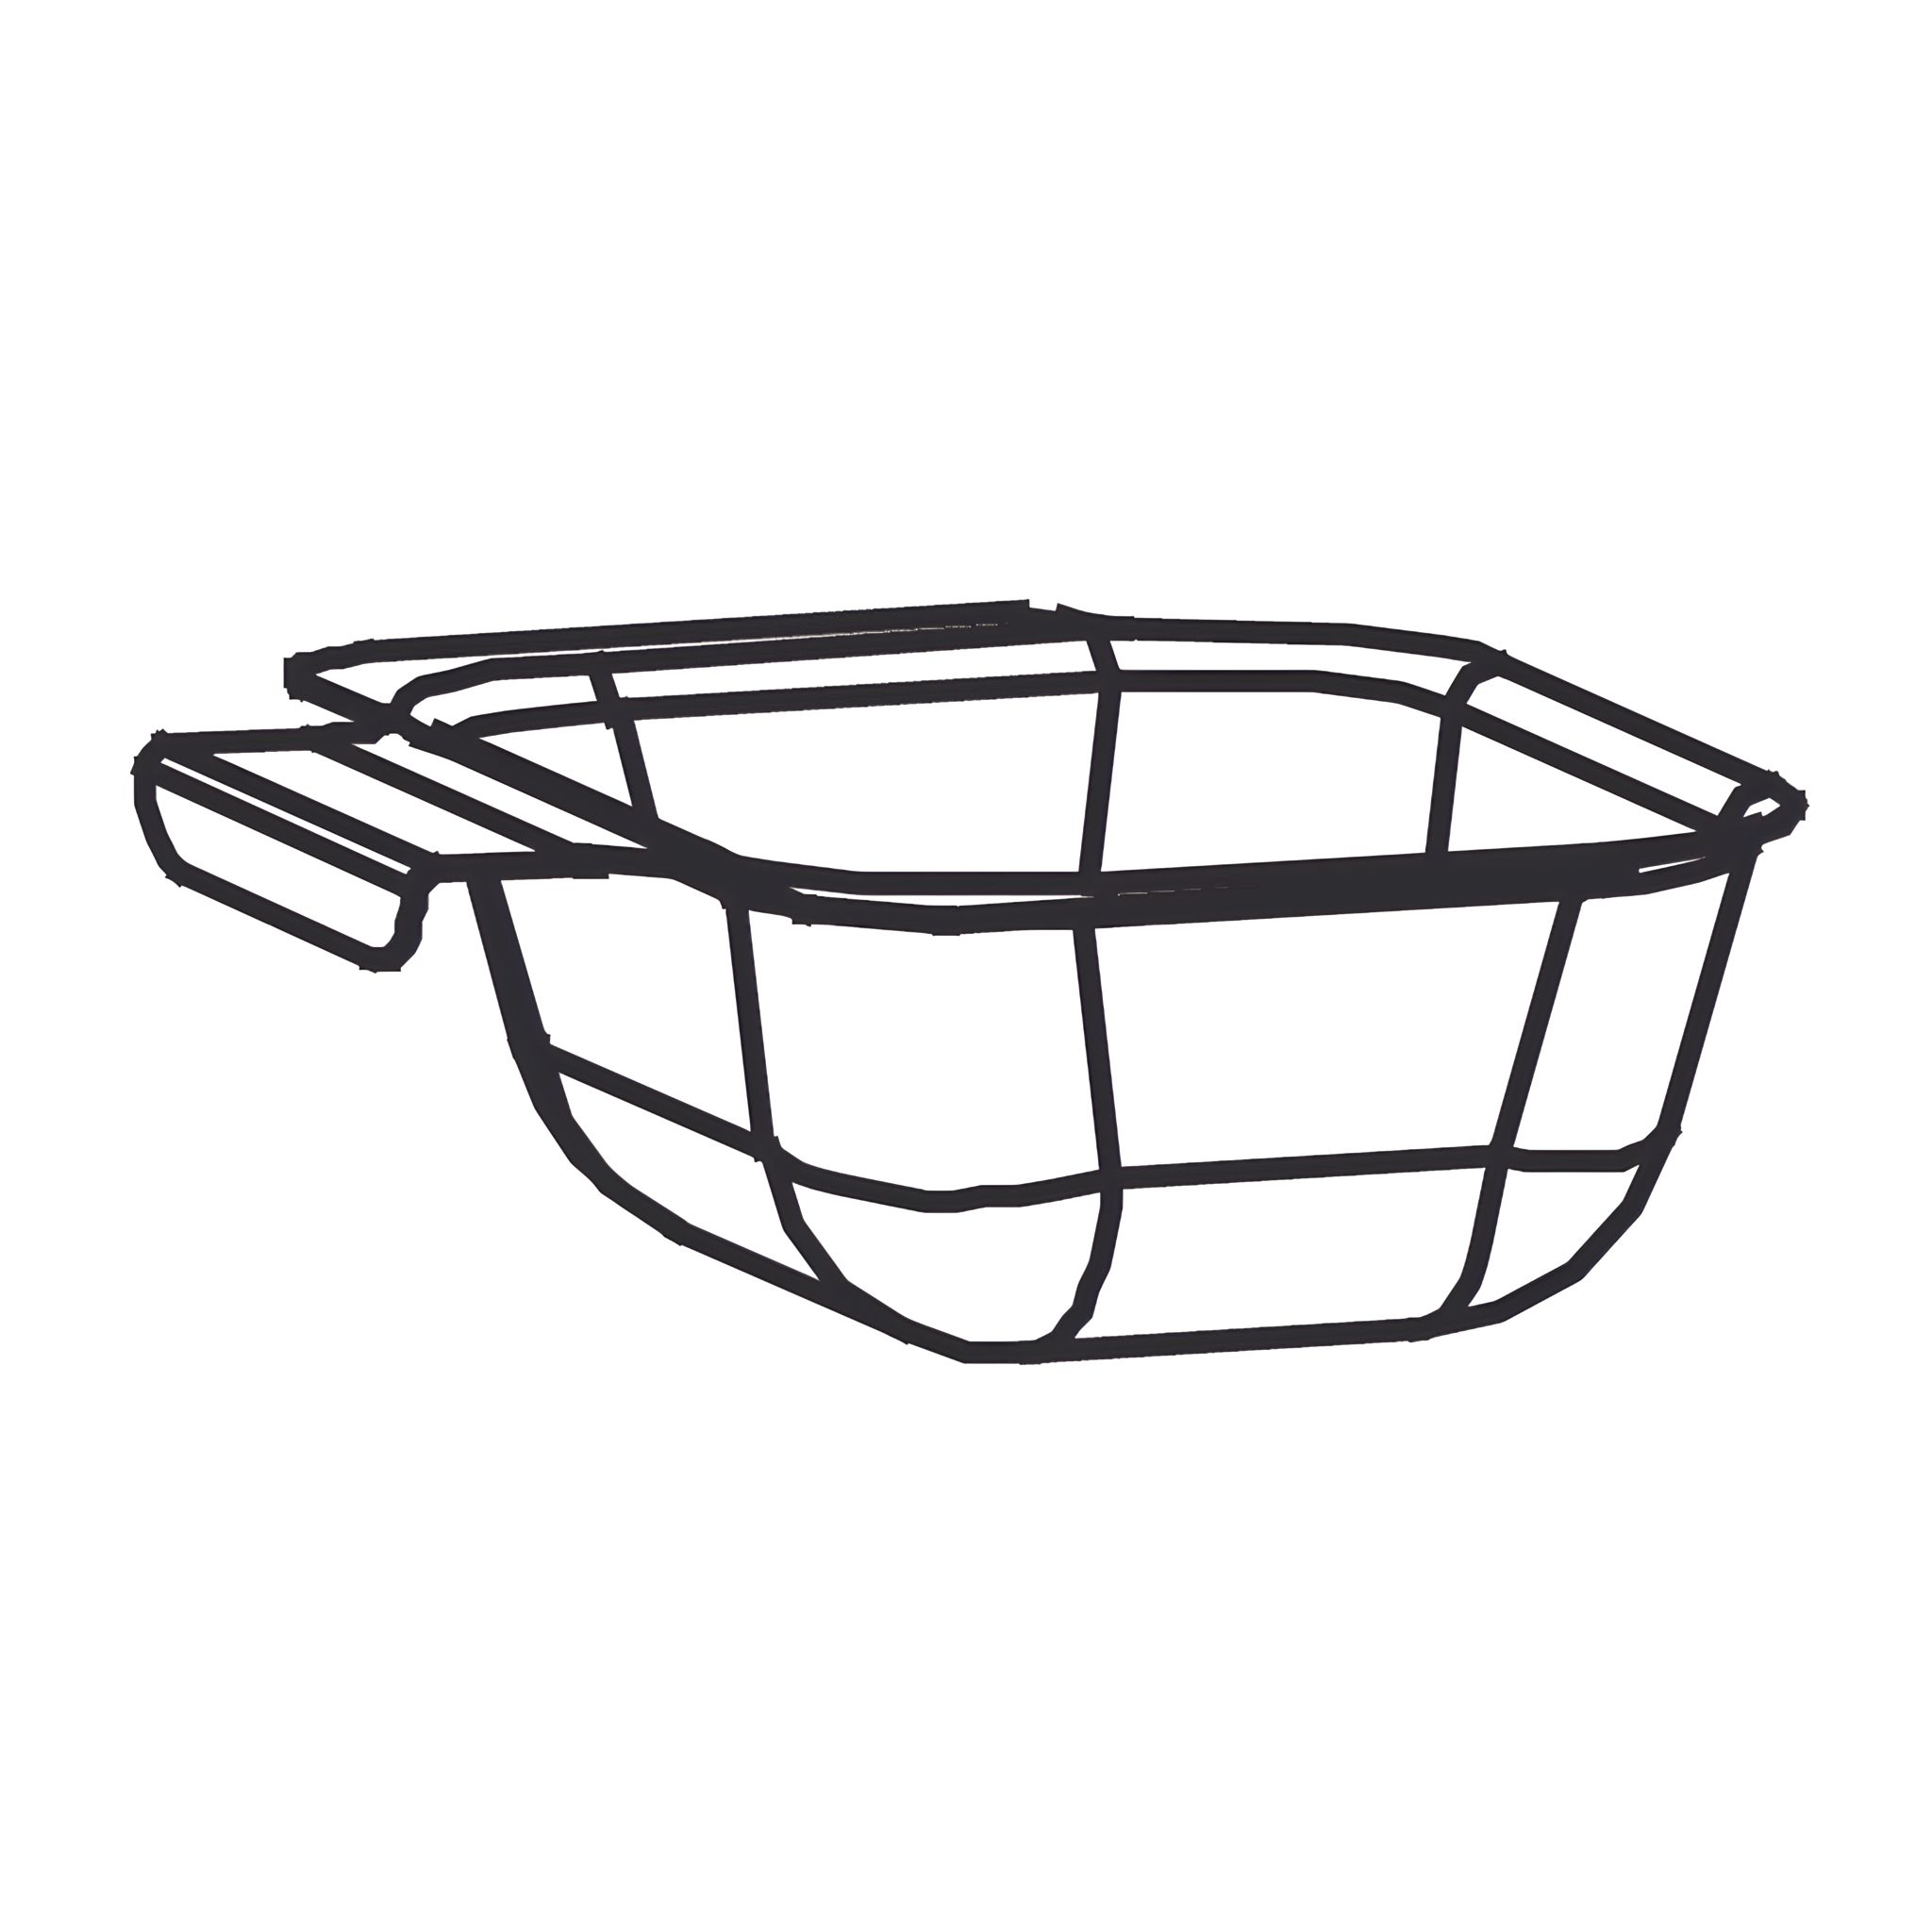
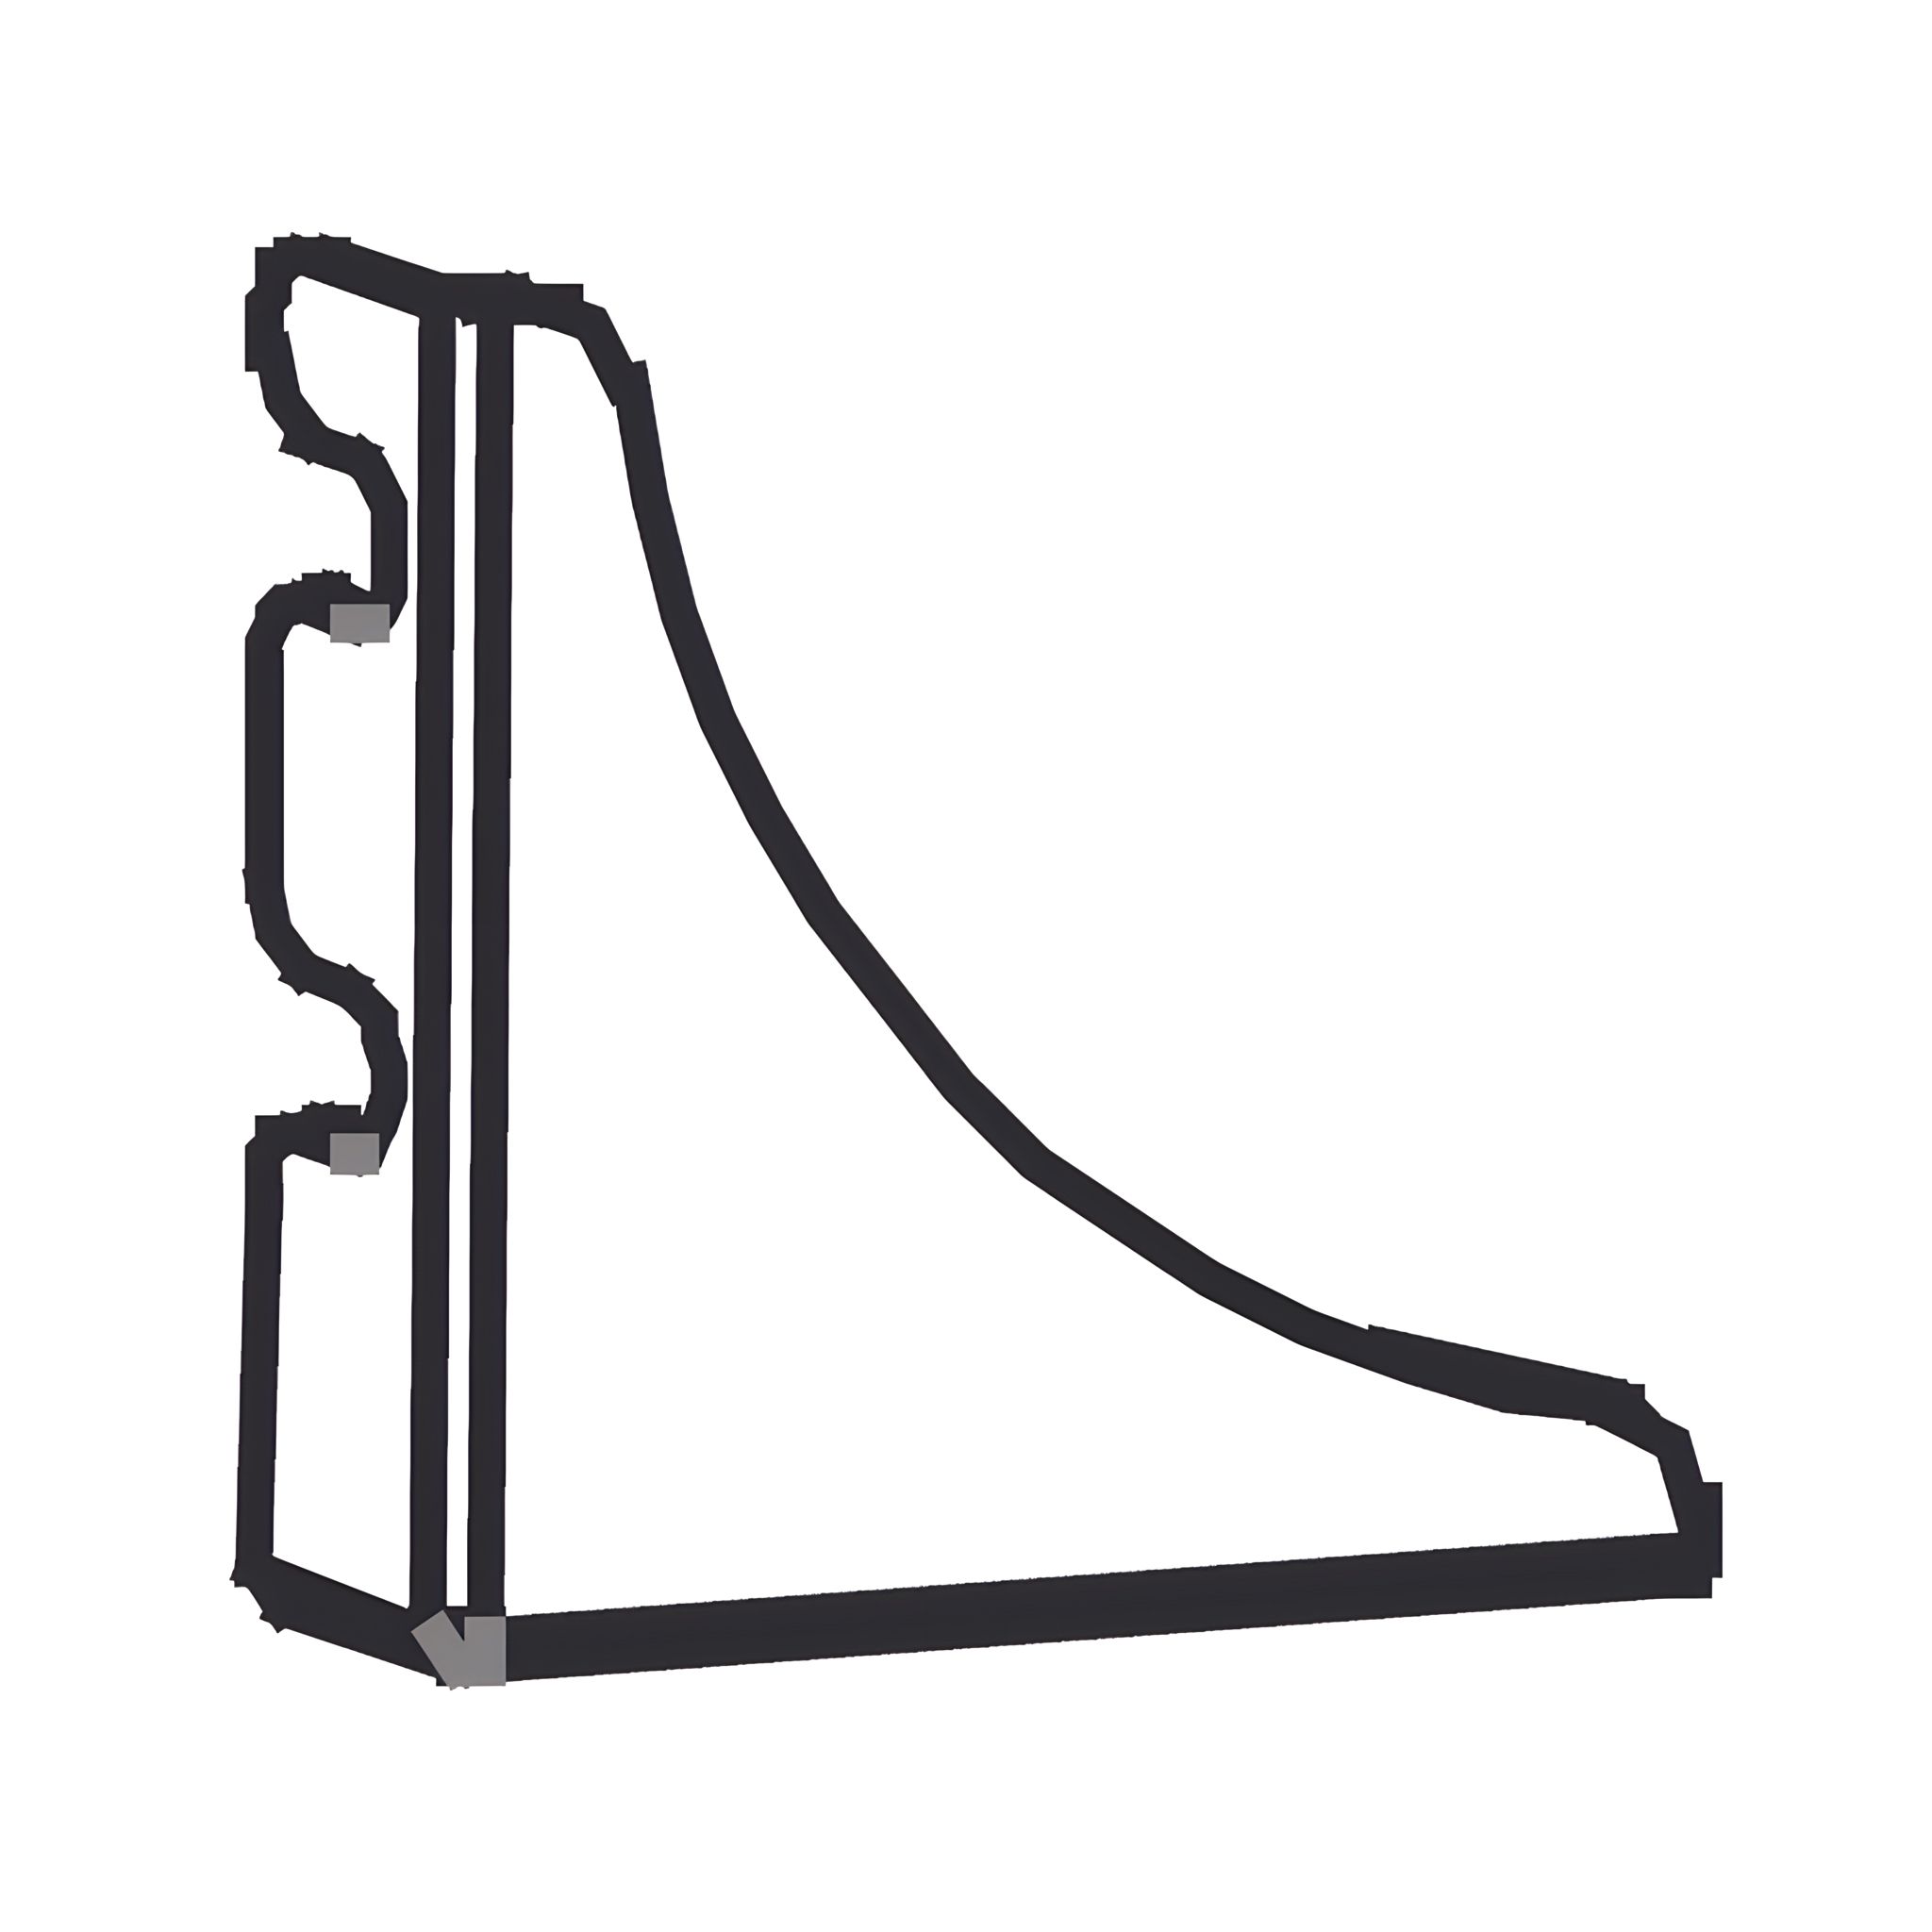
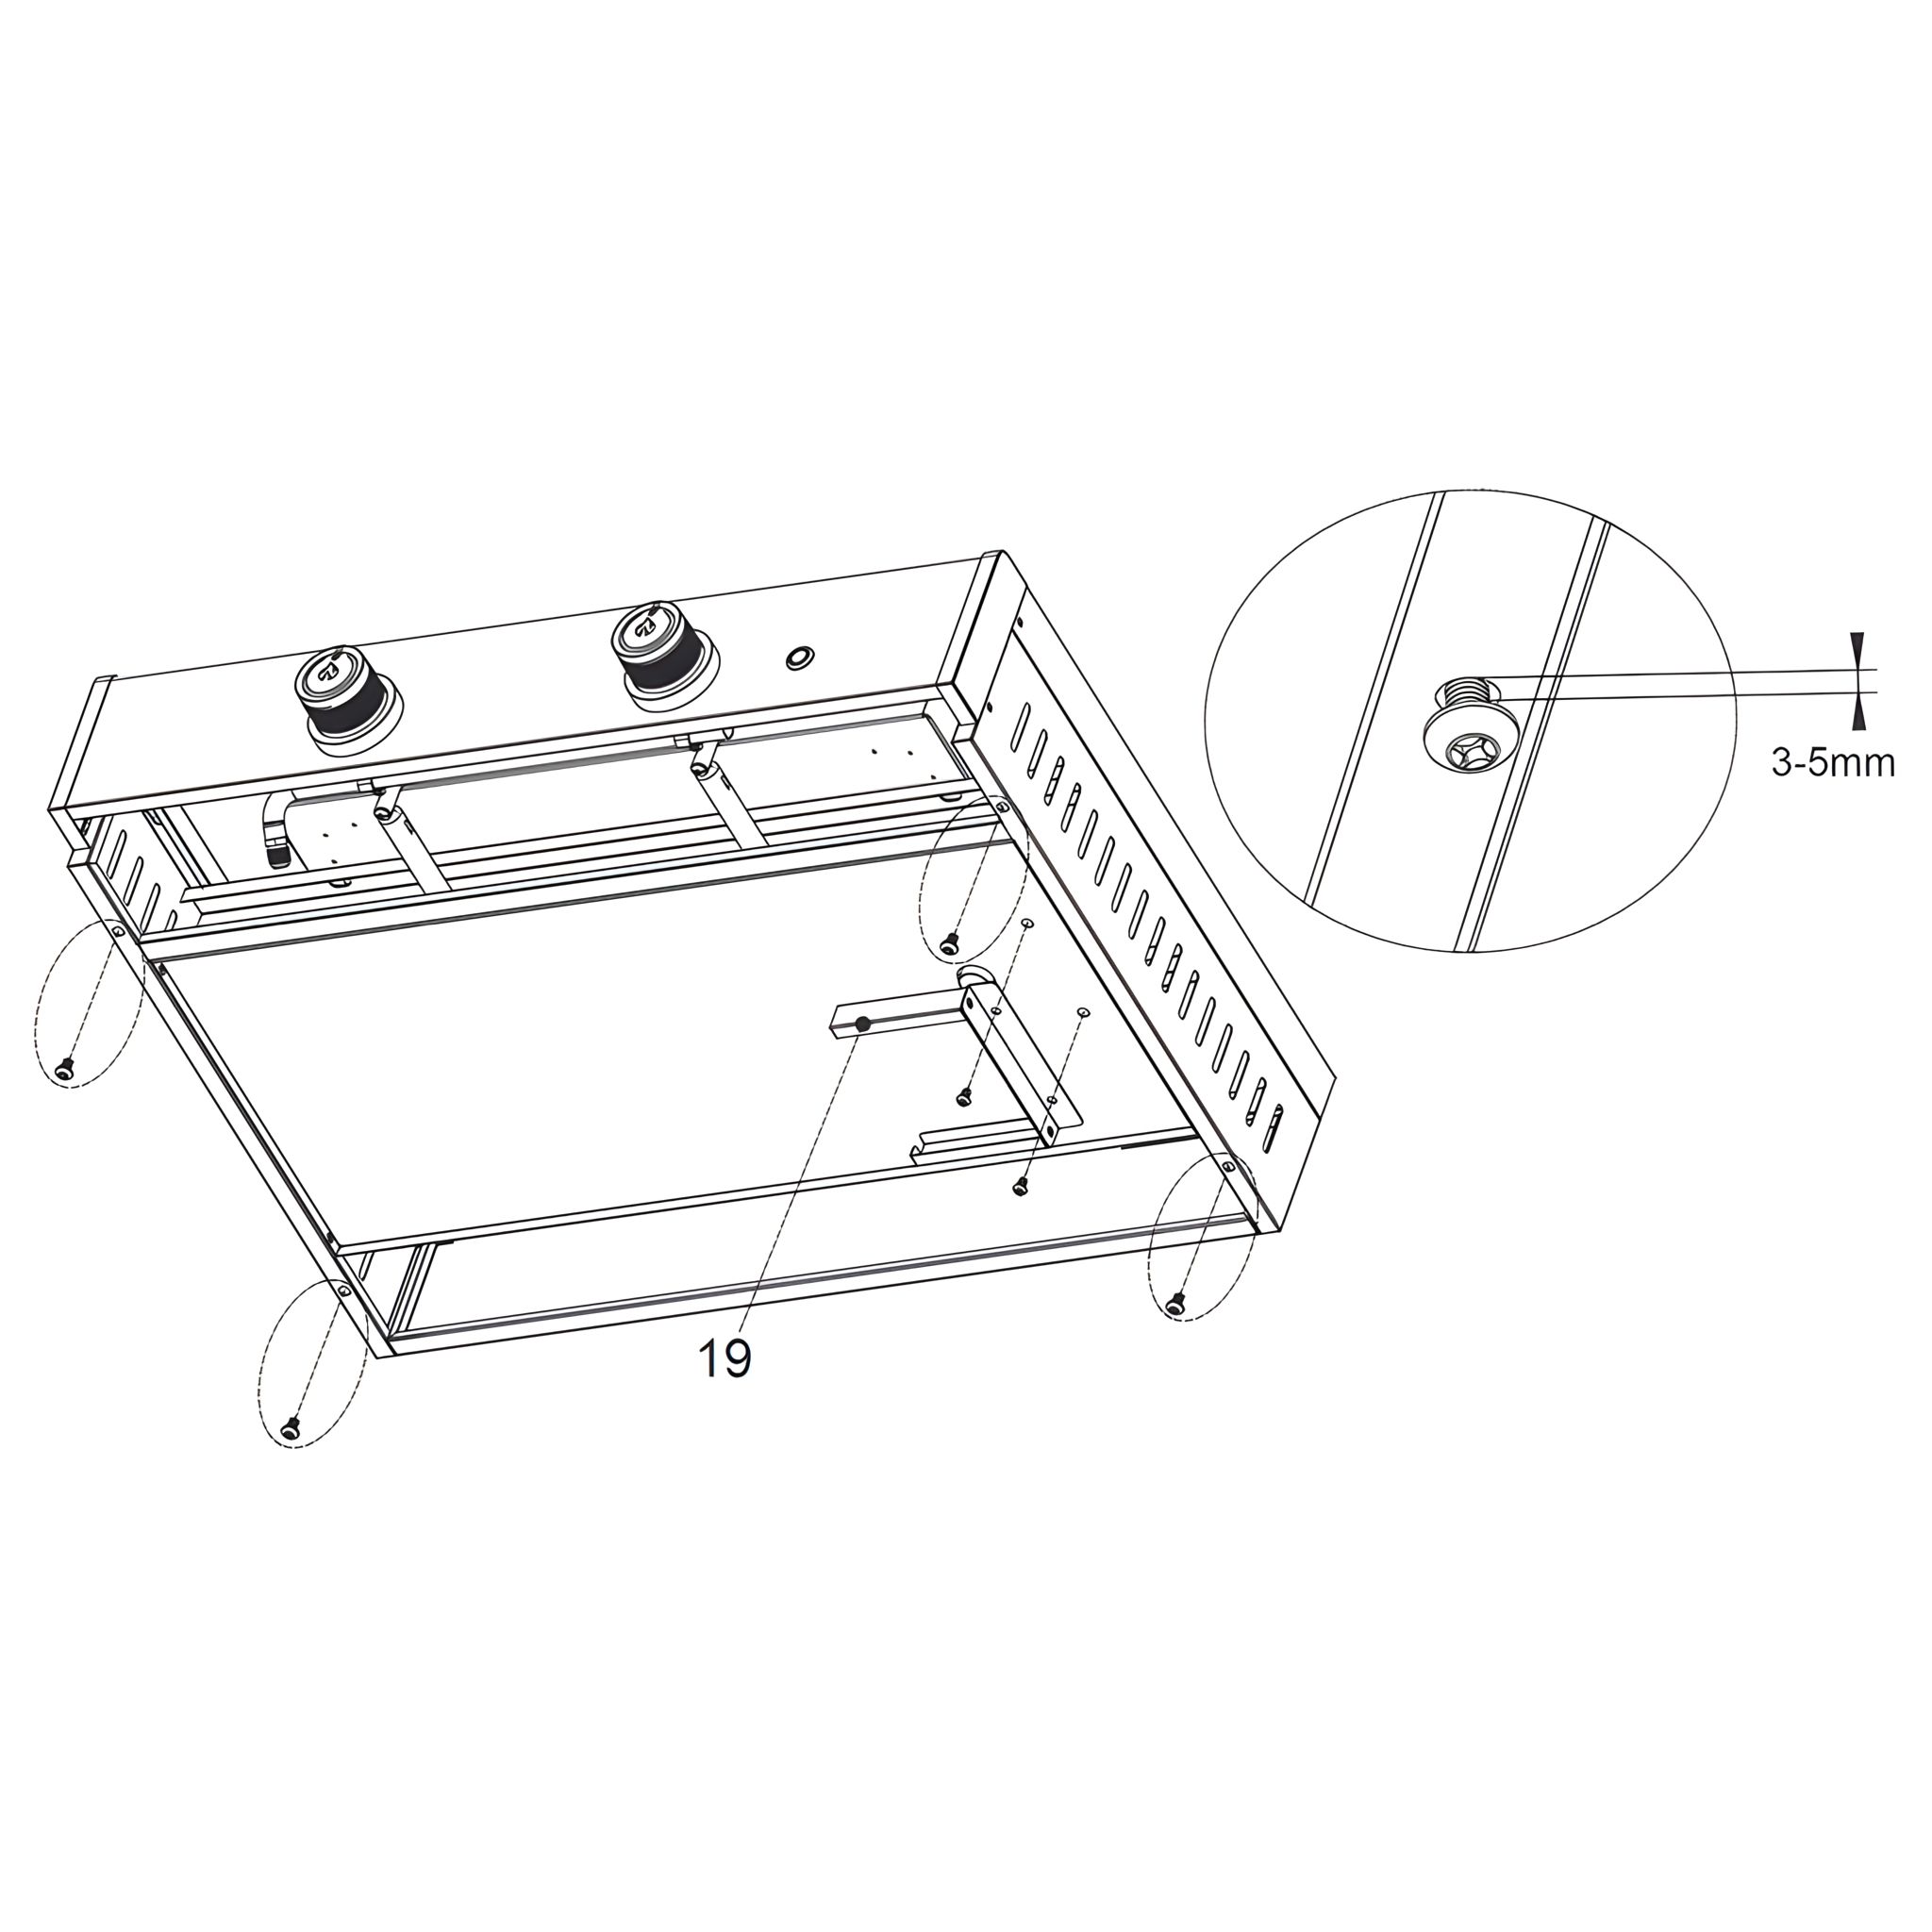
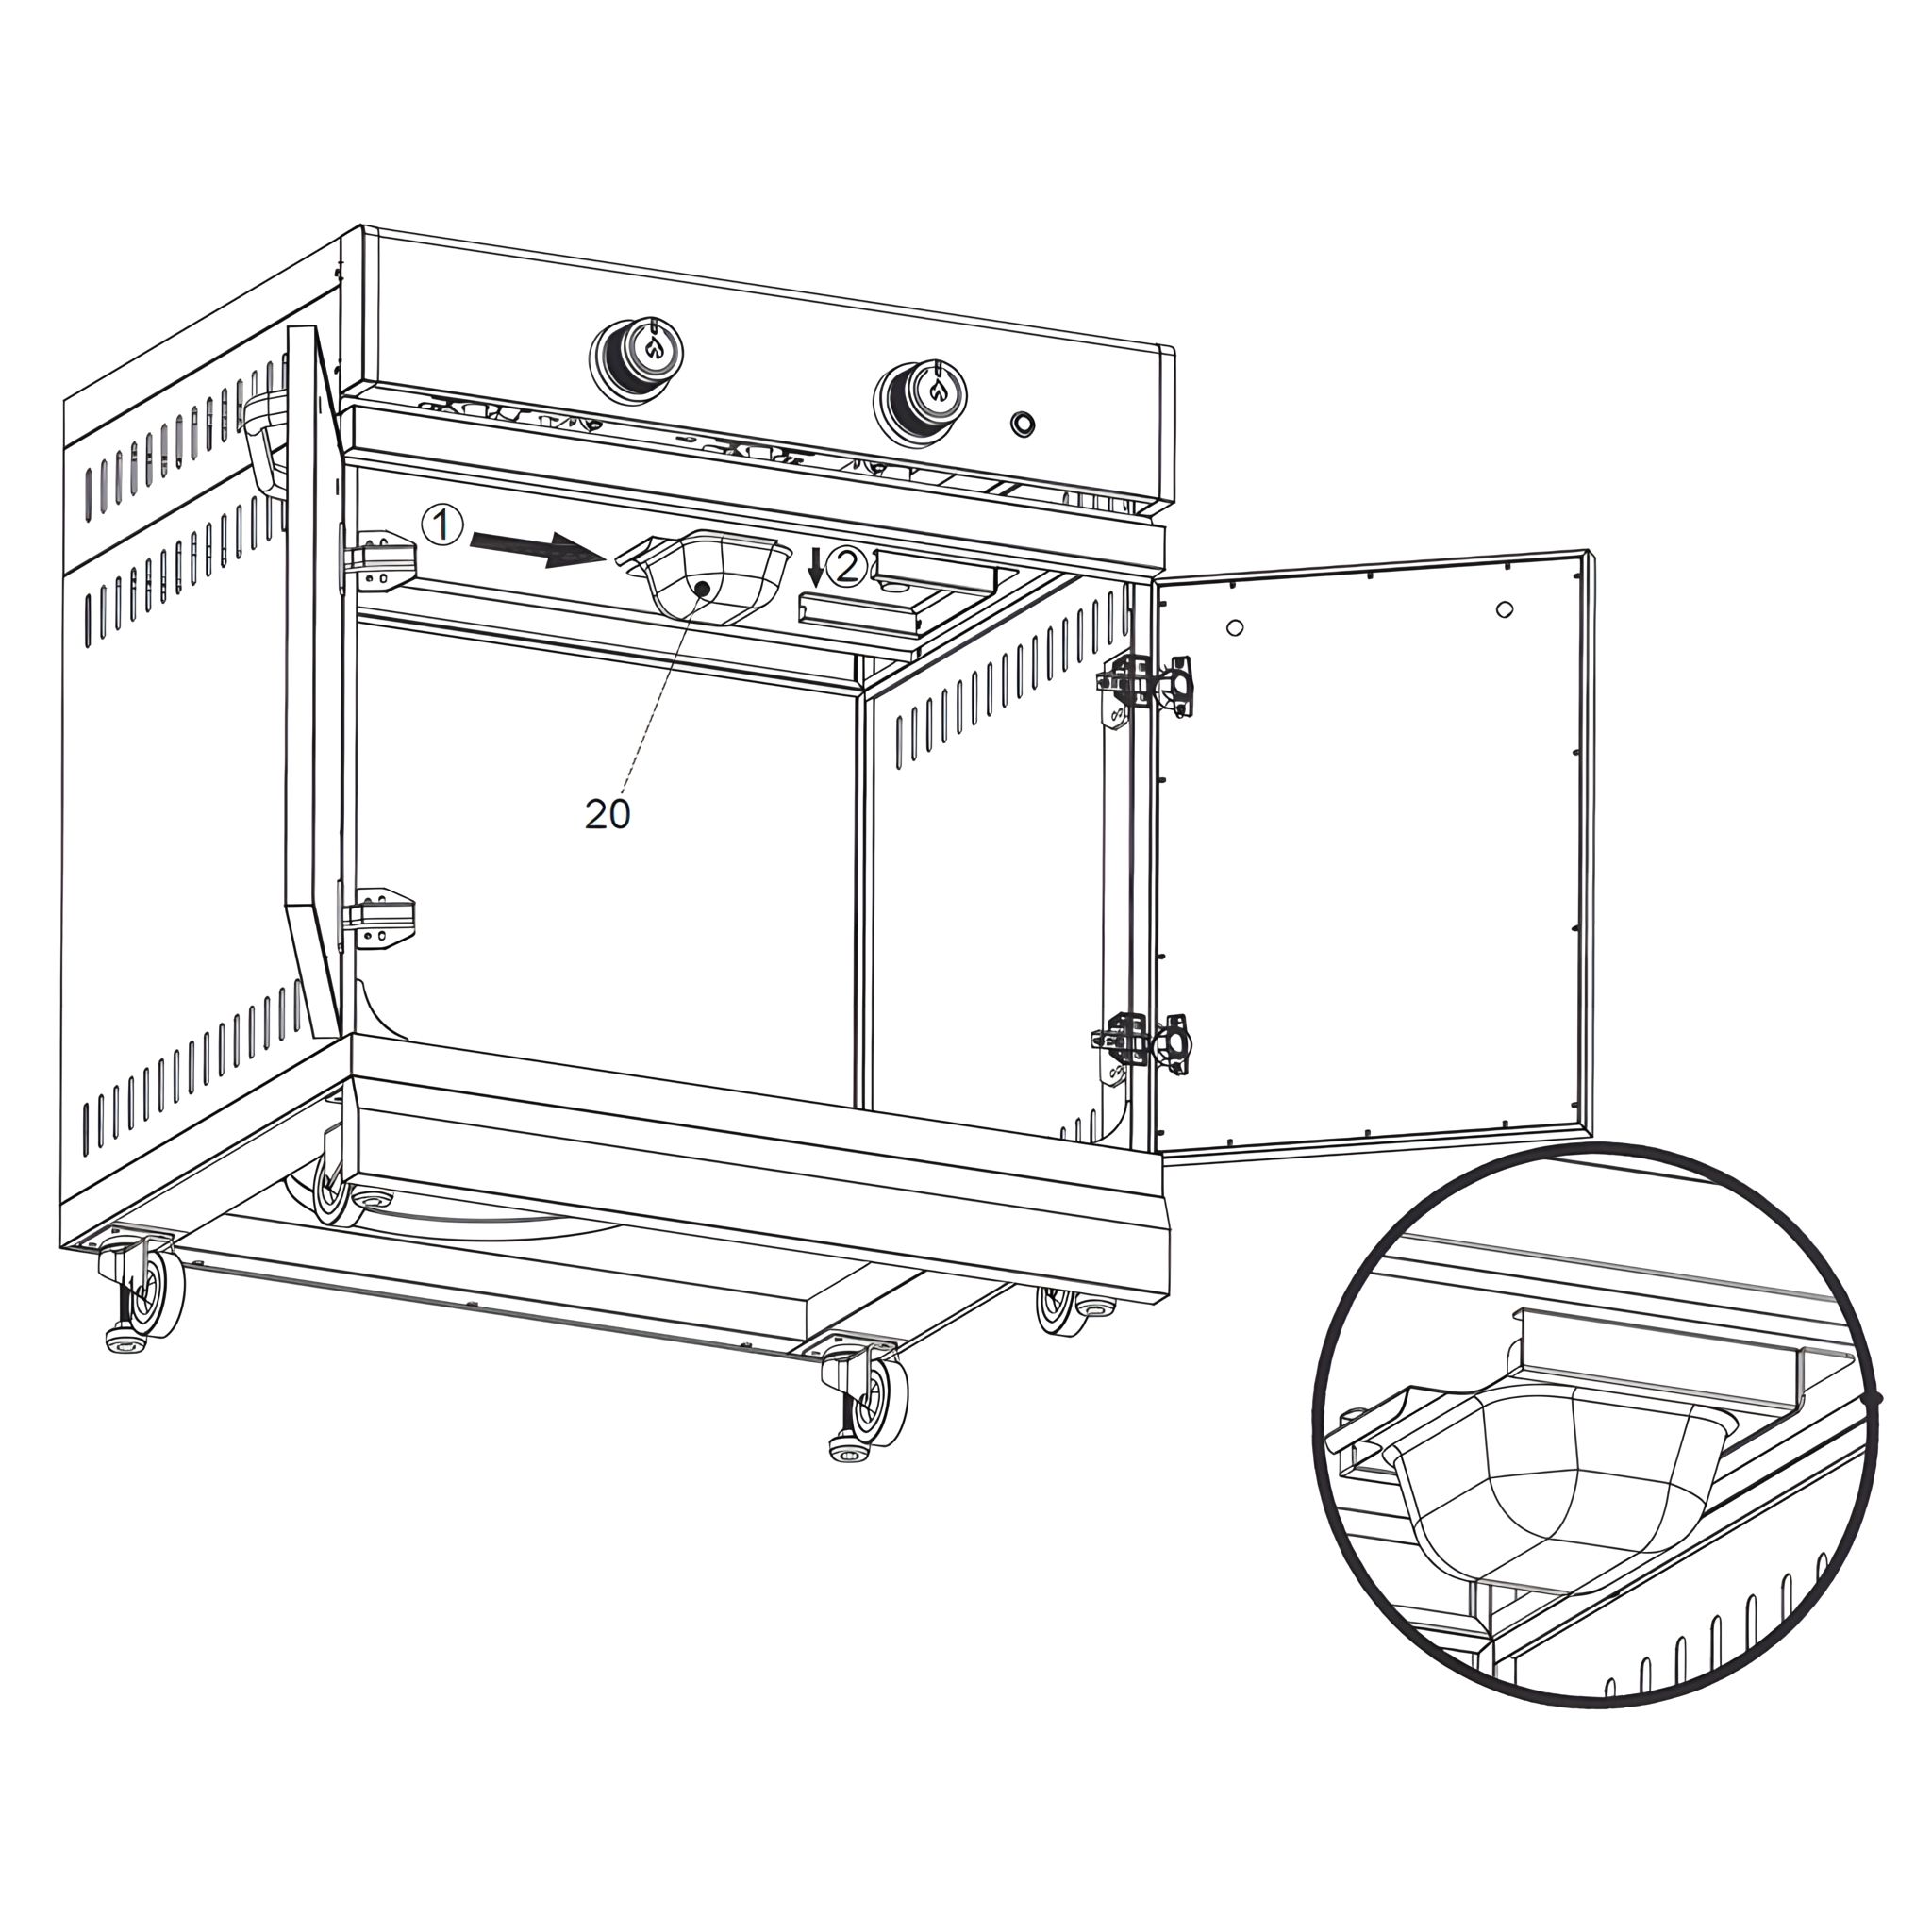
Slide the Grease Cup (20) into the Grease Cup Bracket (19). 
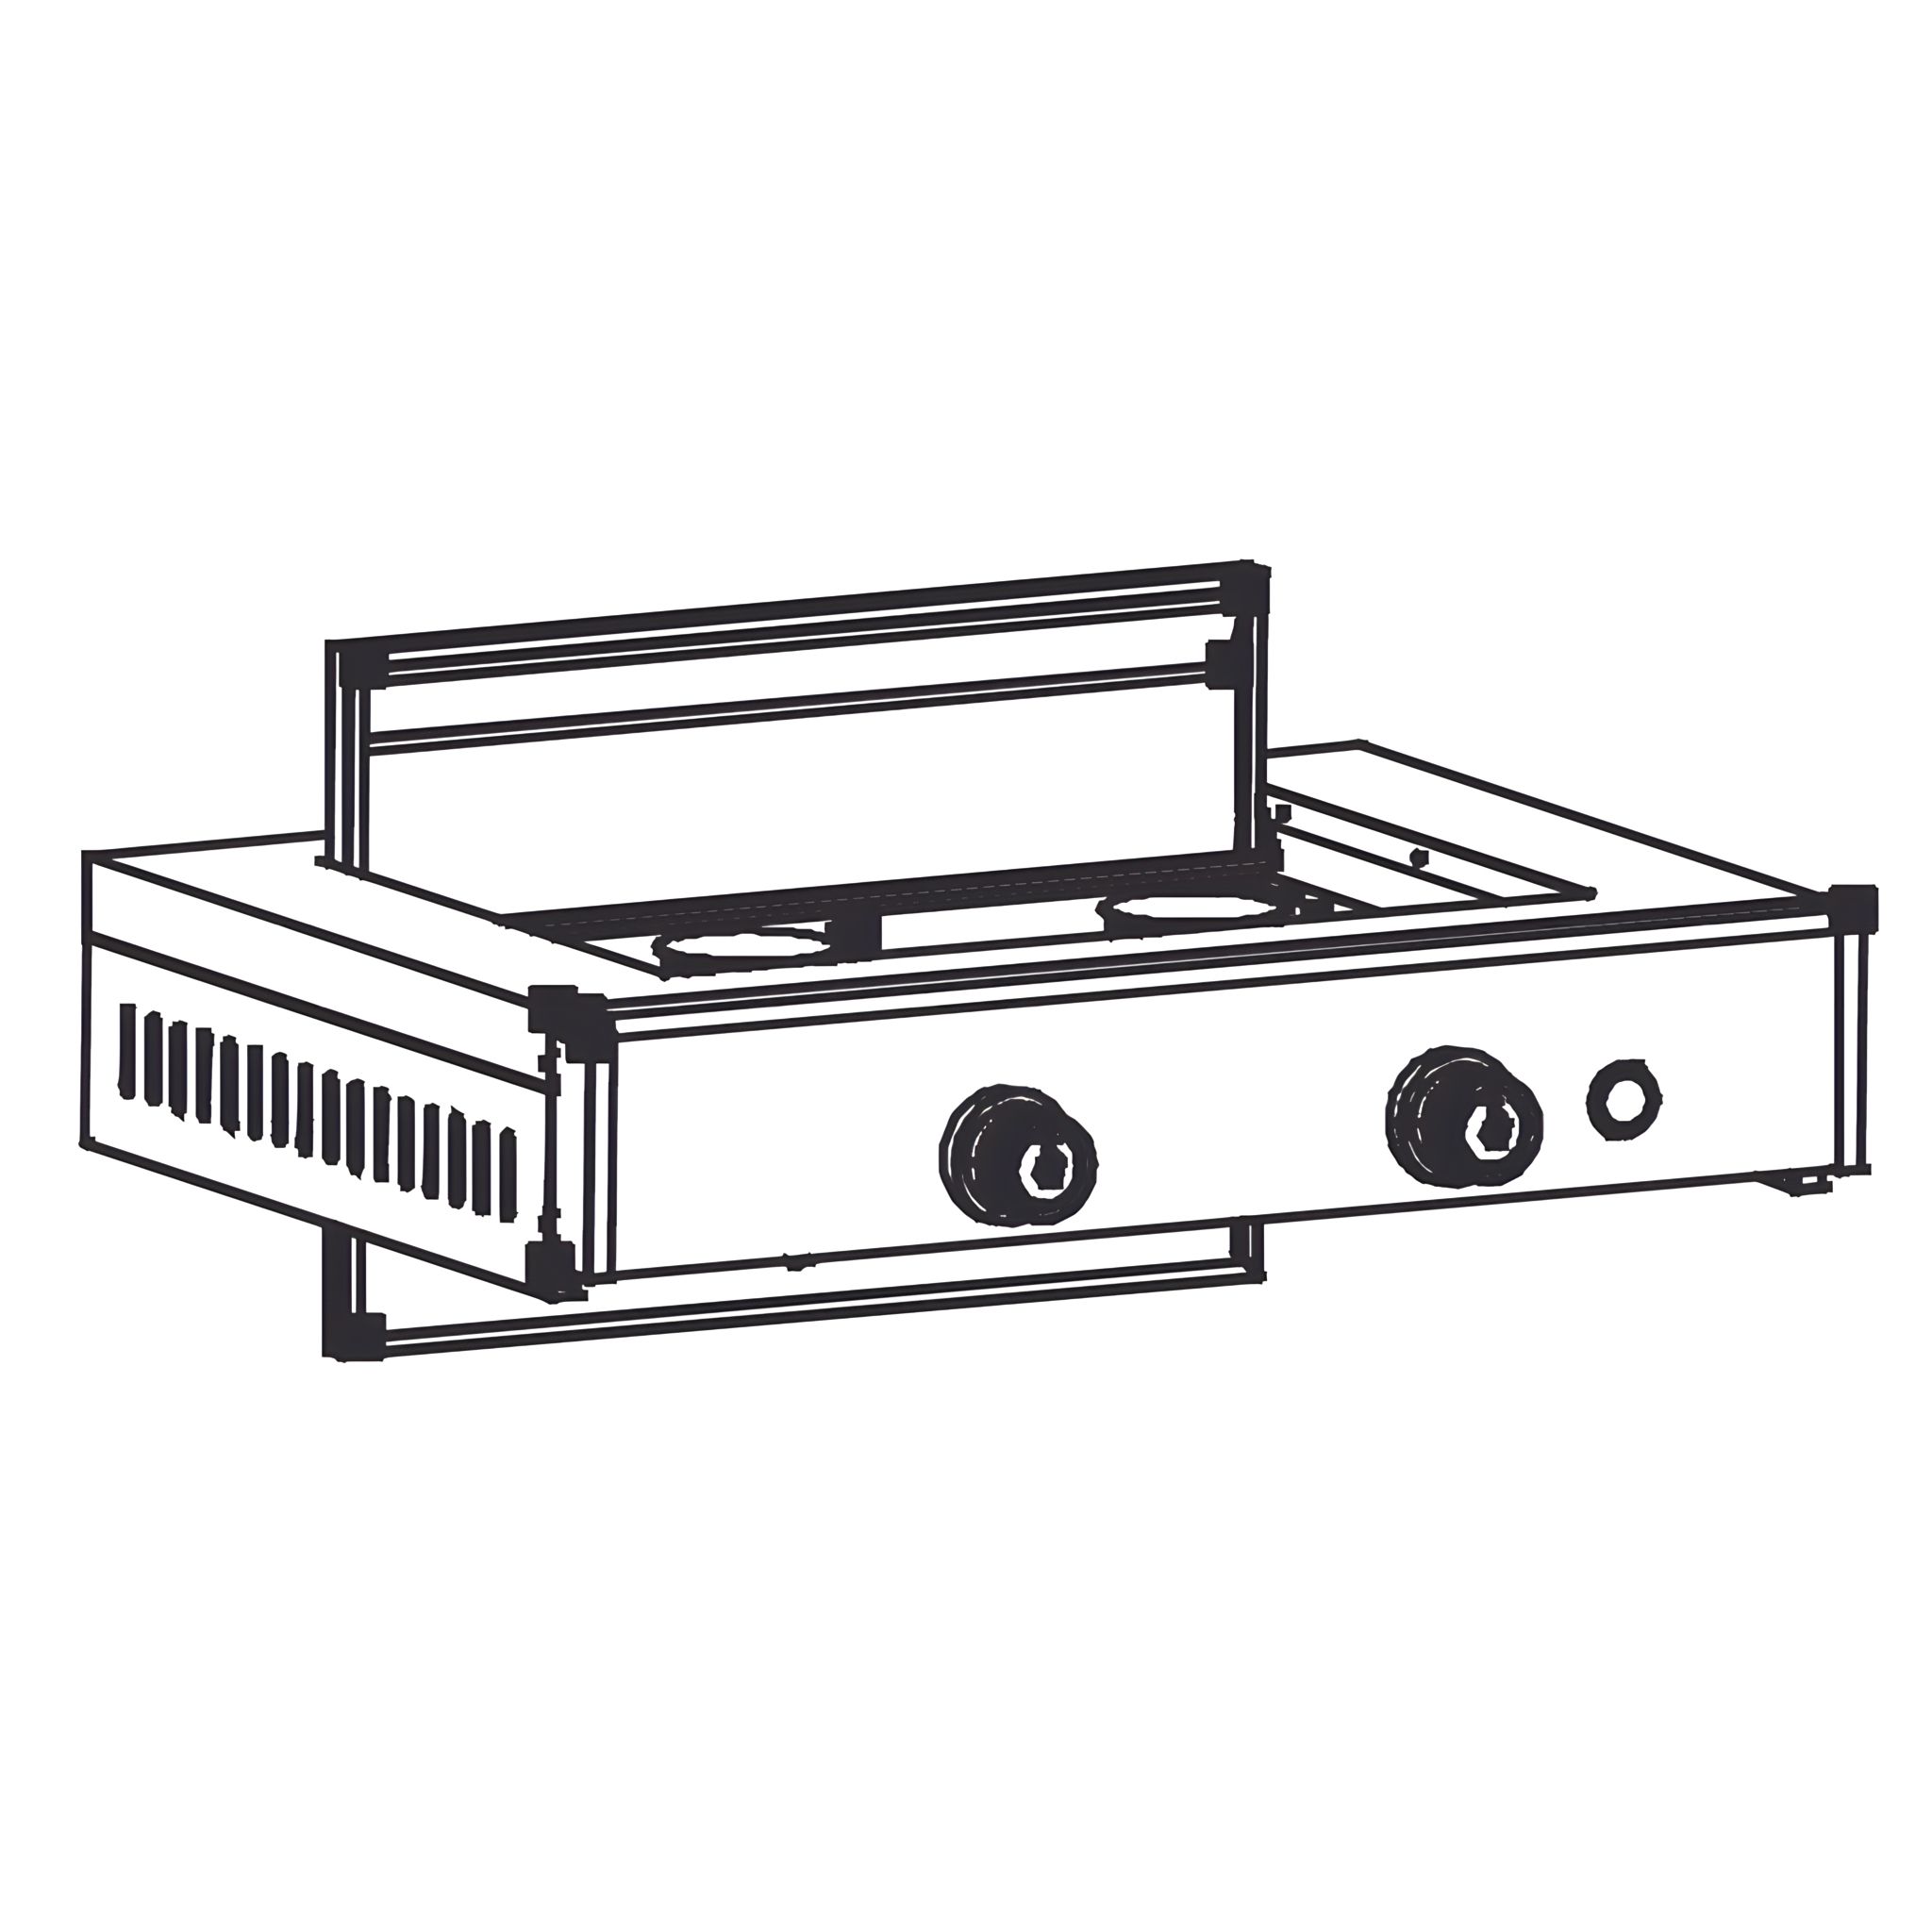
Push it fully into place until it locks securely beneath the Firebox Assembly (2).
Ensure the cup is correctly seated to collect grease and can be easily removed for cleaning.
Parts used:
Grease Cup | 20 | 1×
Grease Cup Bracket | 19 | 1×
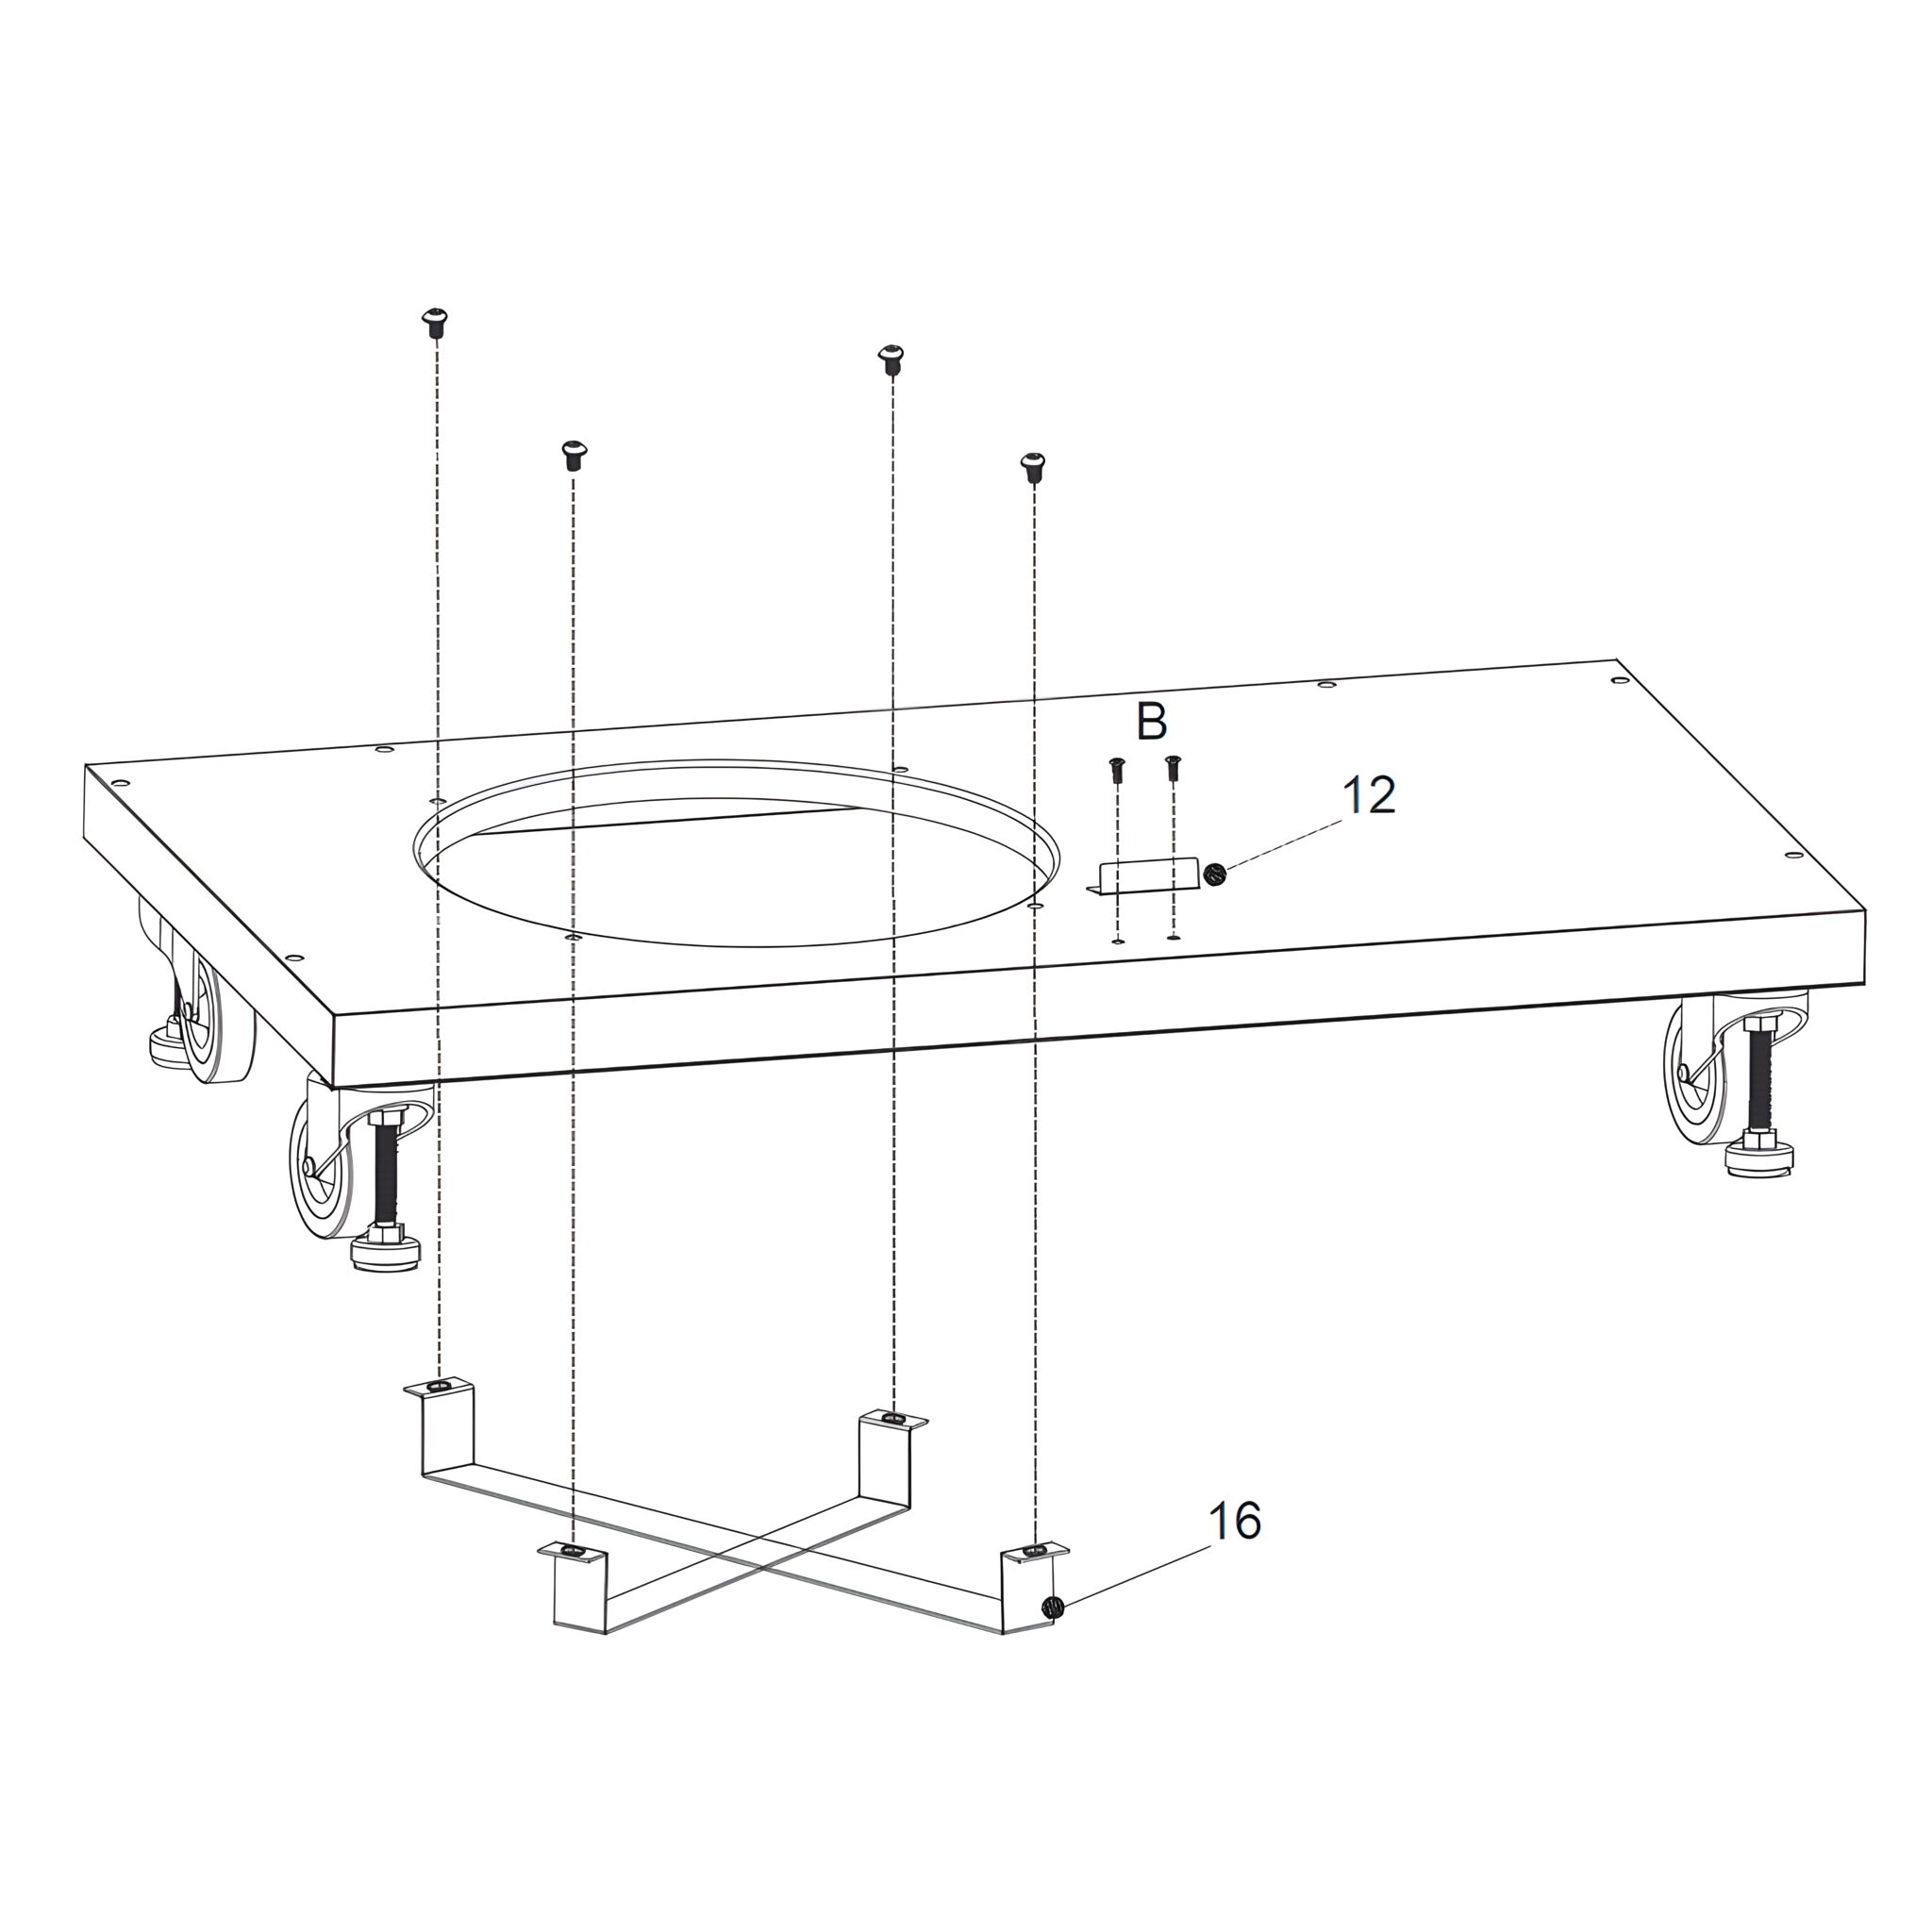
16. Install the Grease Guide Tube
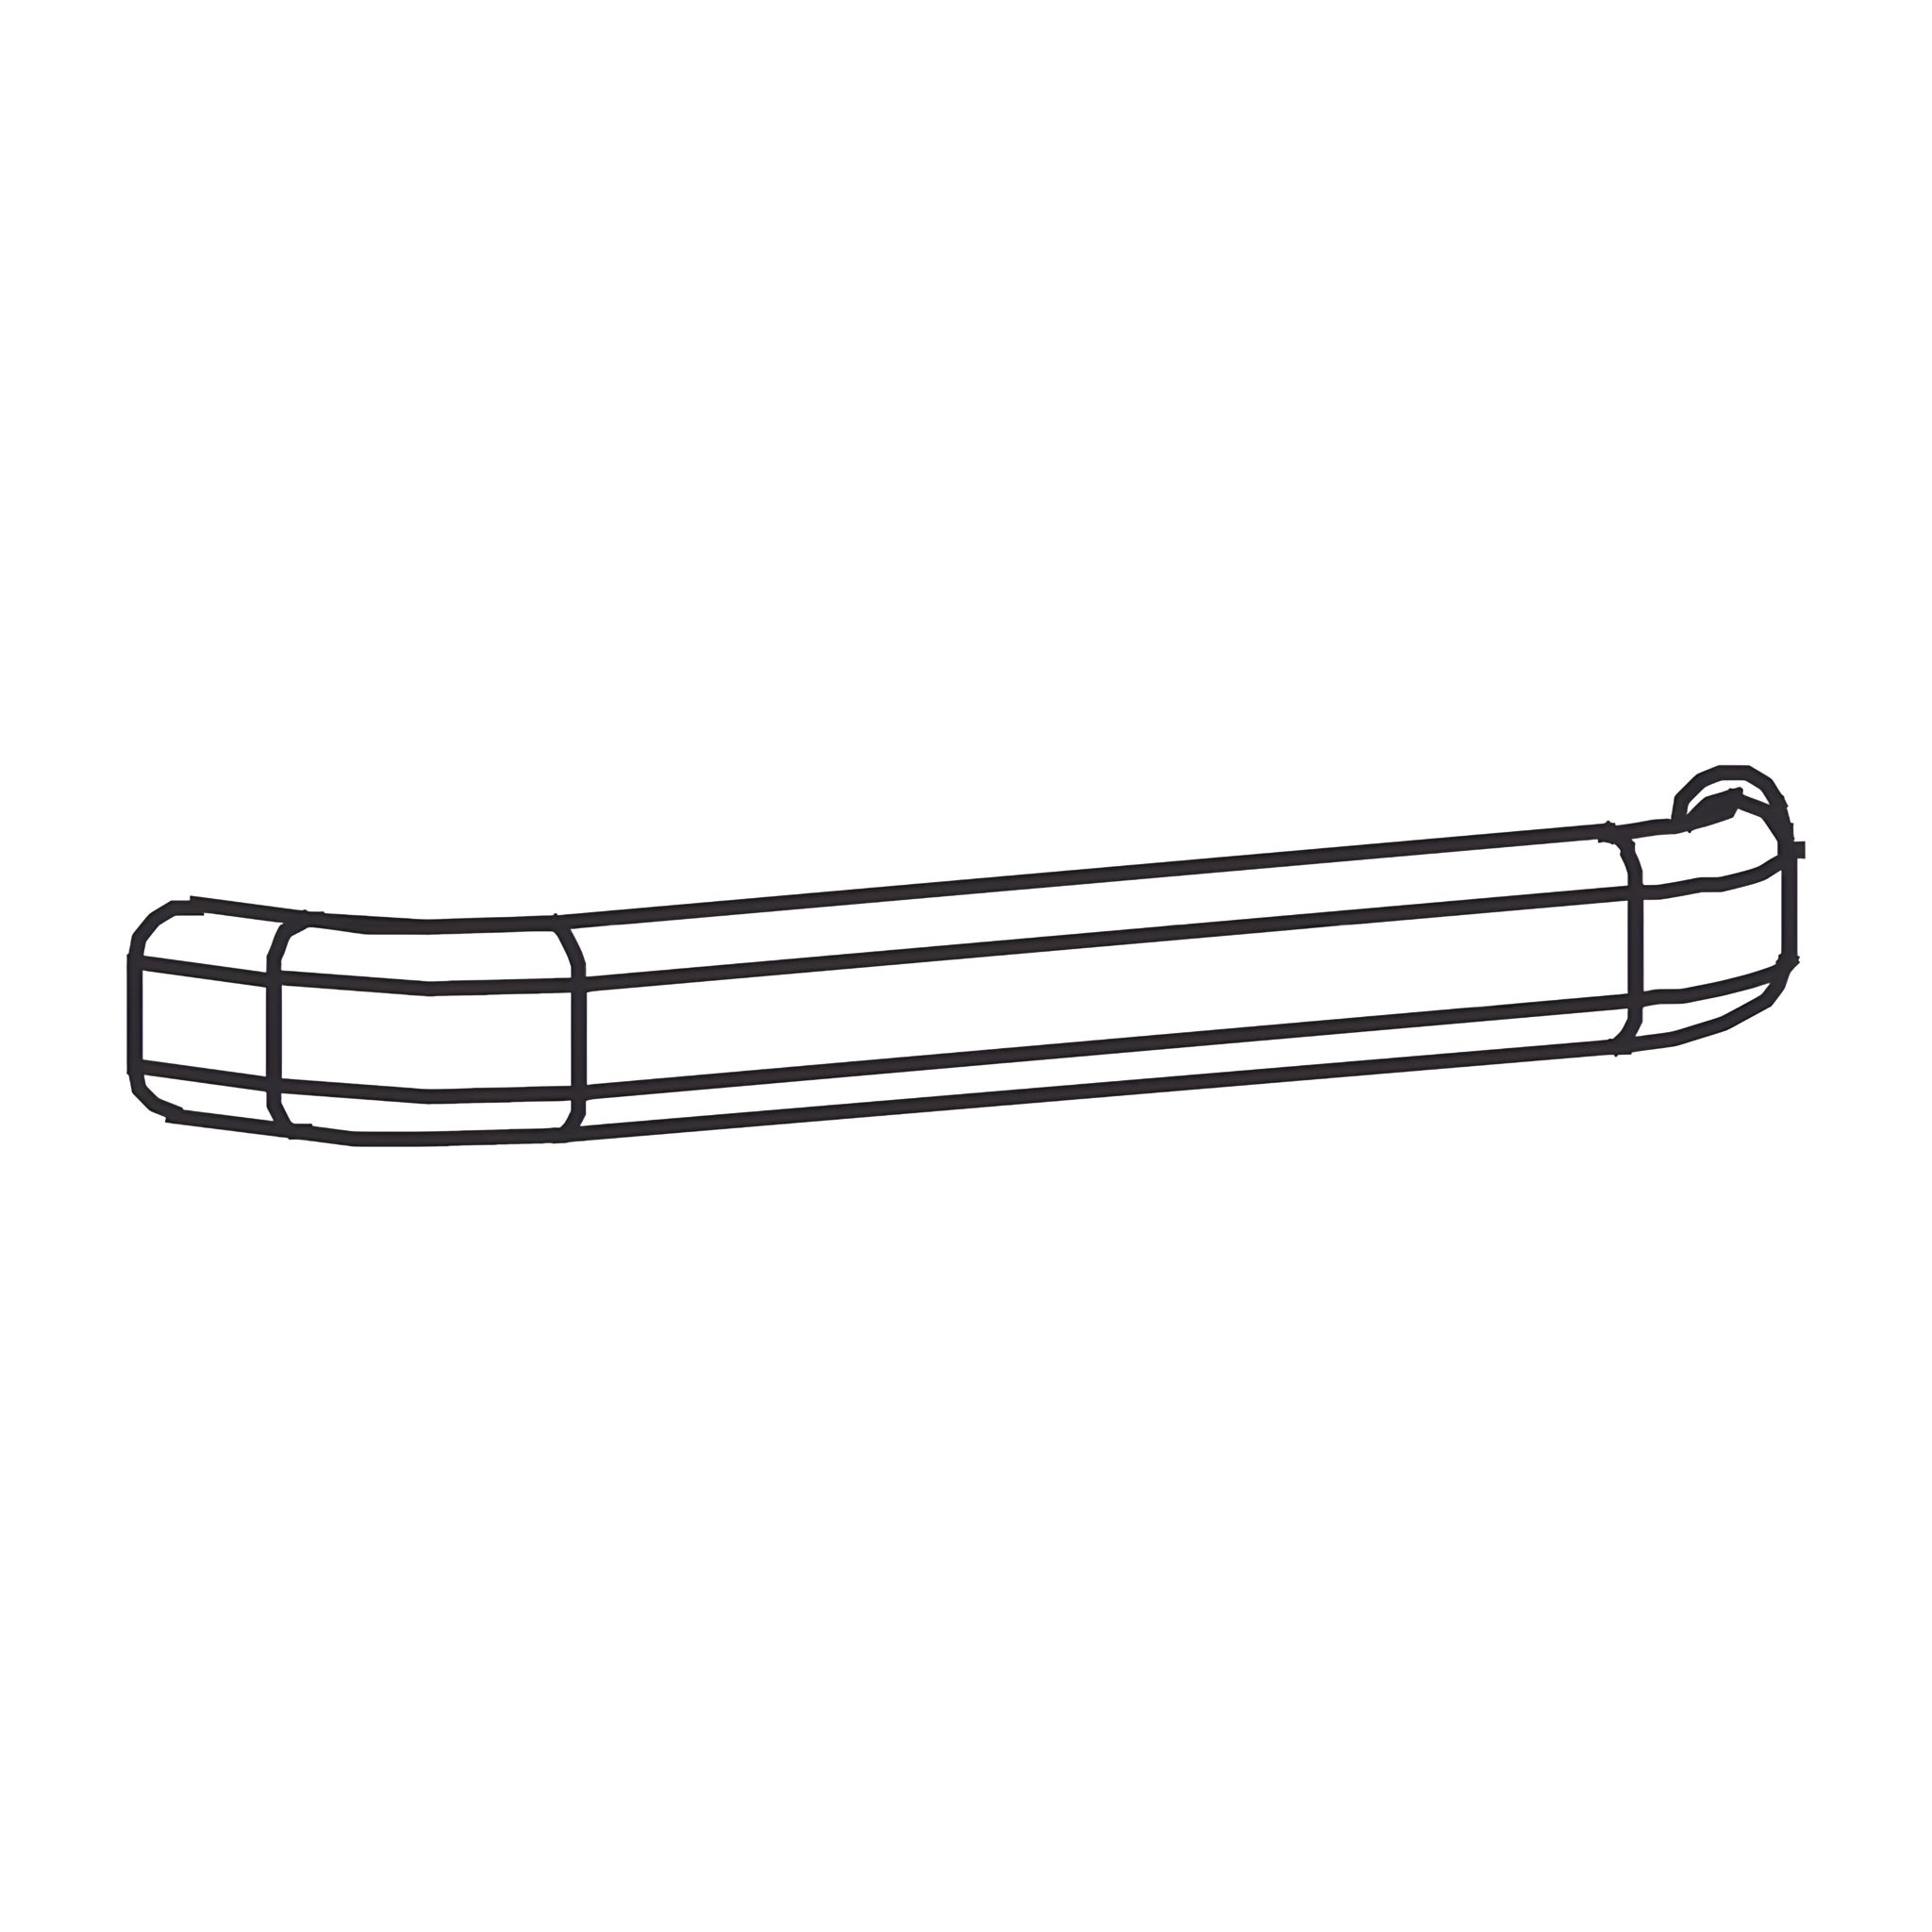
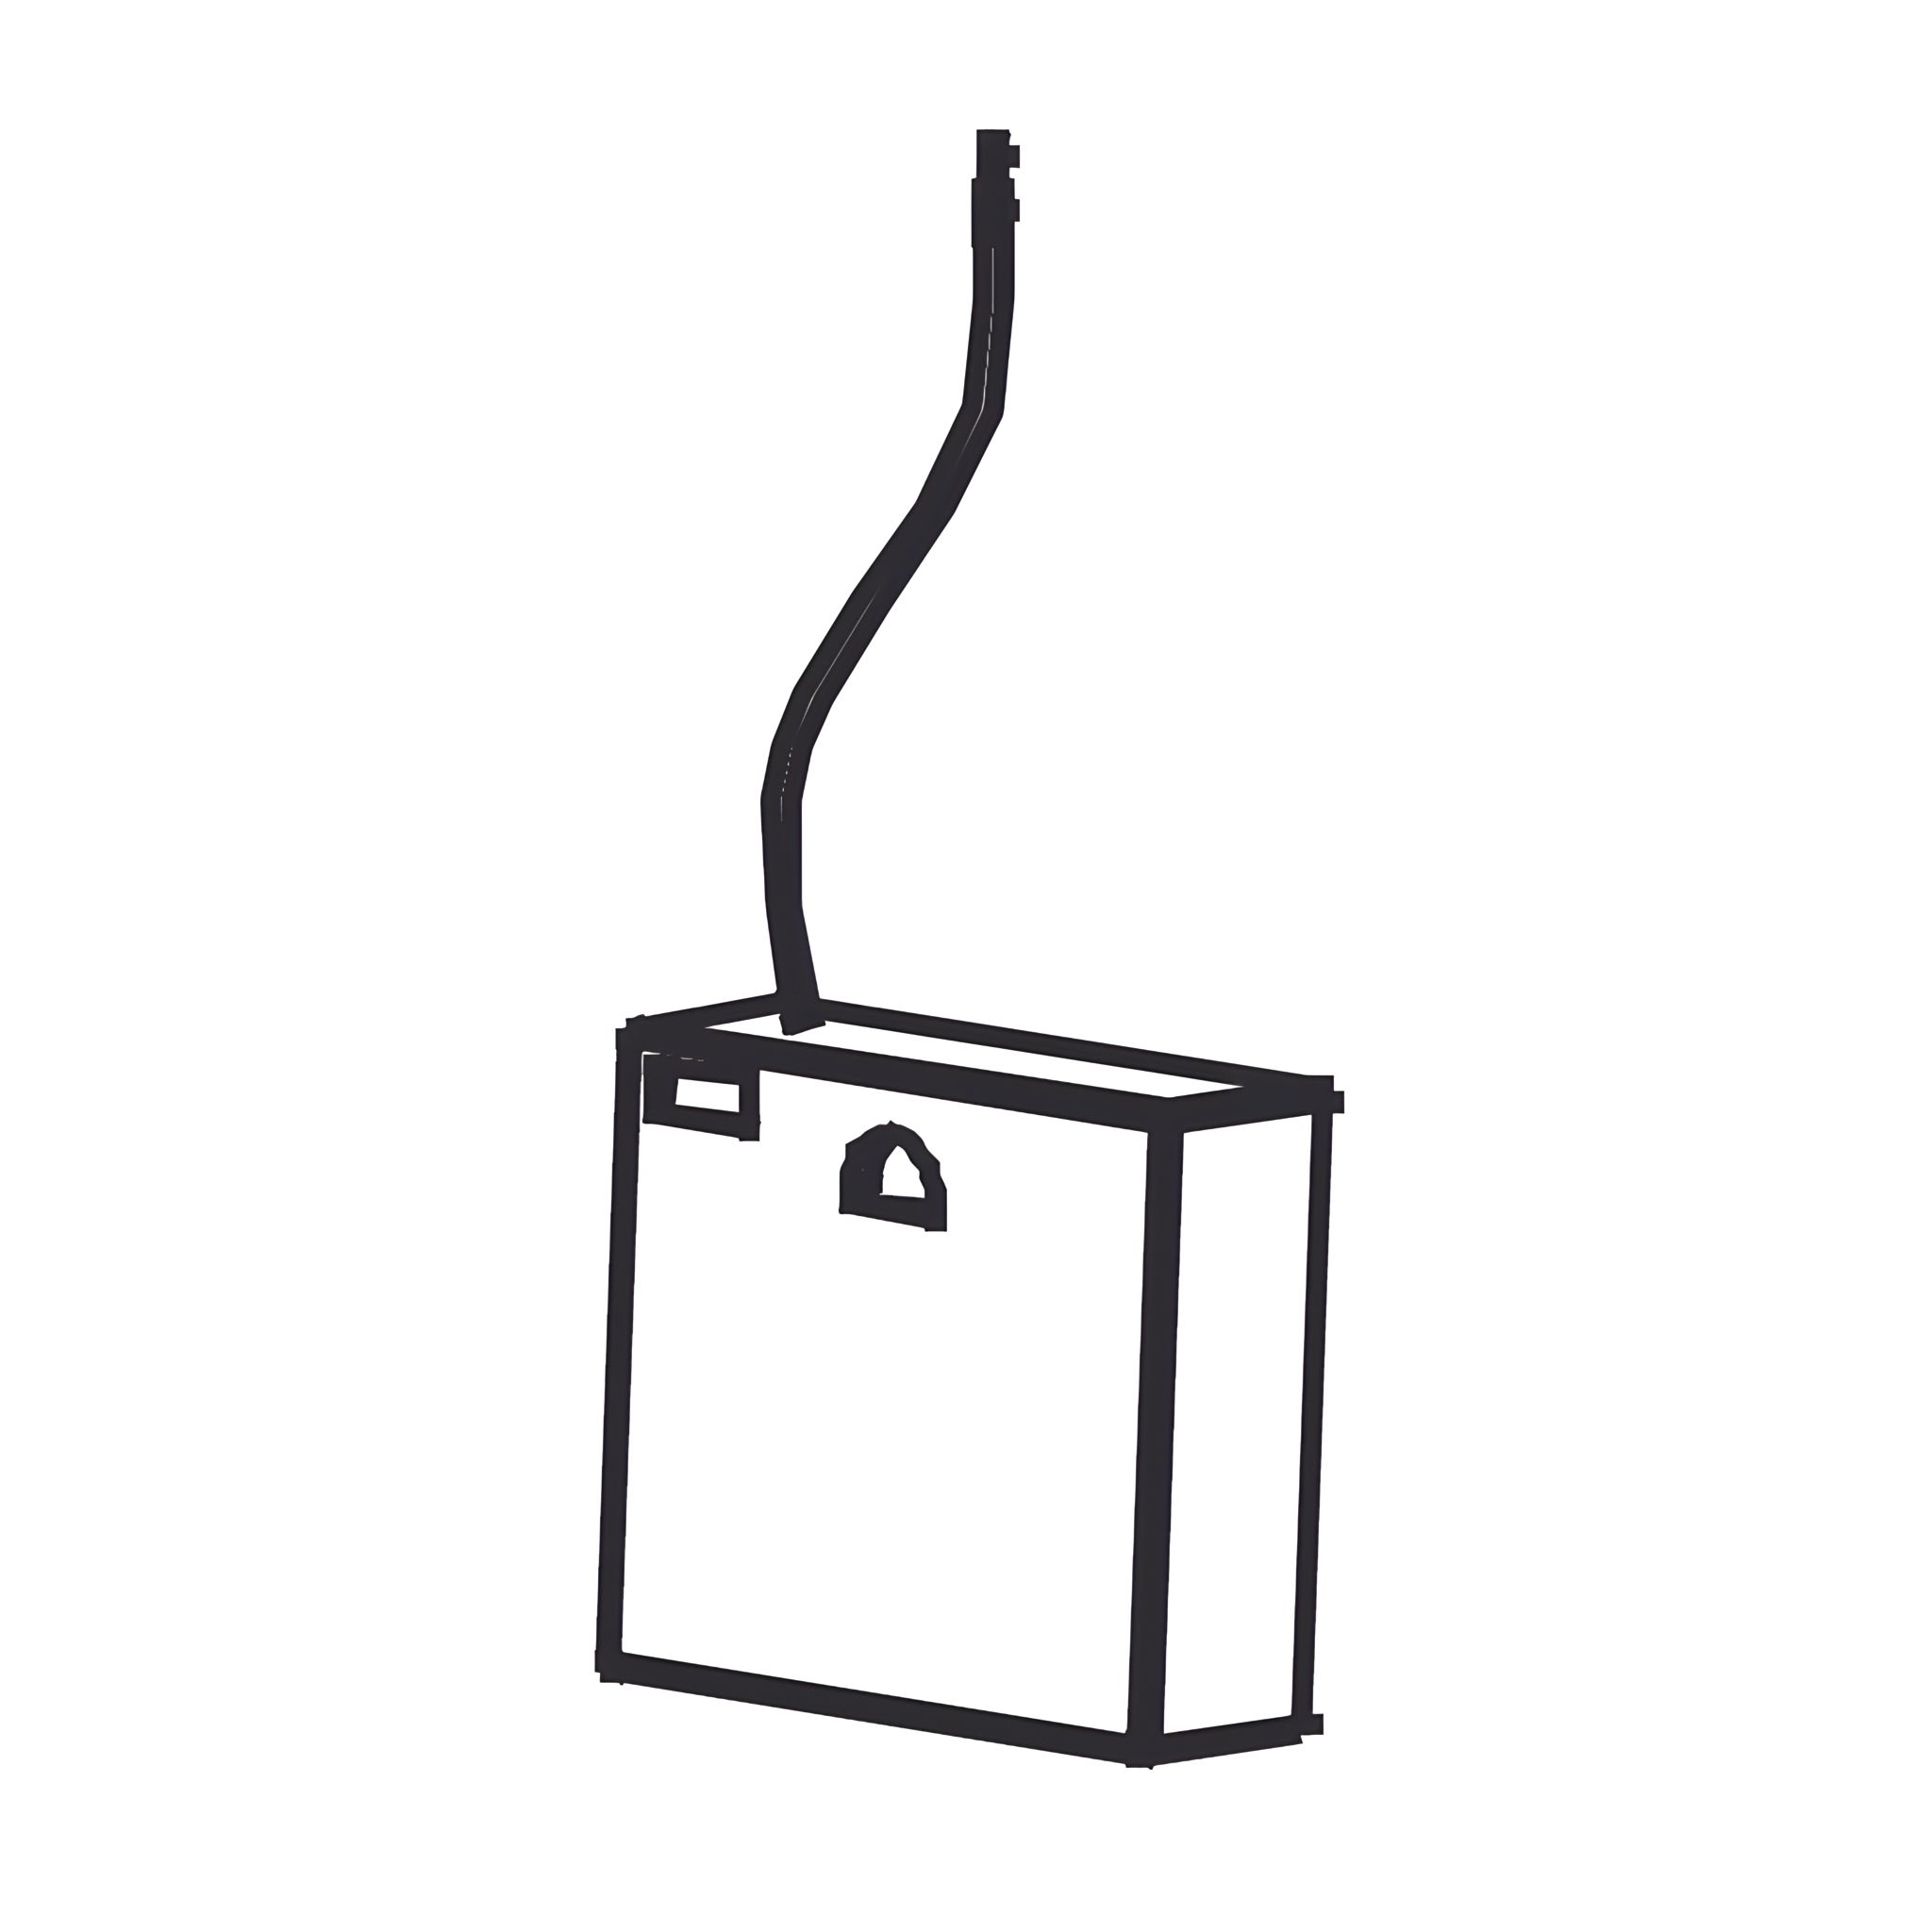
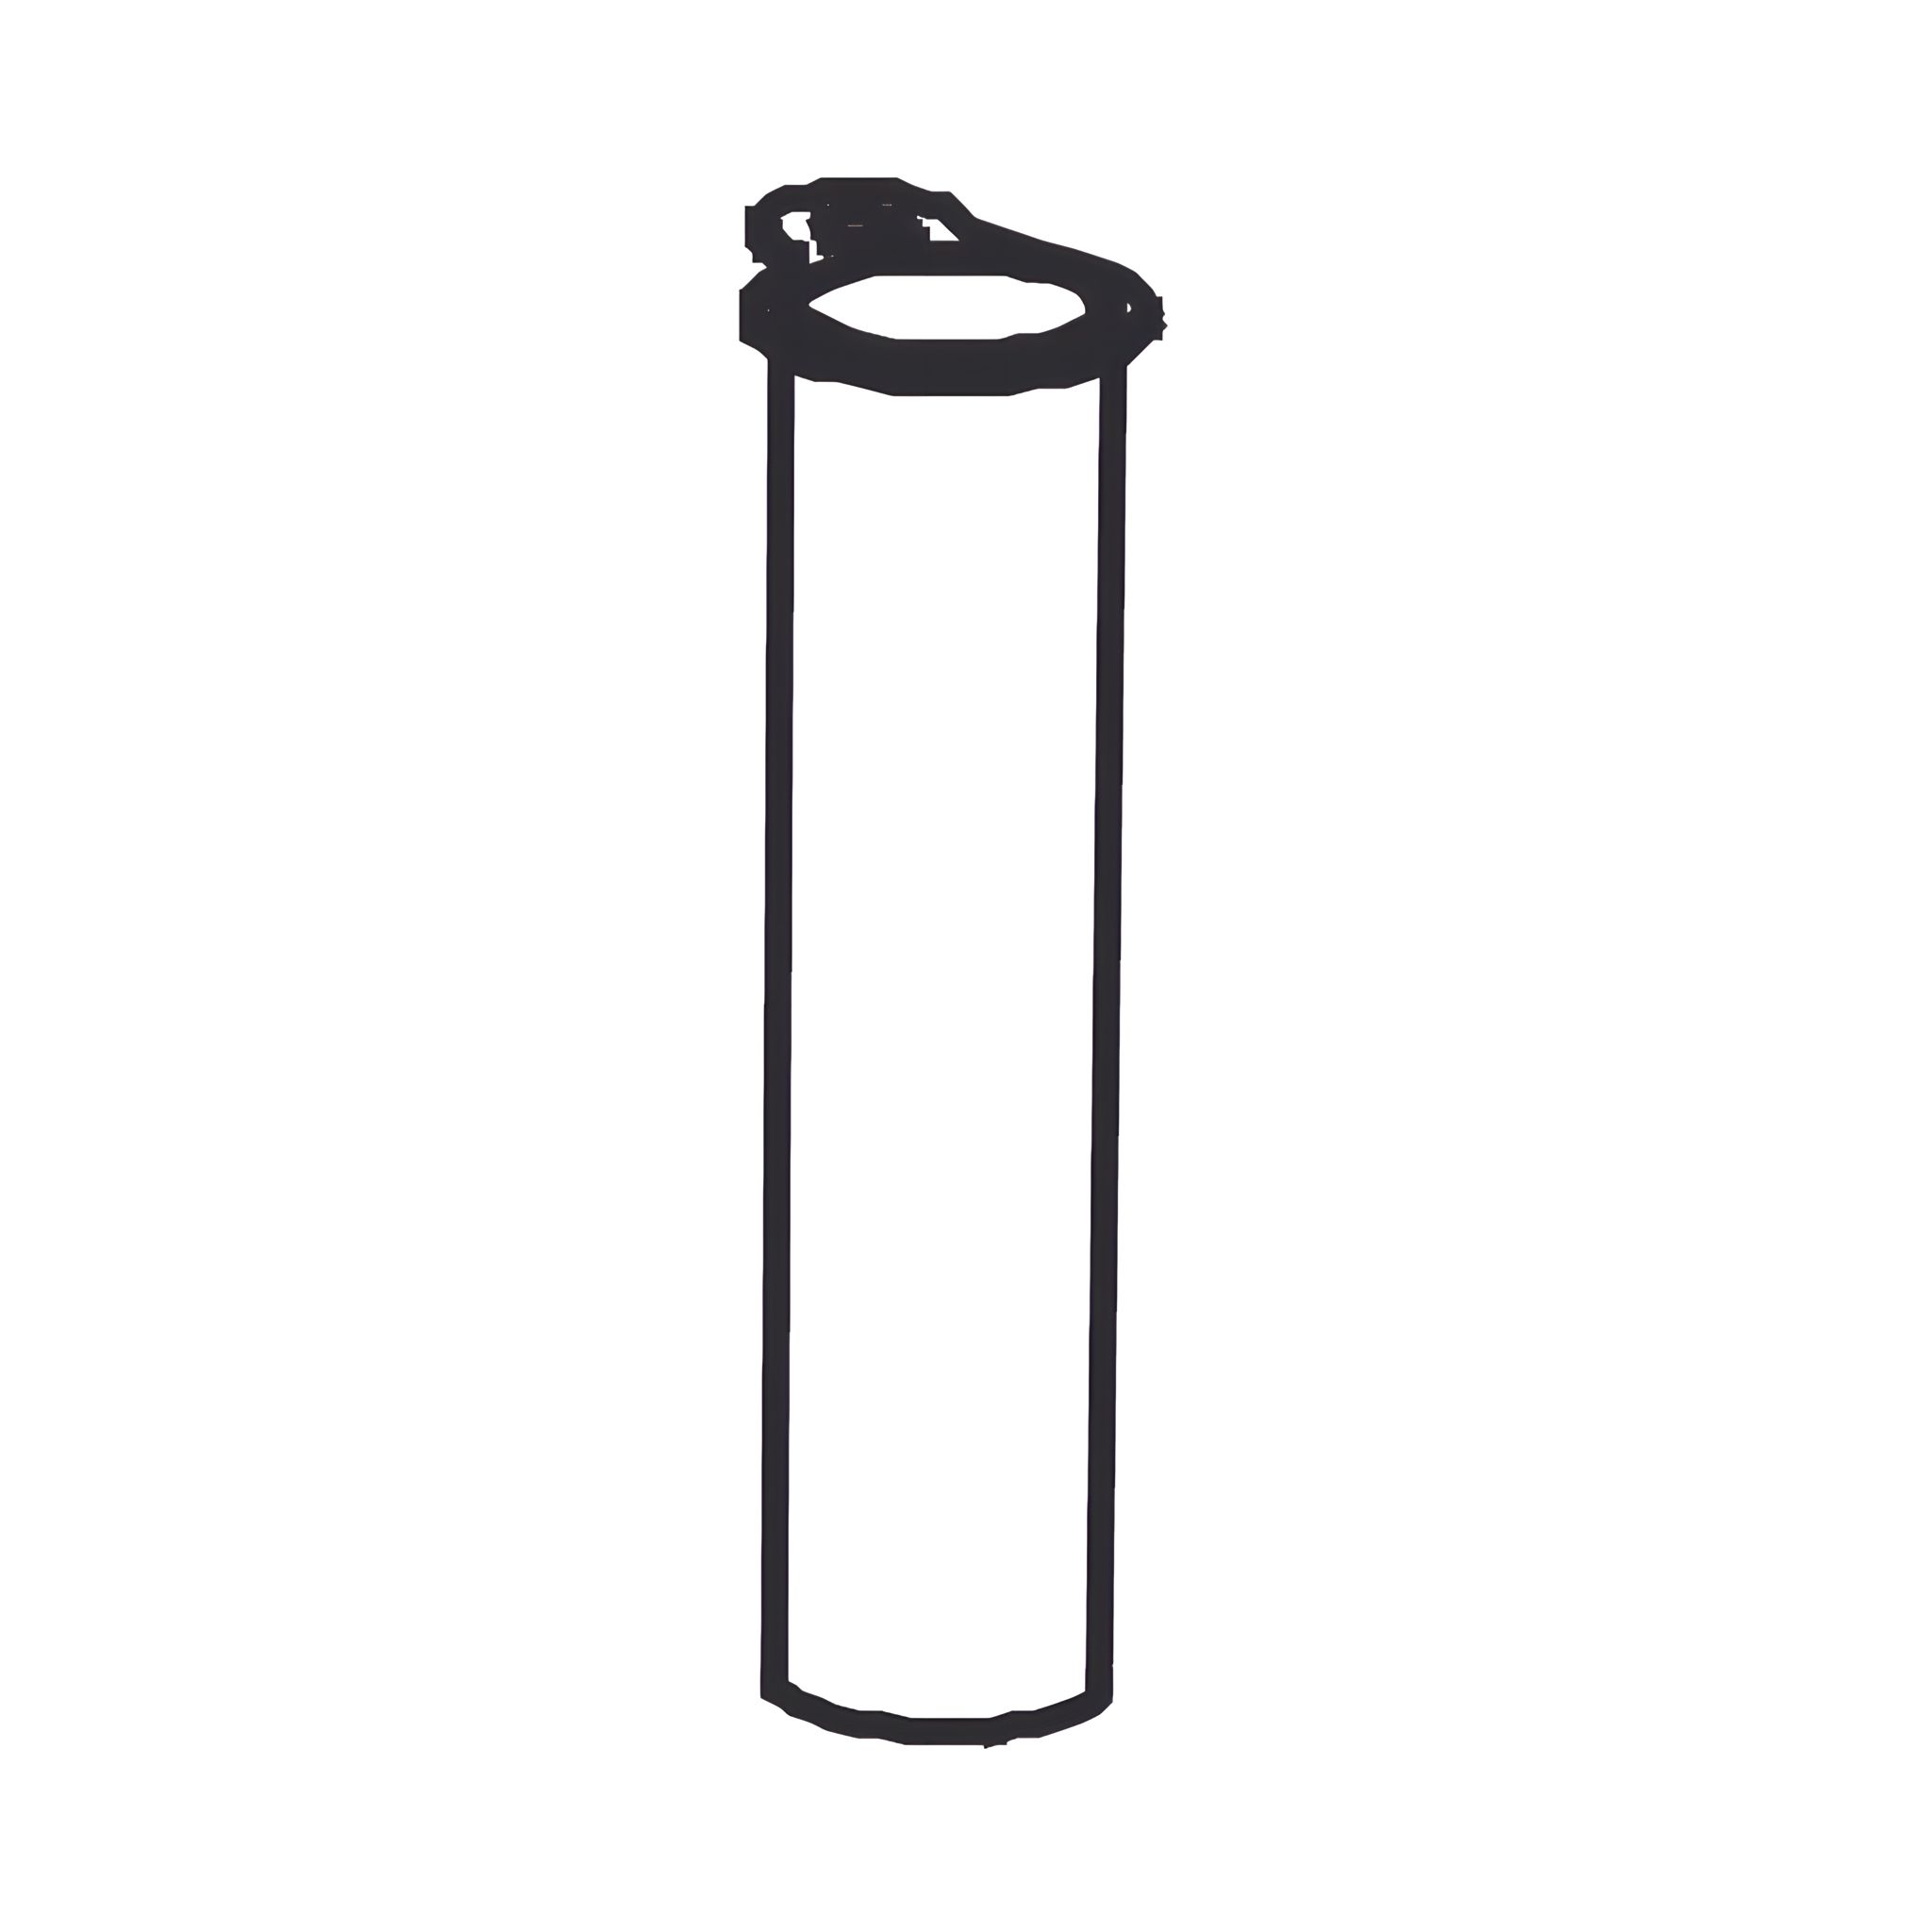
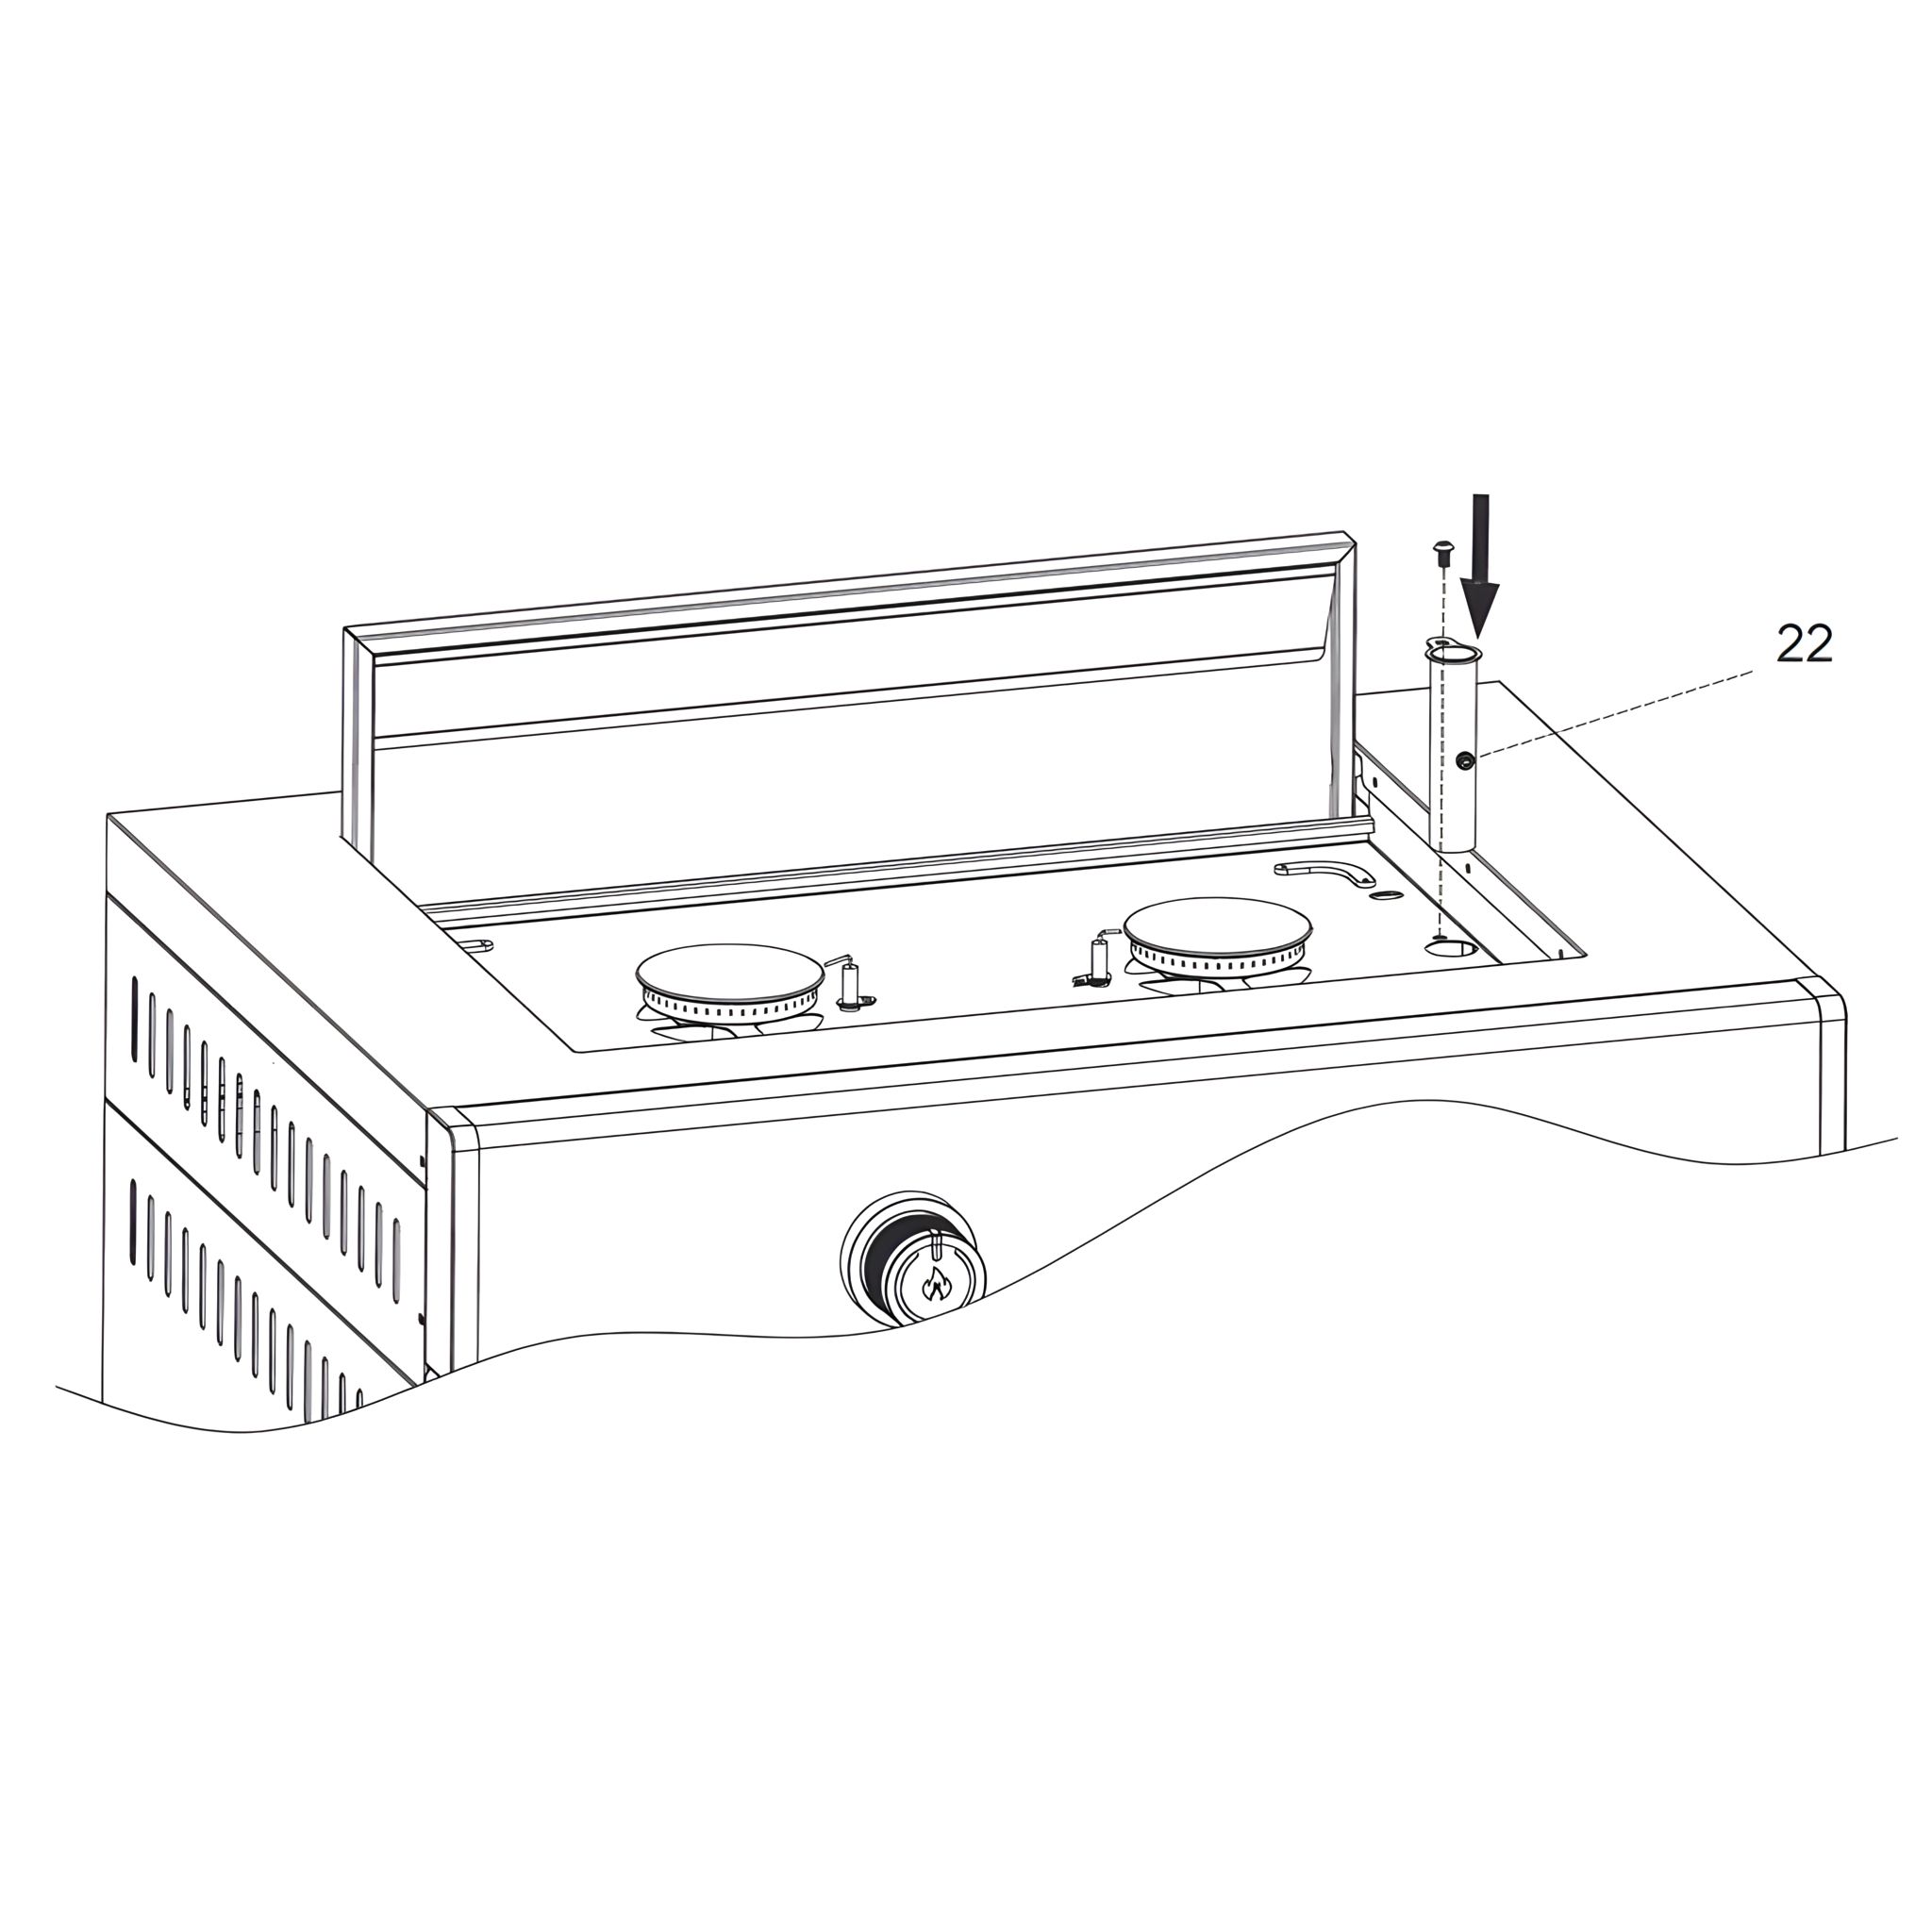
Insert the Grease Guide Tube (22) into the designated hole on the top right side of the Firebox Assembly (2).
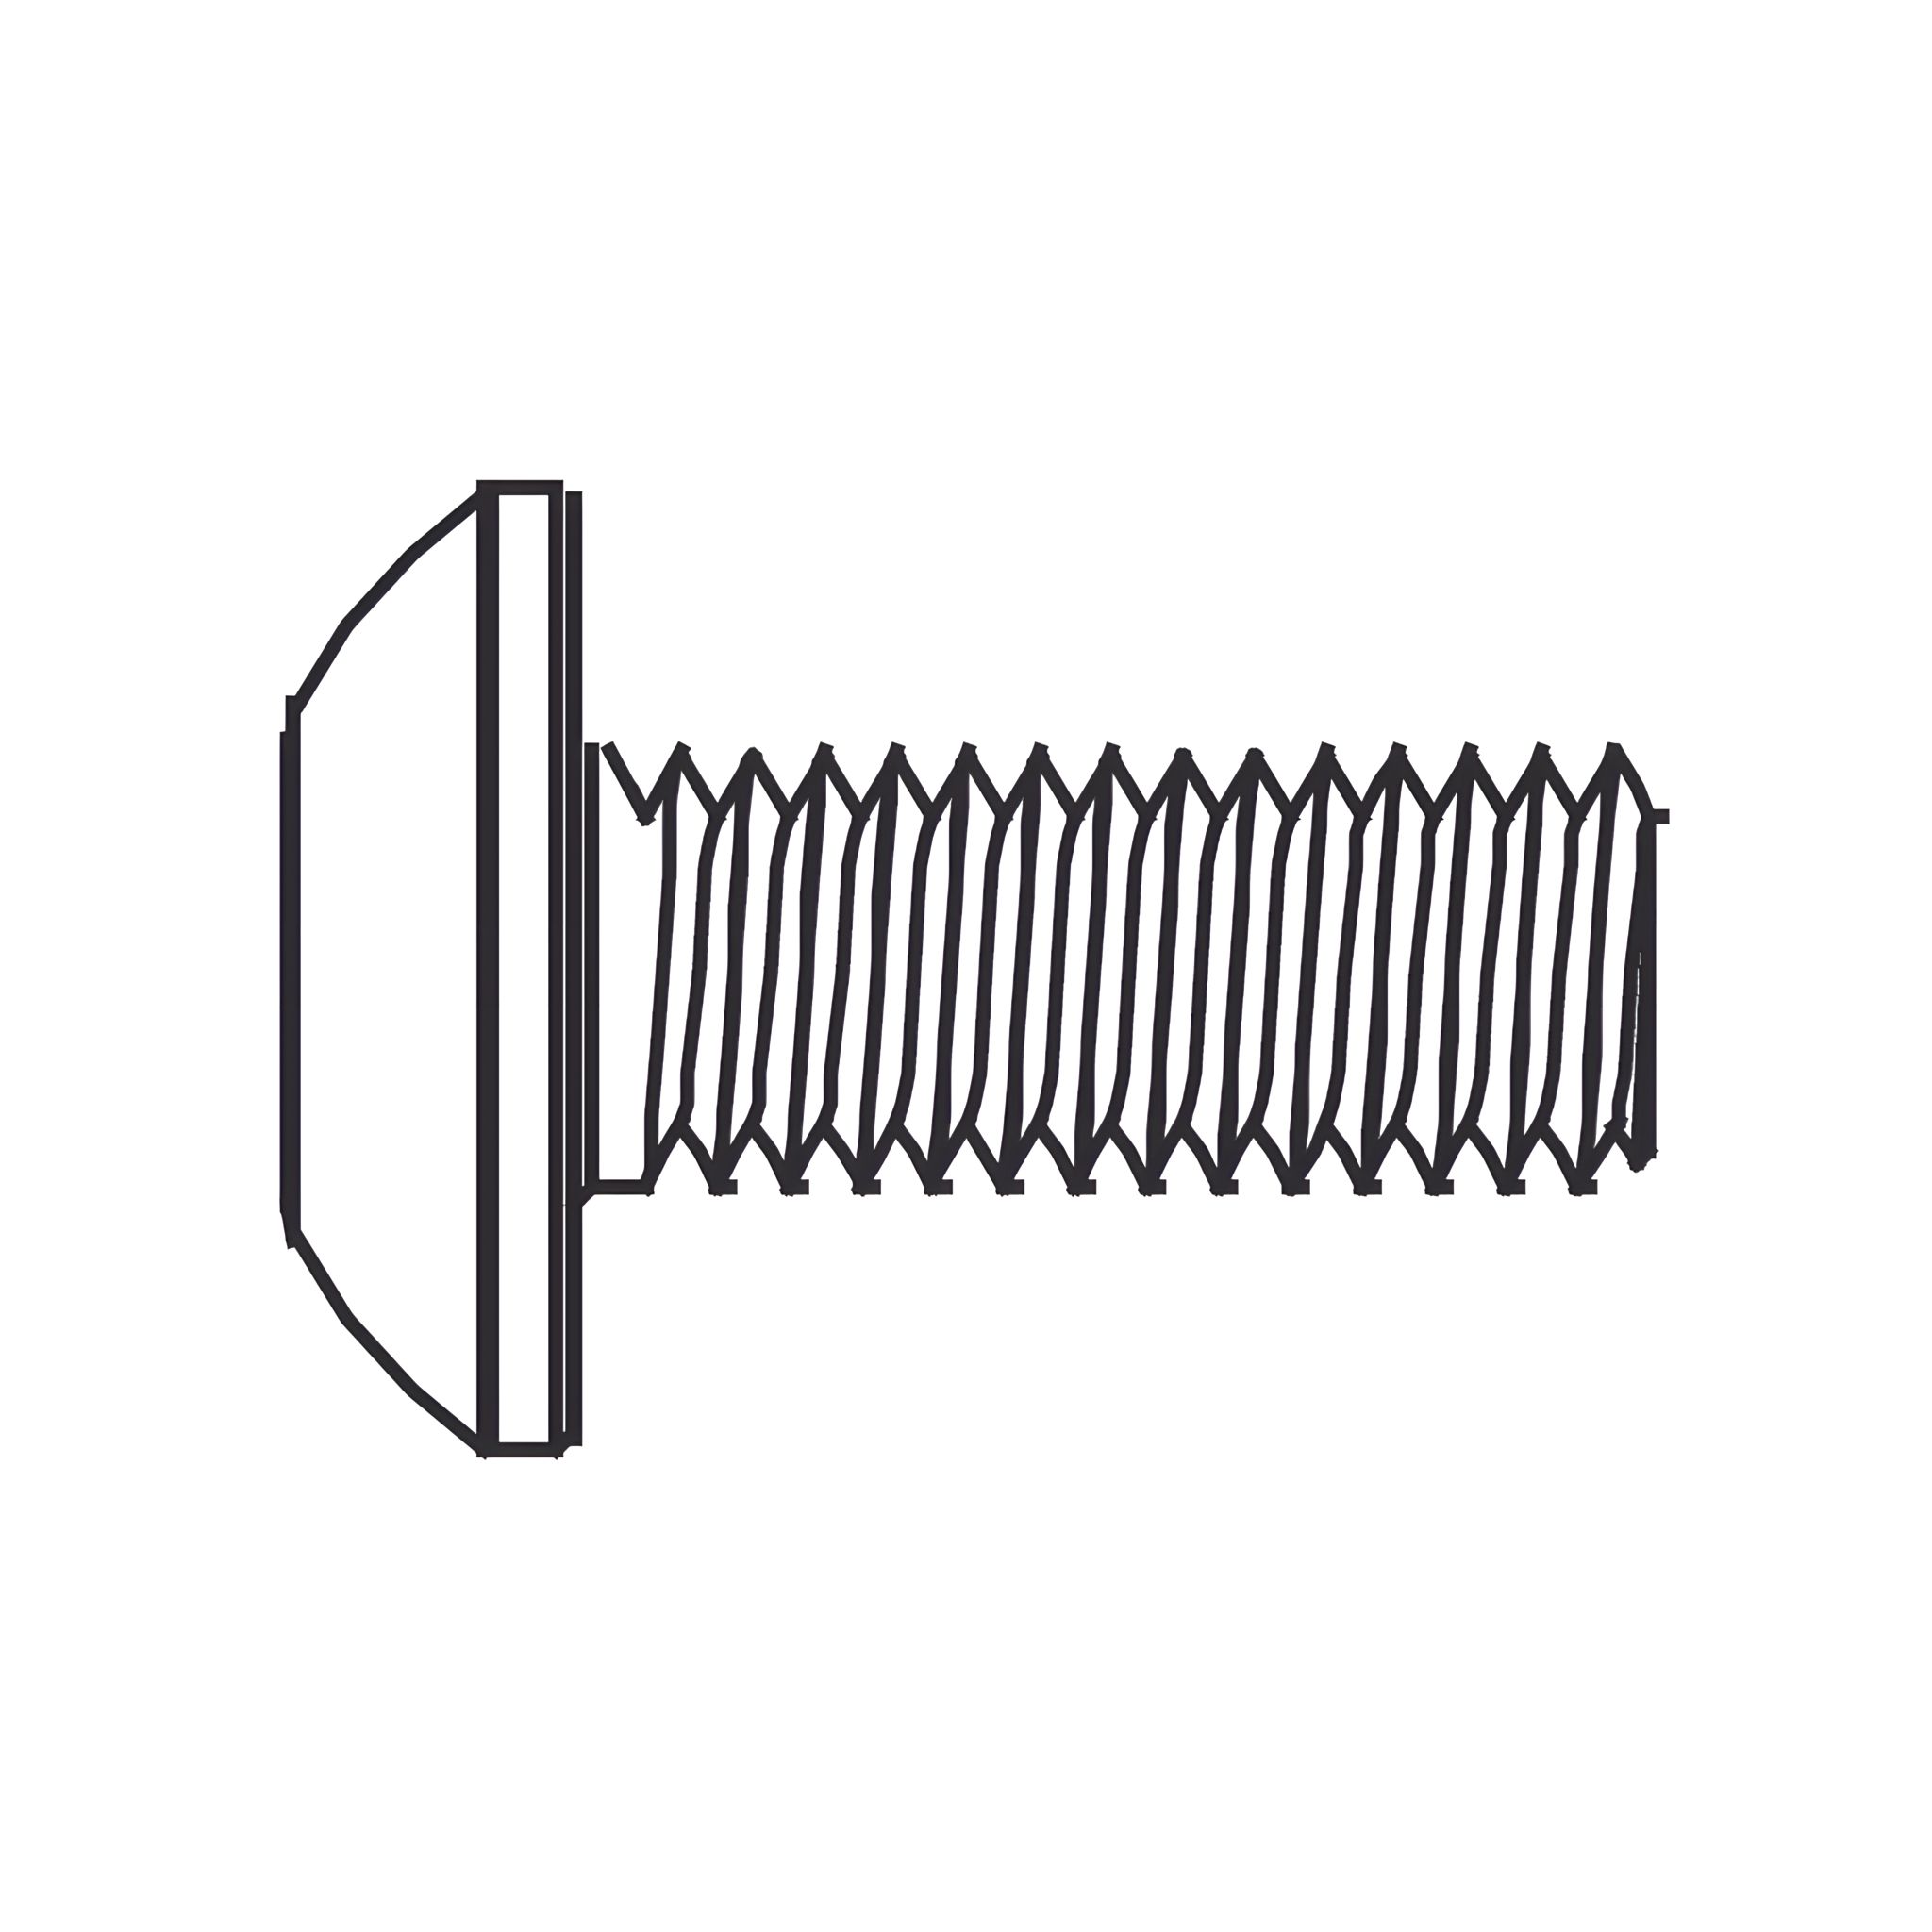
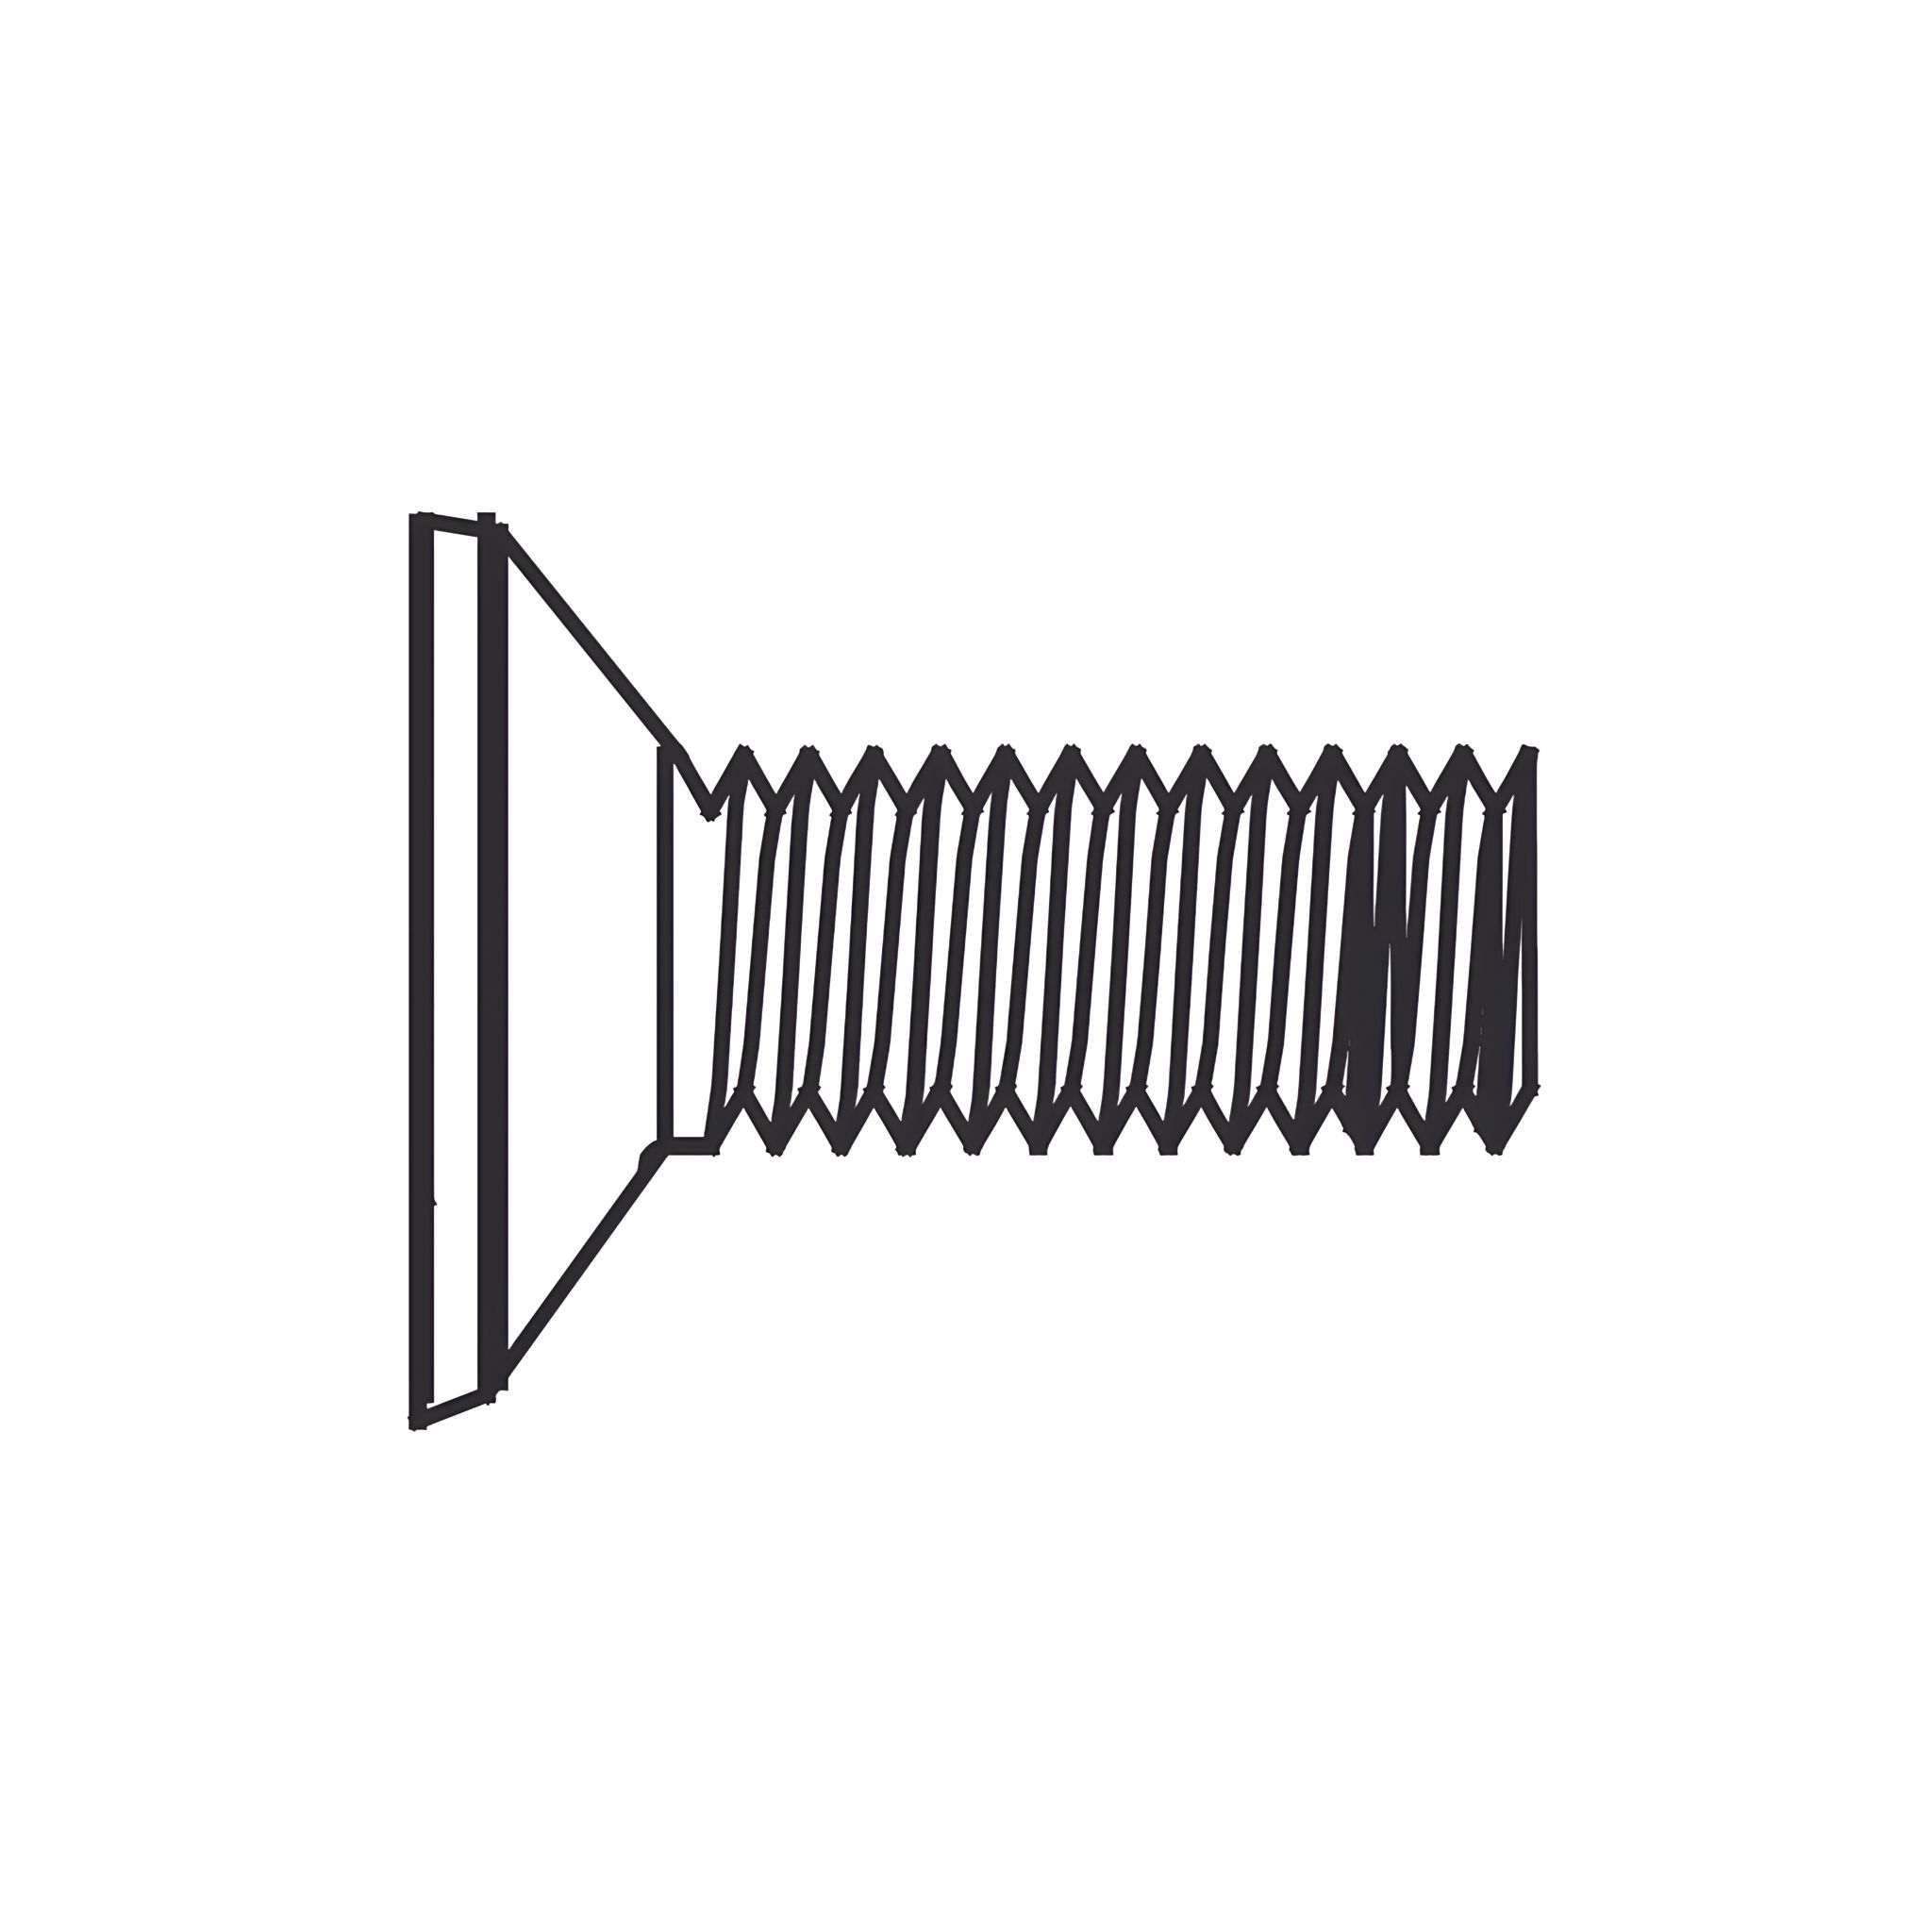
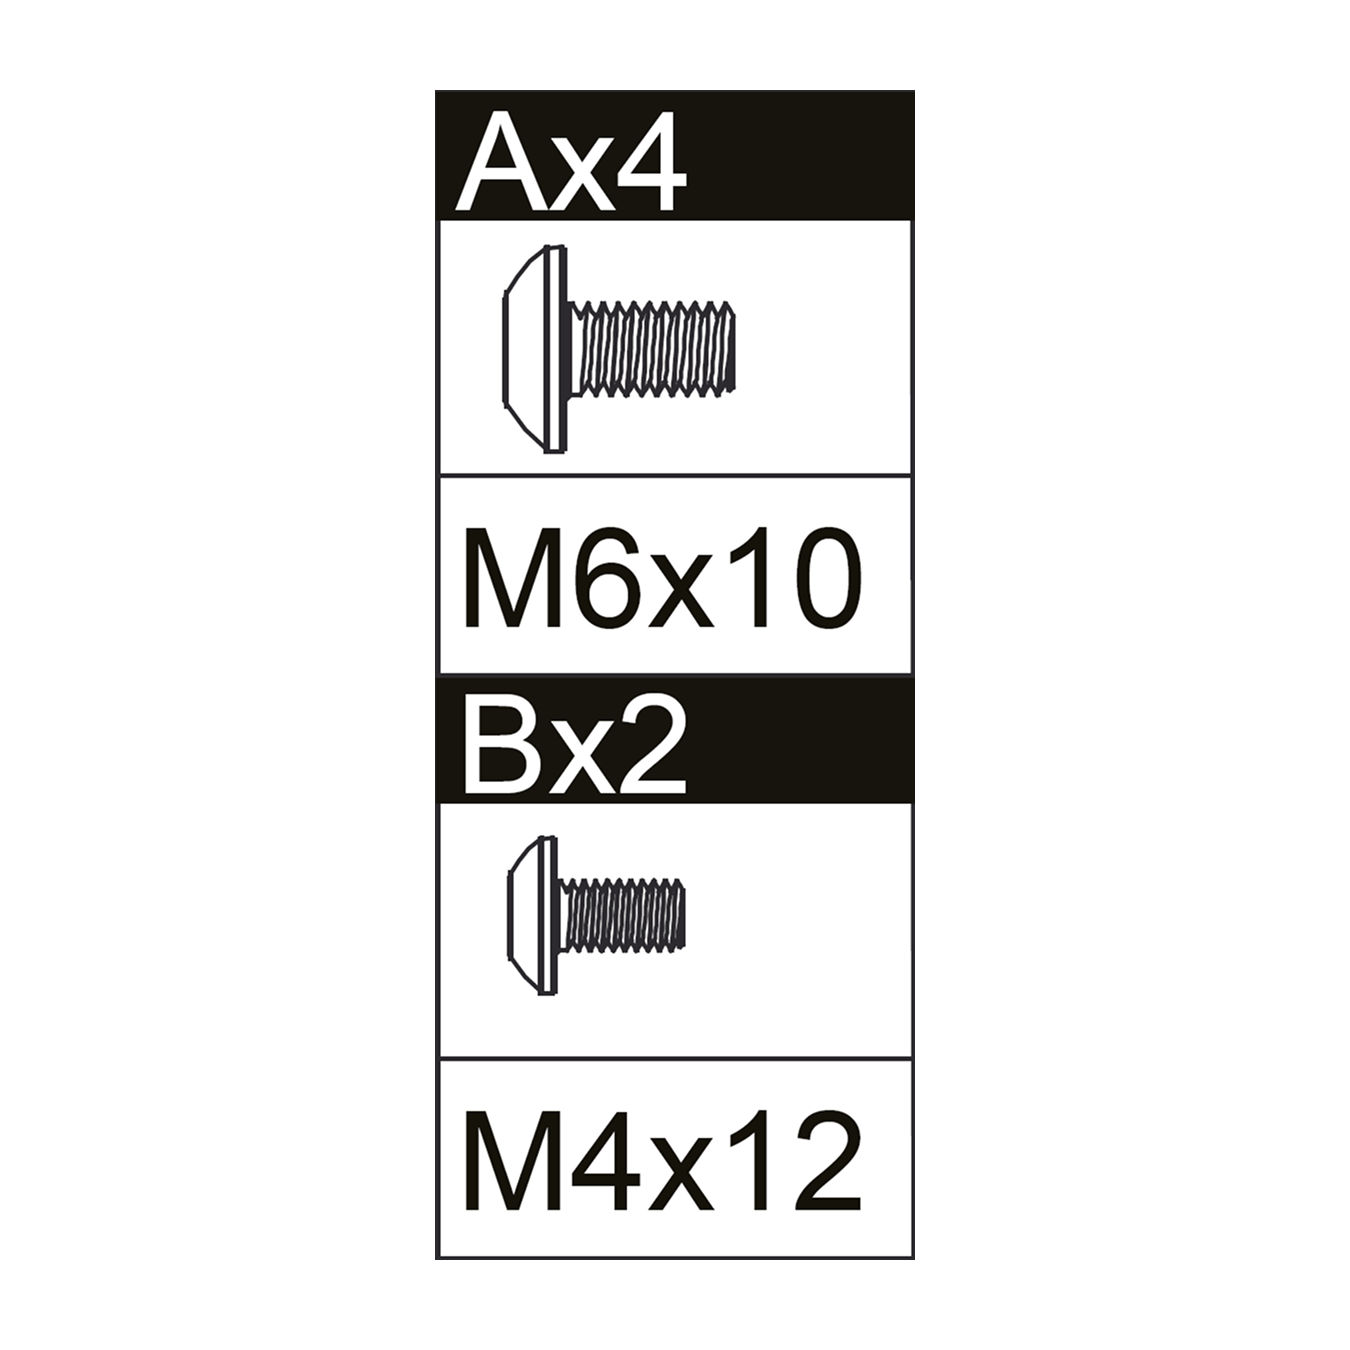
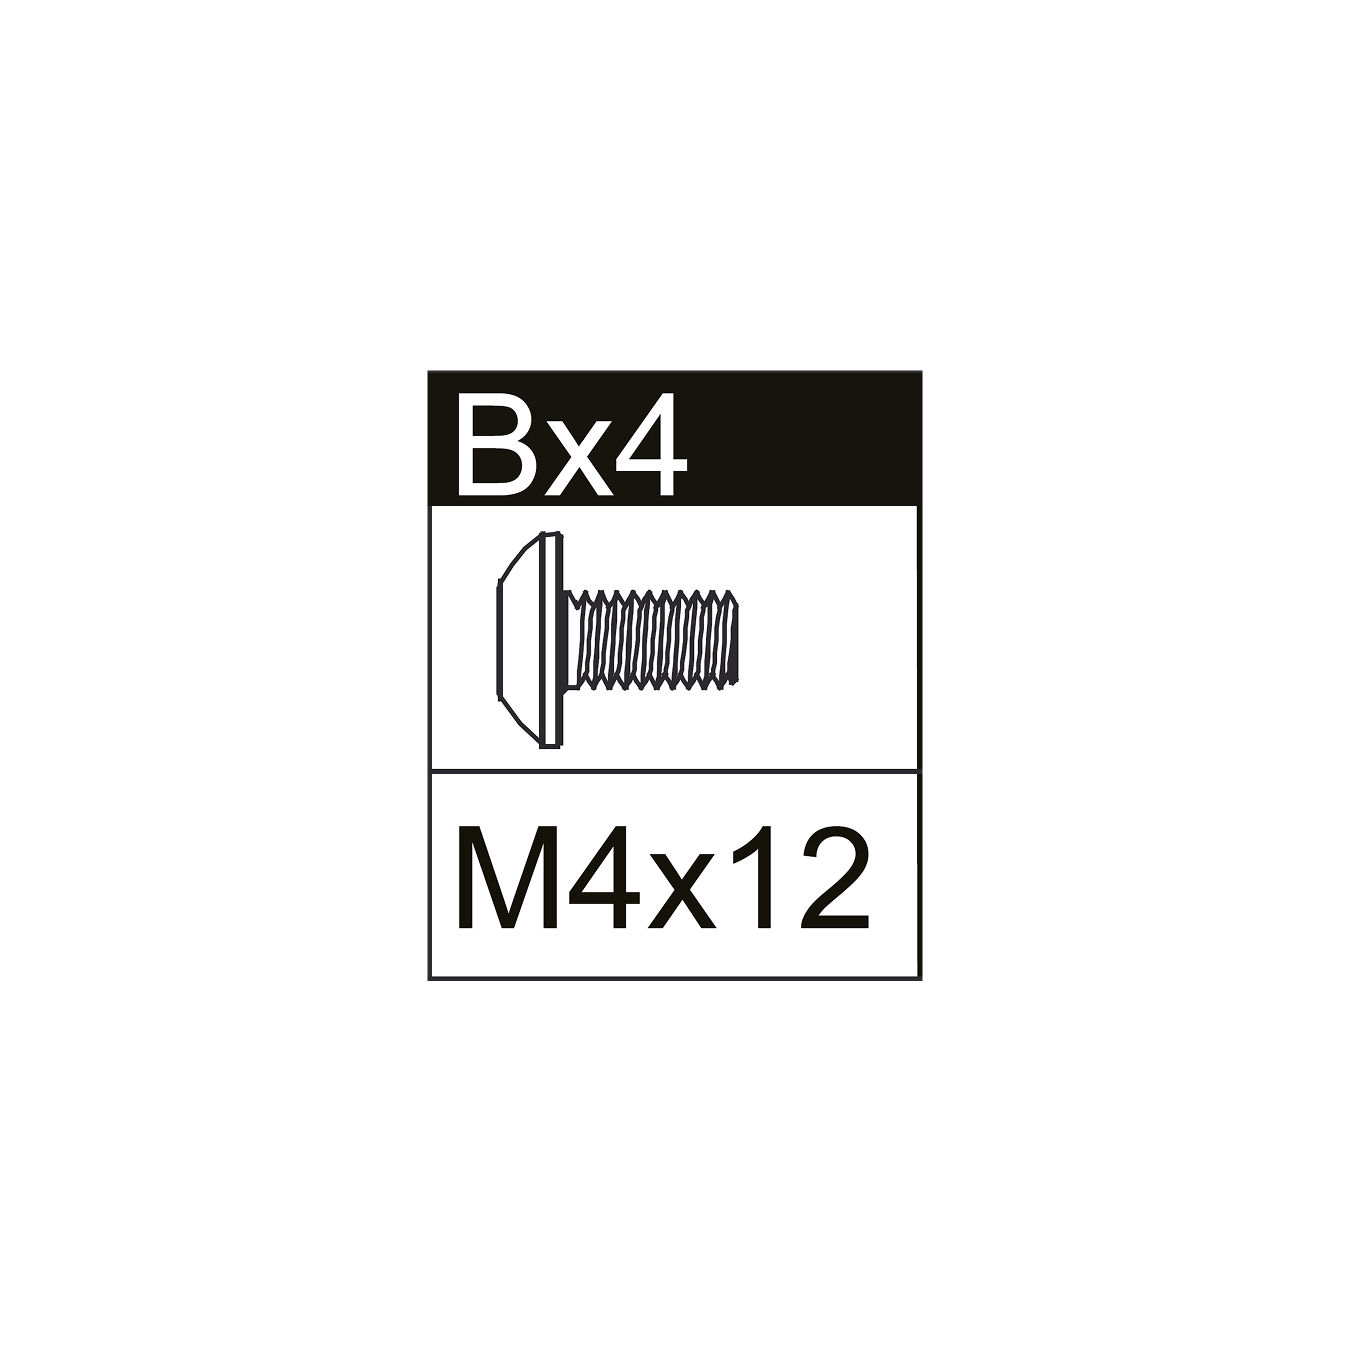
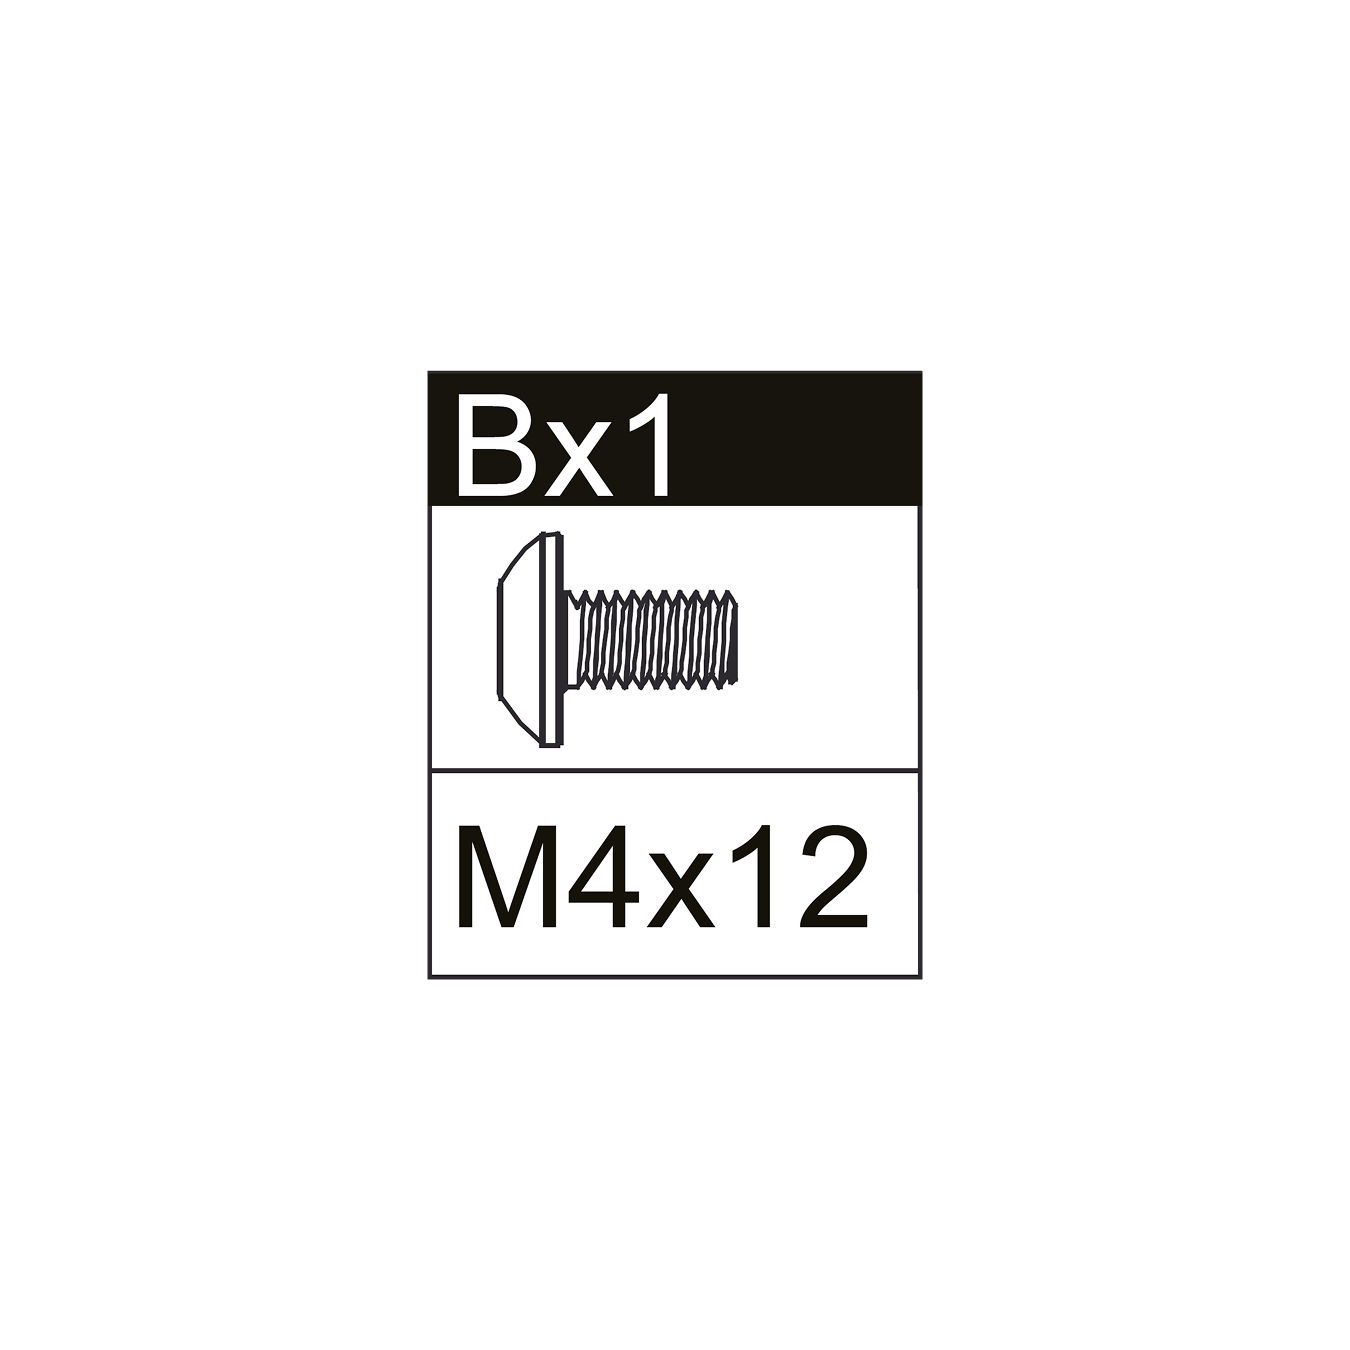
Secure the tube in place using an M4×12 Screw (B).
Ensure the guide tube is firmly attached and positioned vertically for proper grease drainage.
Parts used:
Firebox Assembly | 2 | 1×
Grease Guide Tube | 22 | 1×
M4×12 Screw | B | 1×
17. Install the Wheel Cover and Rack
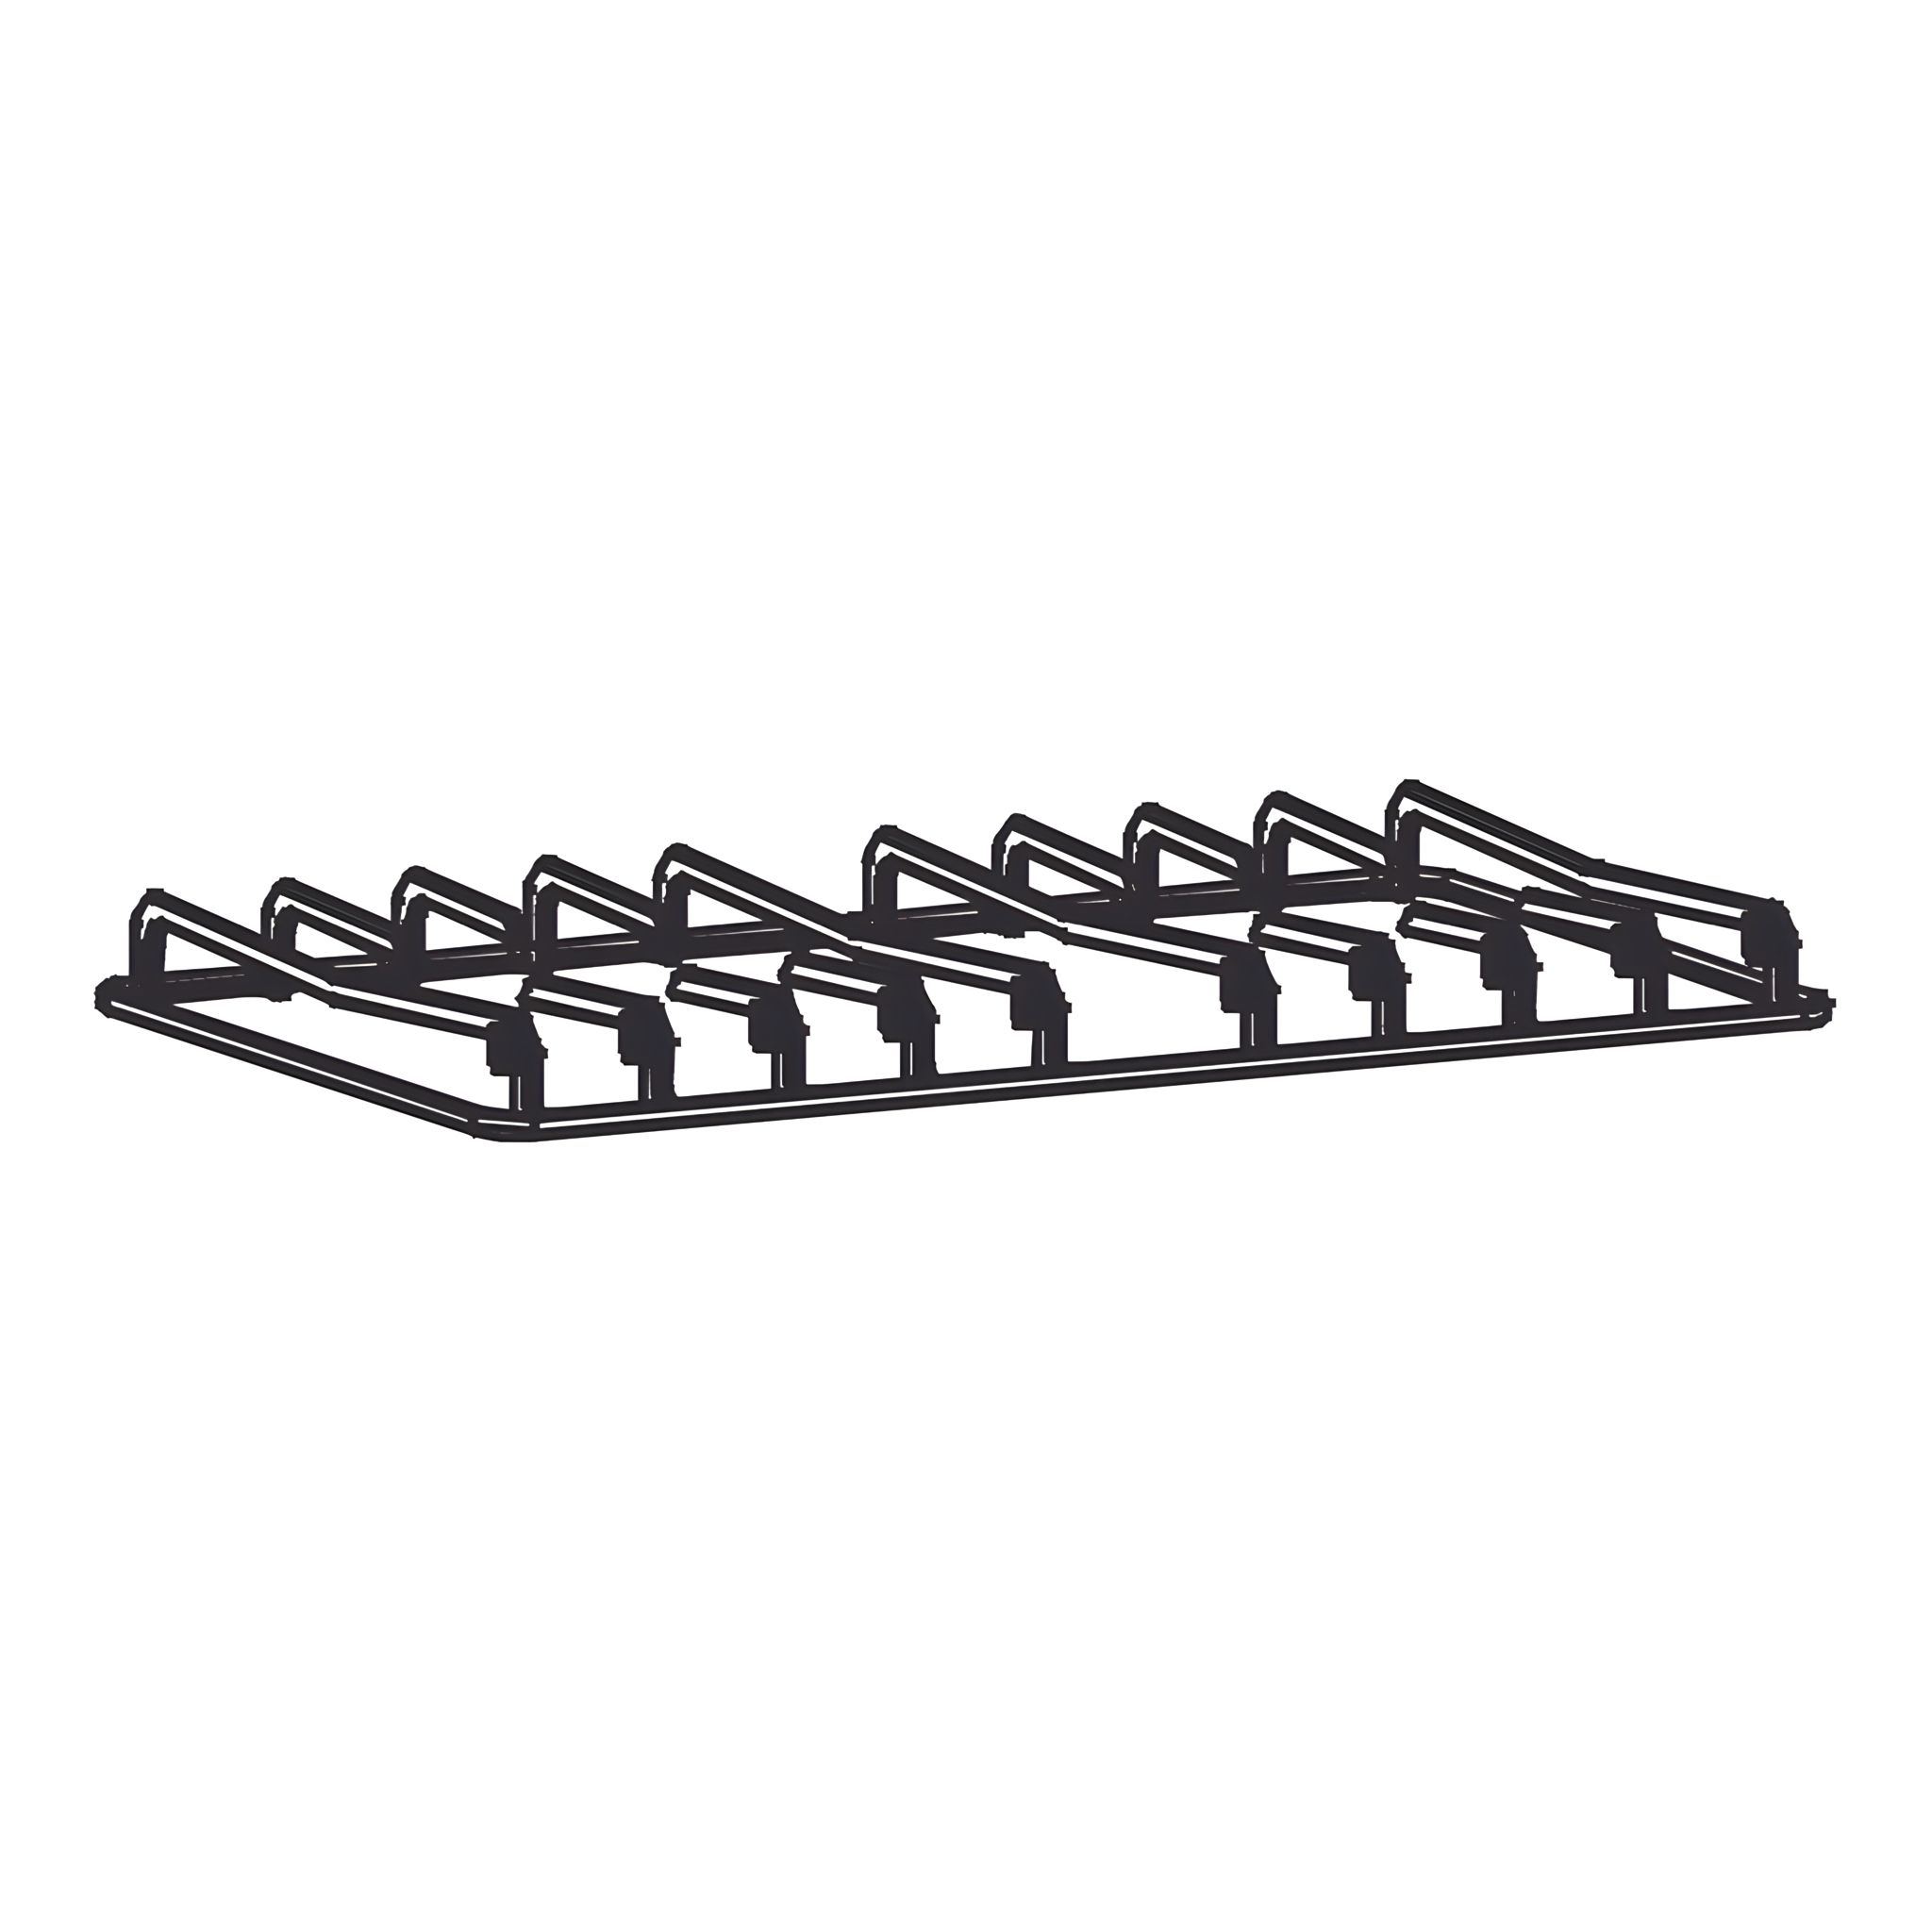
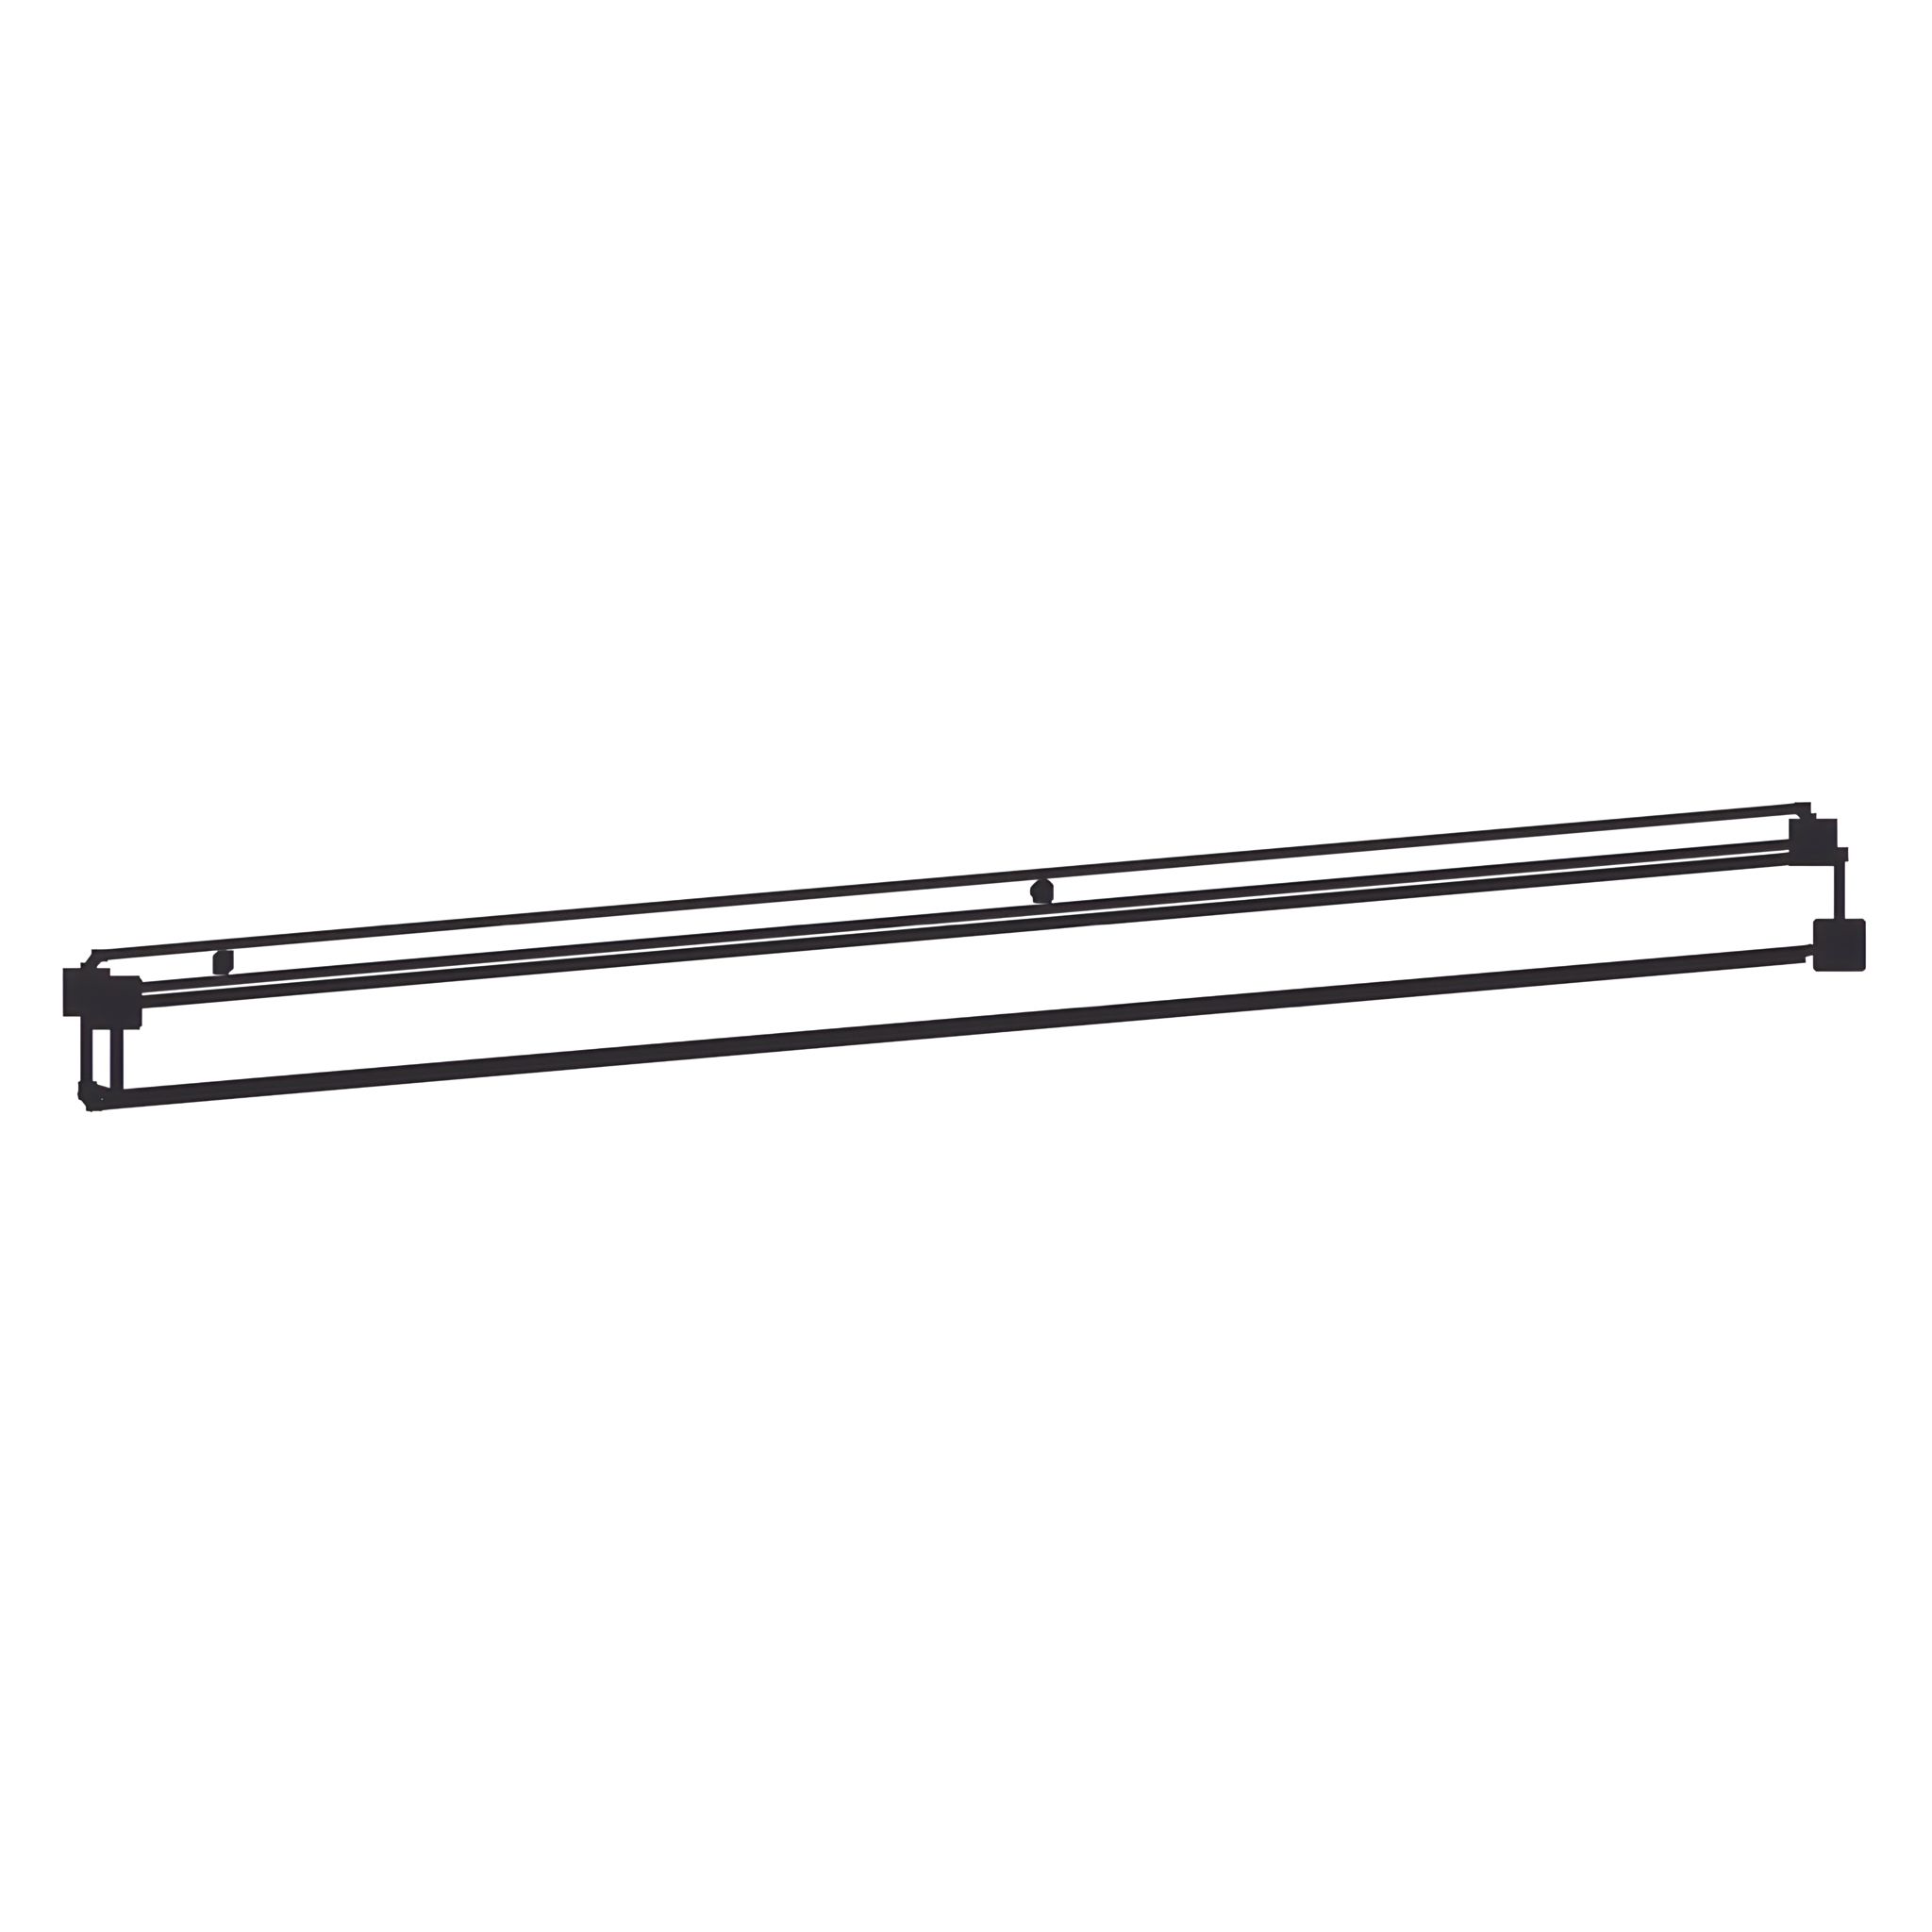
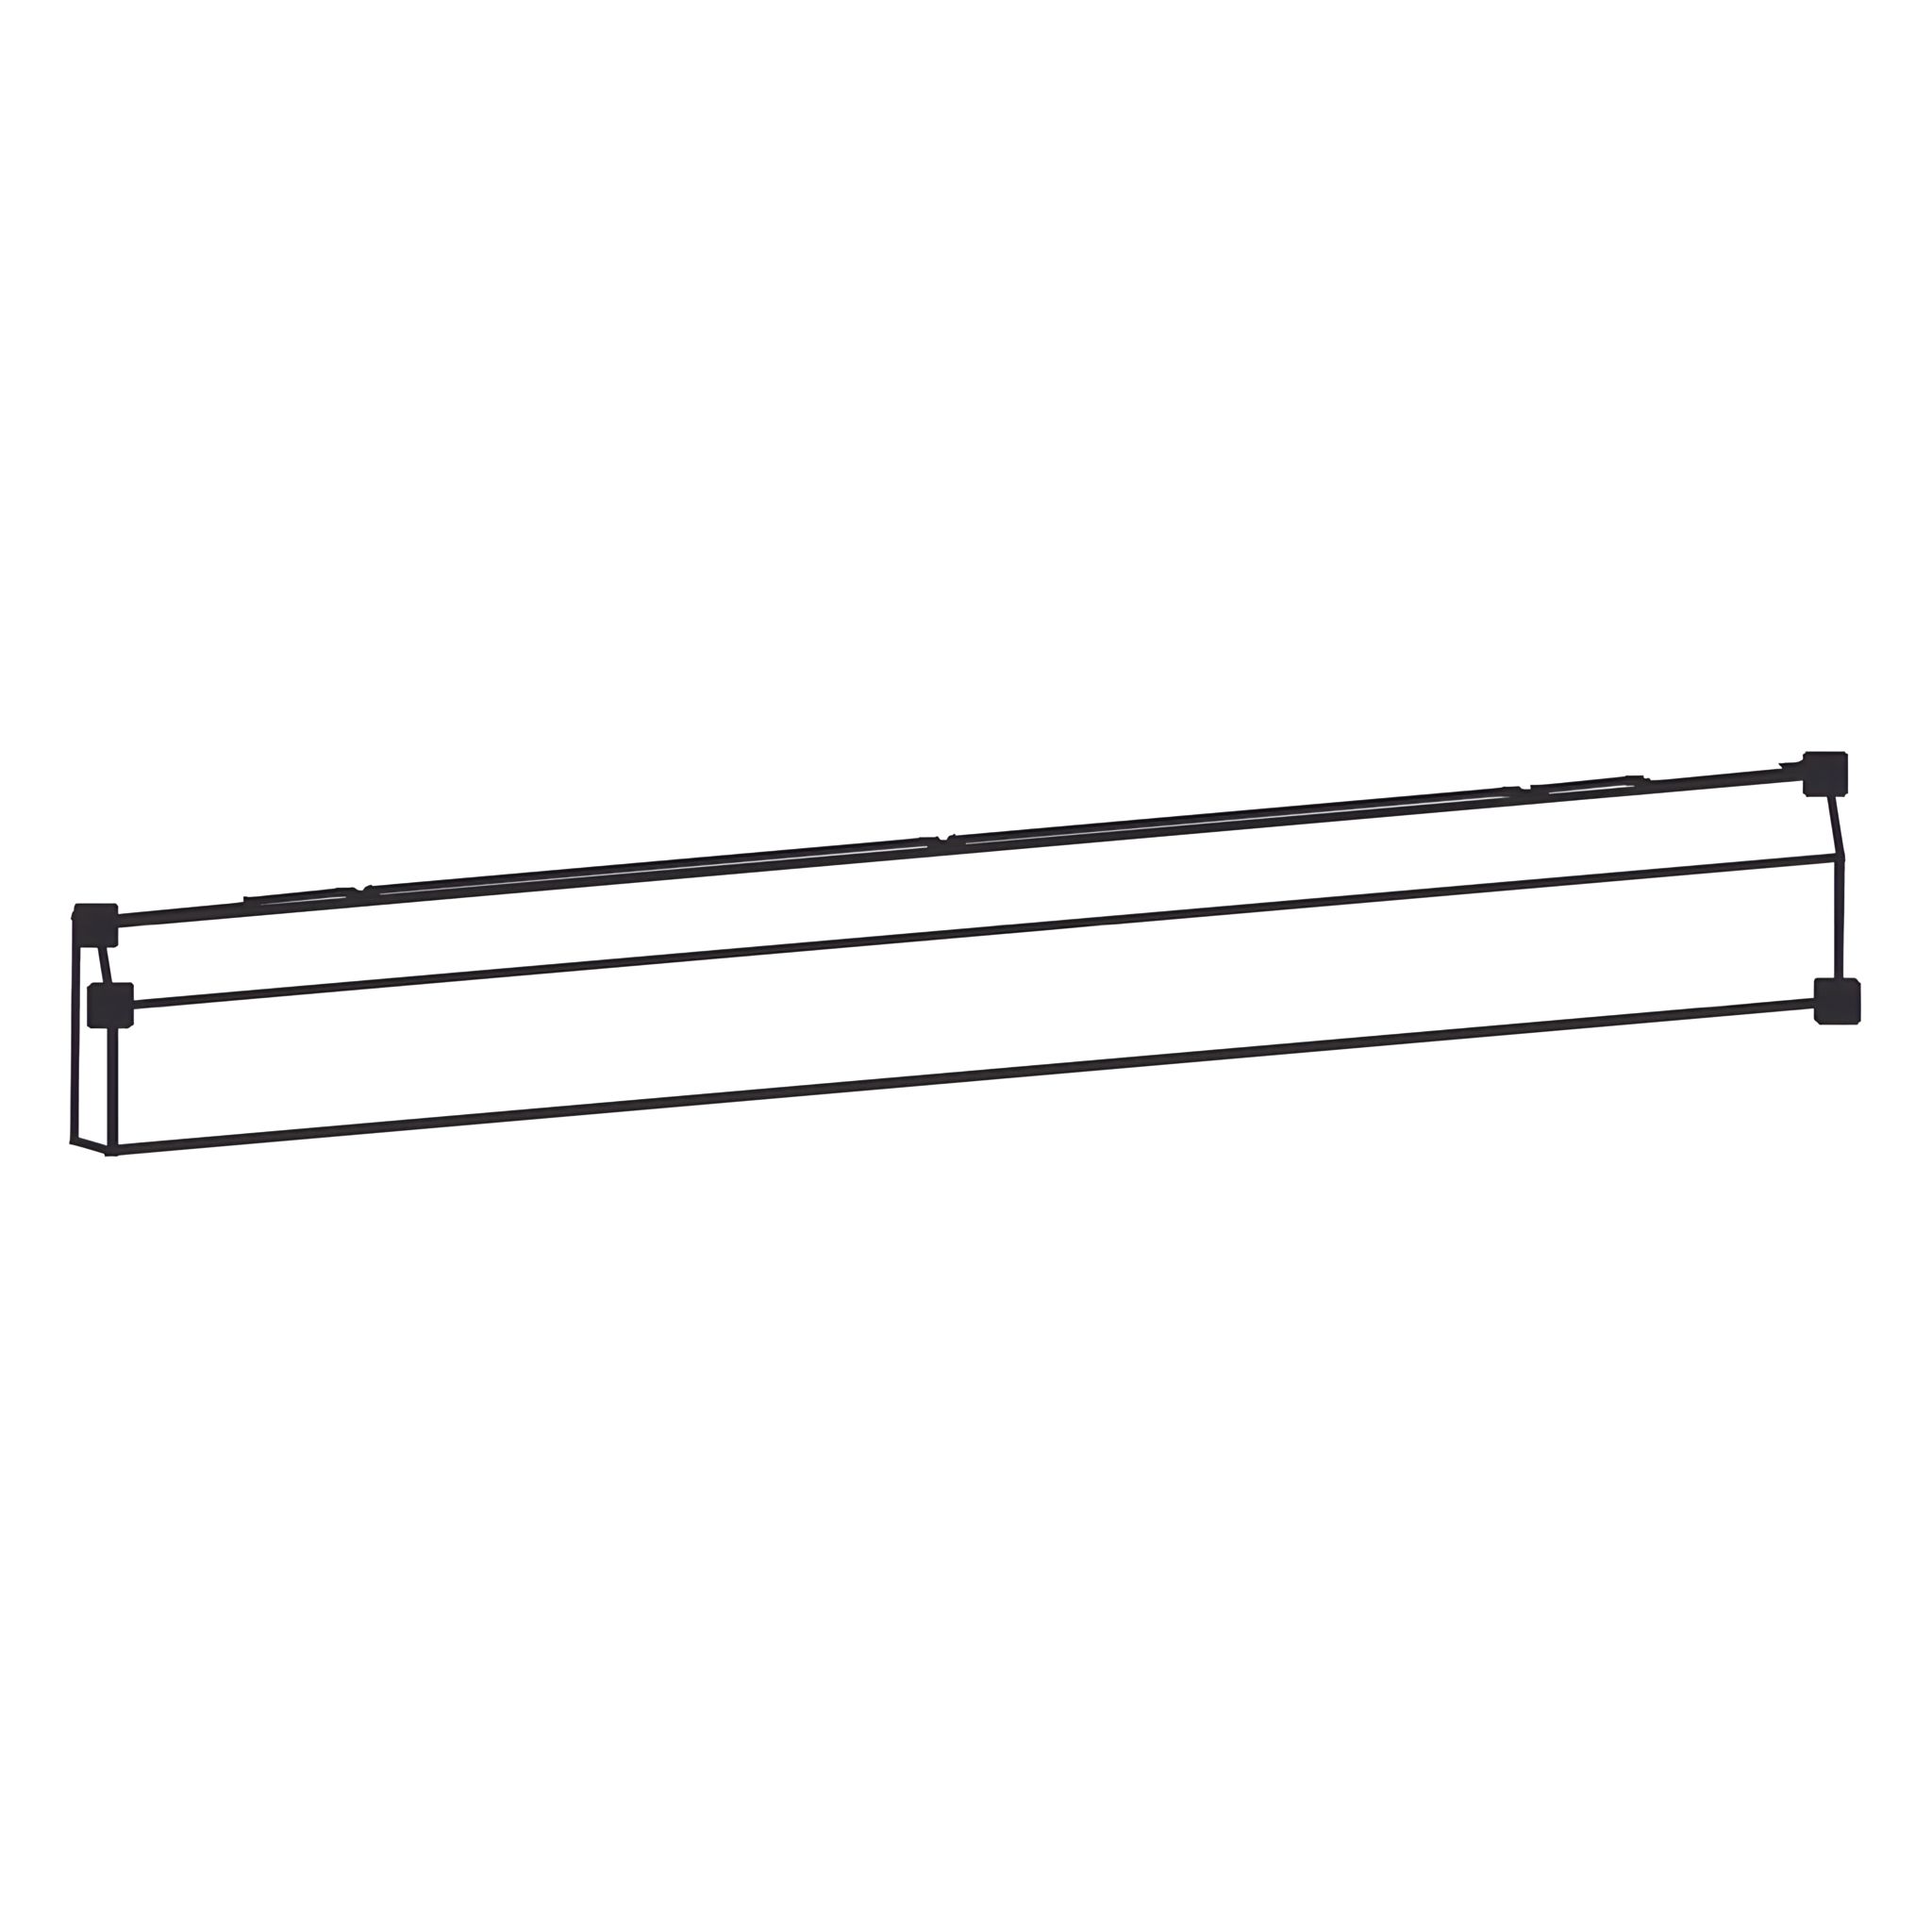
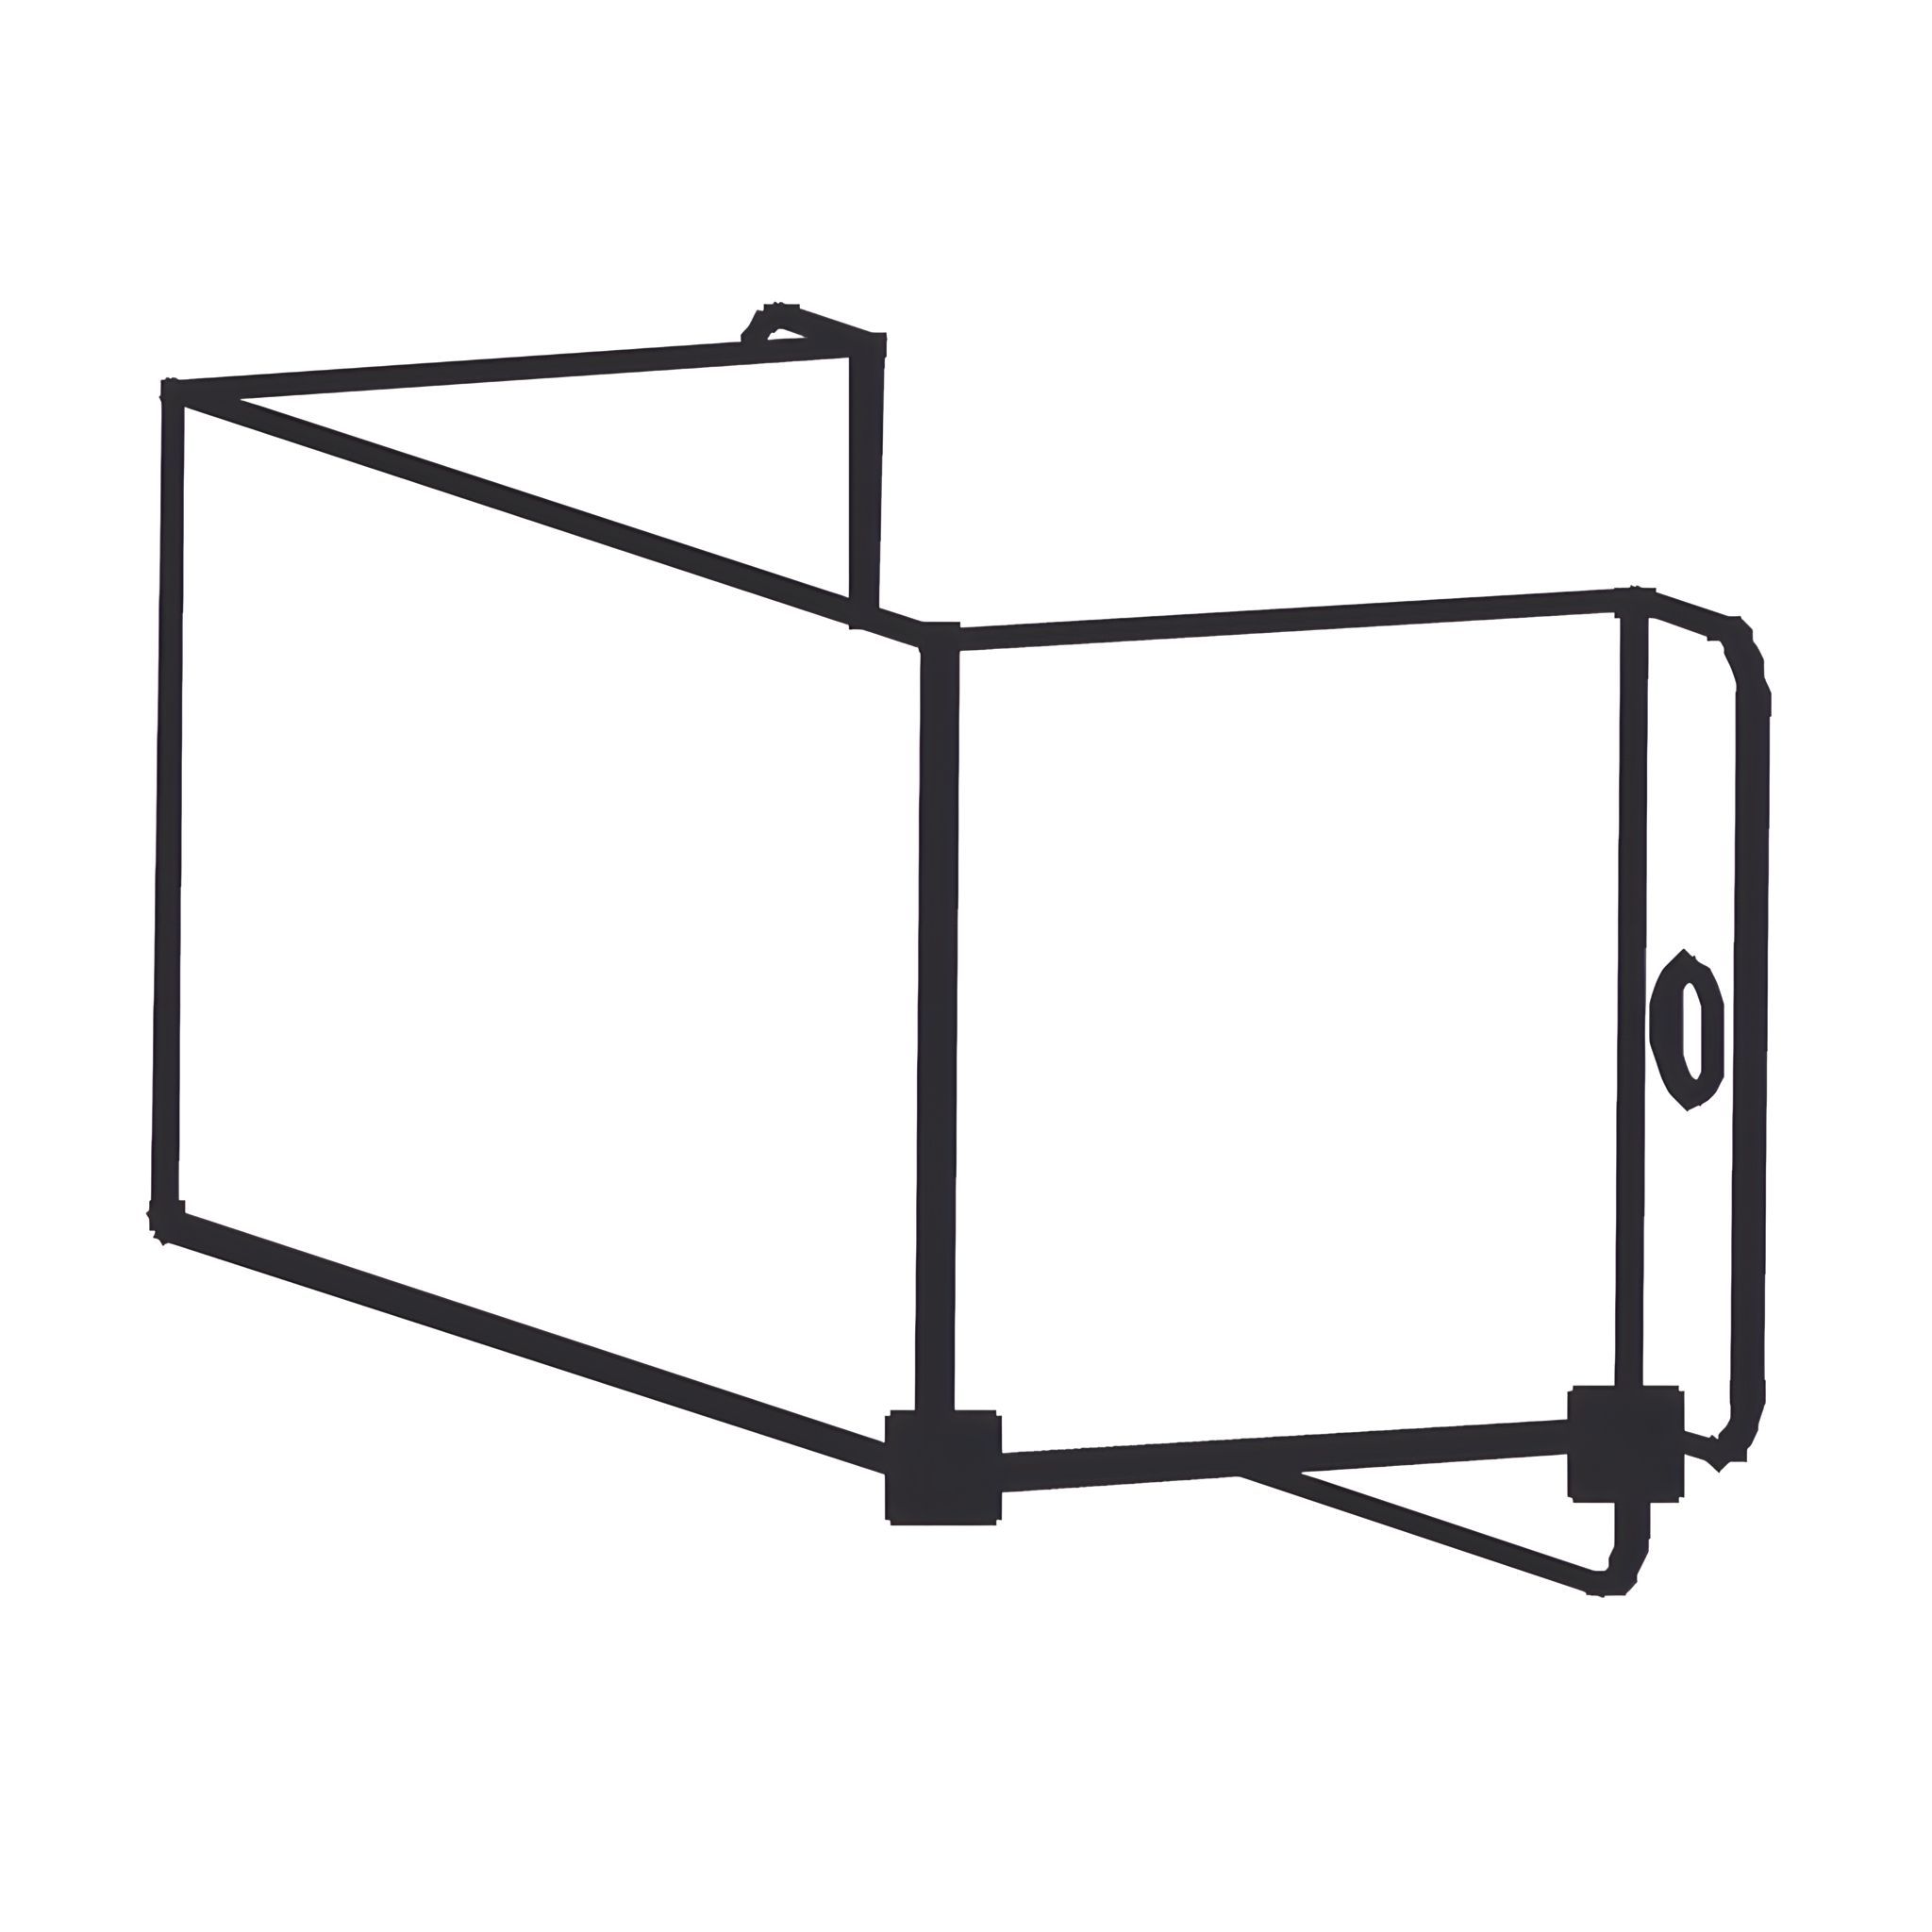
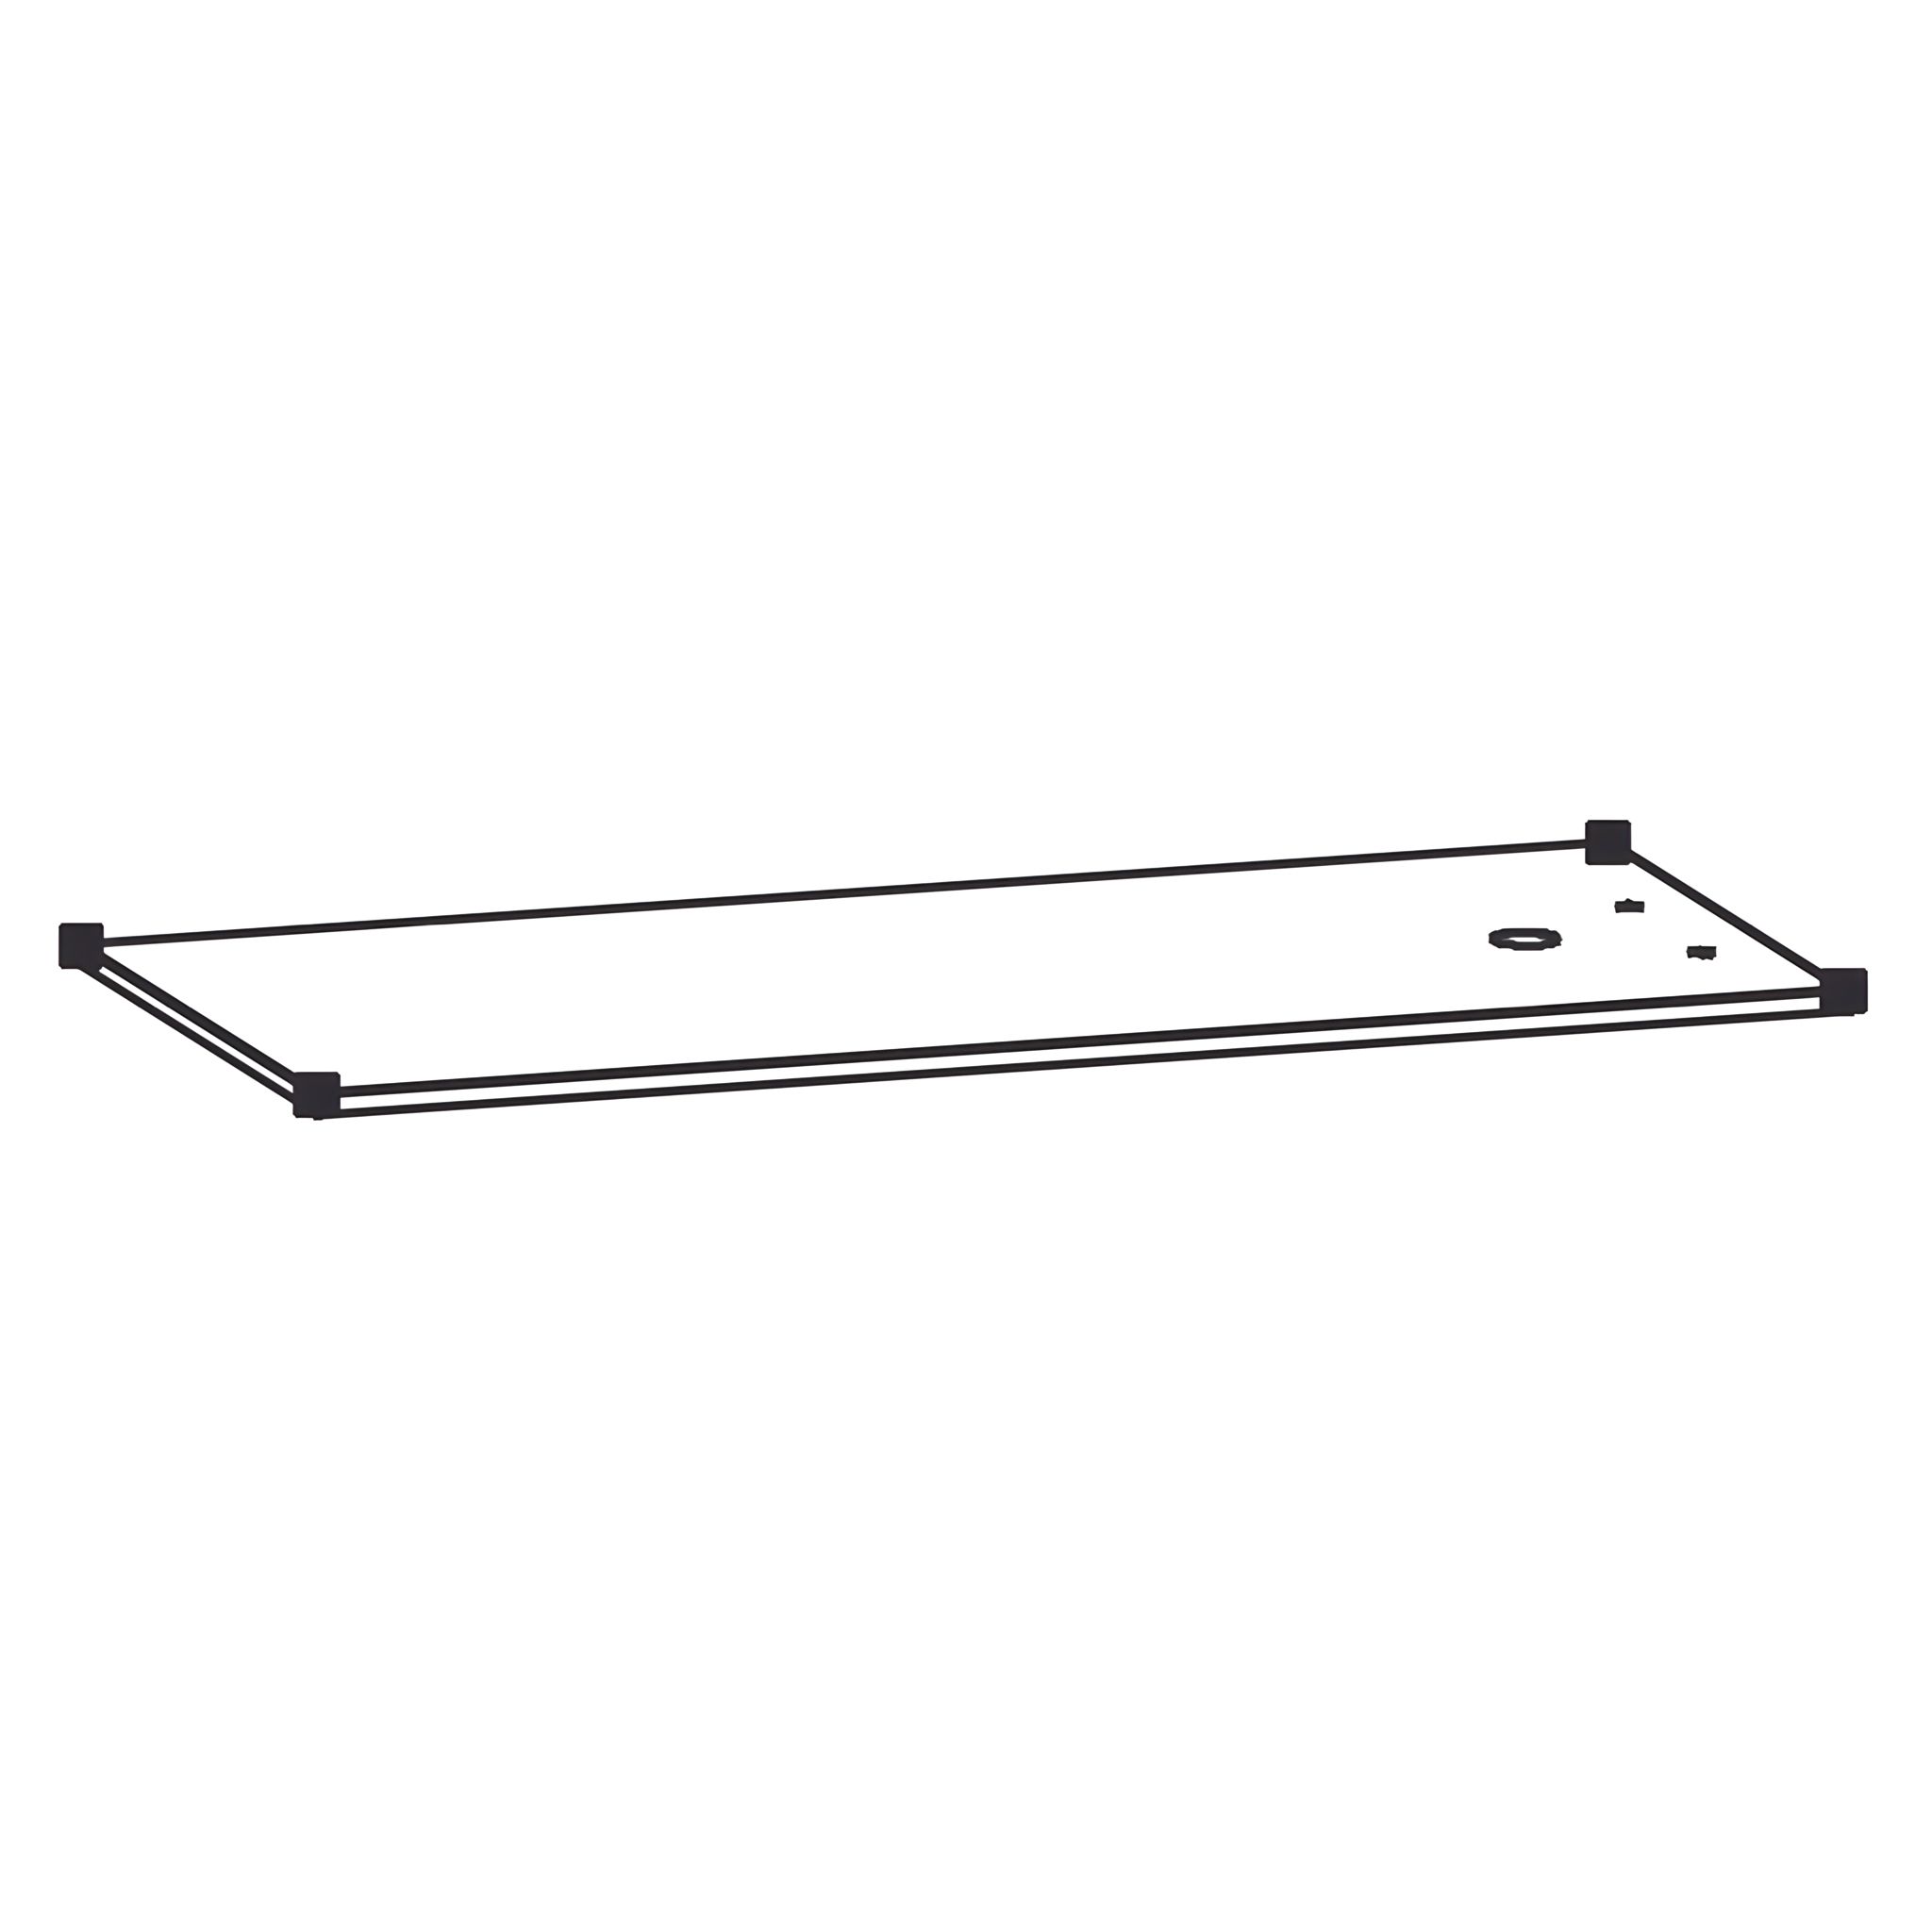
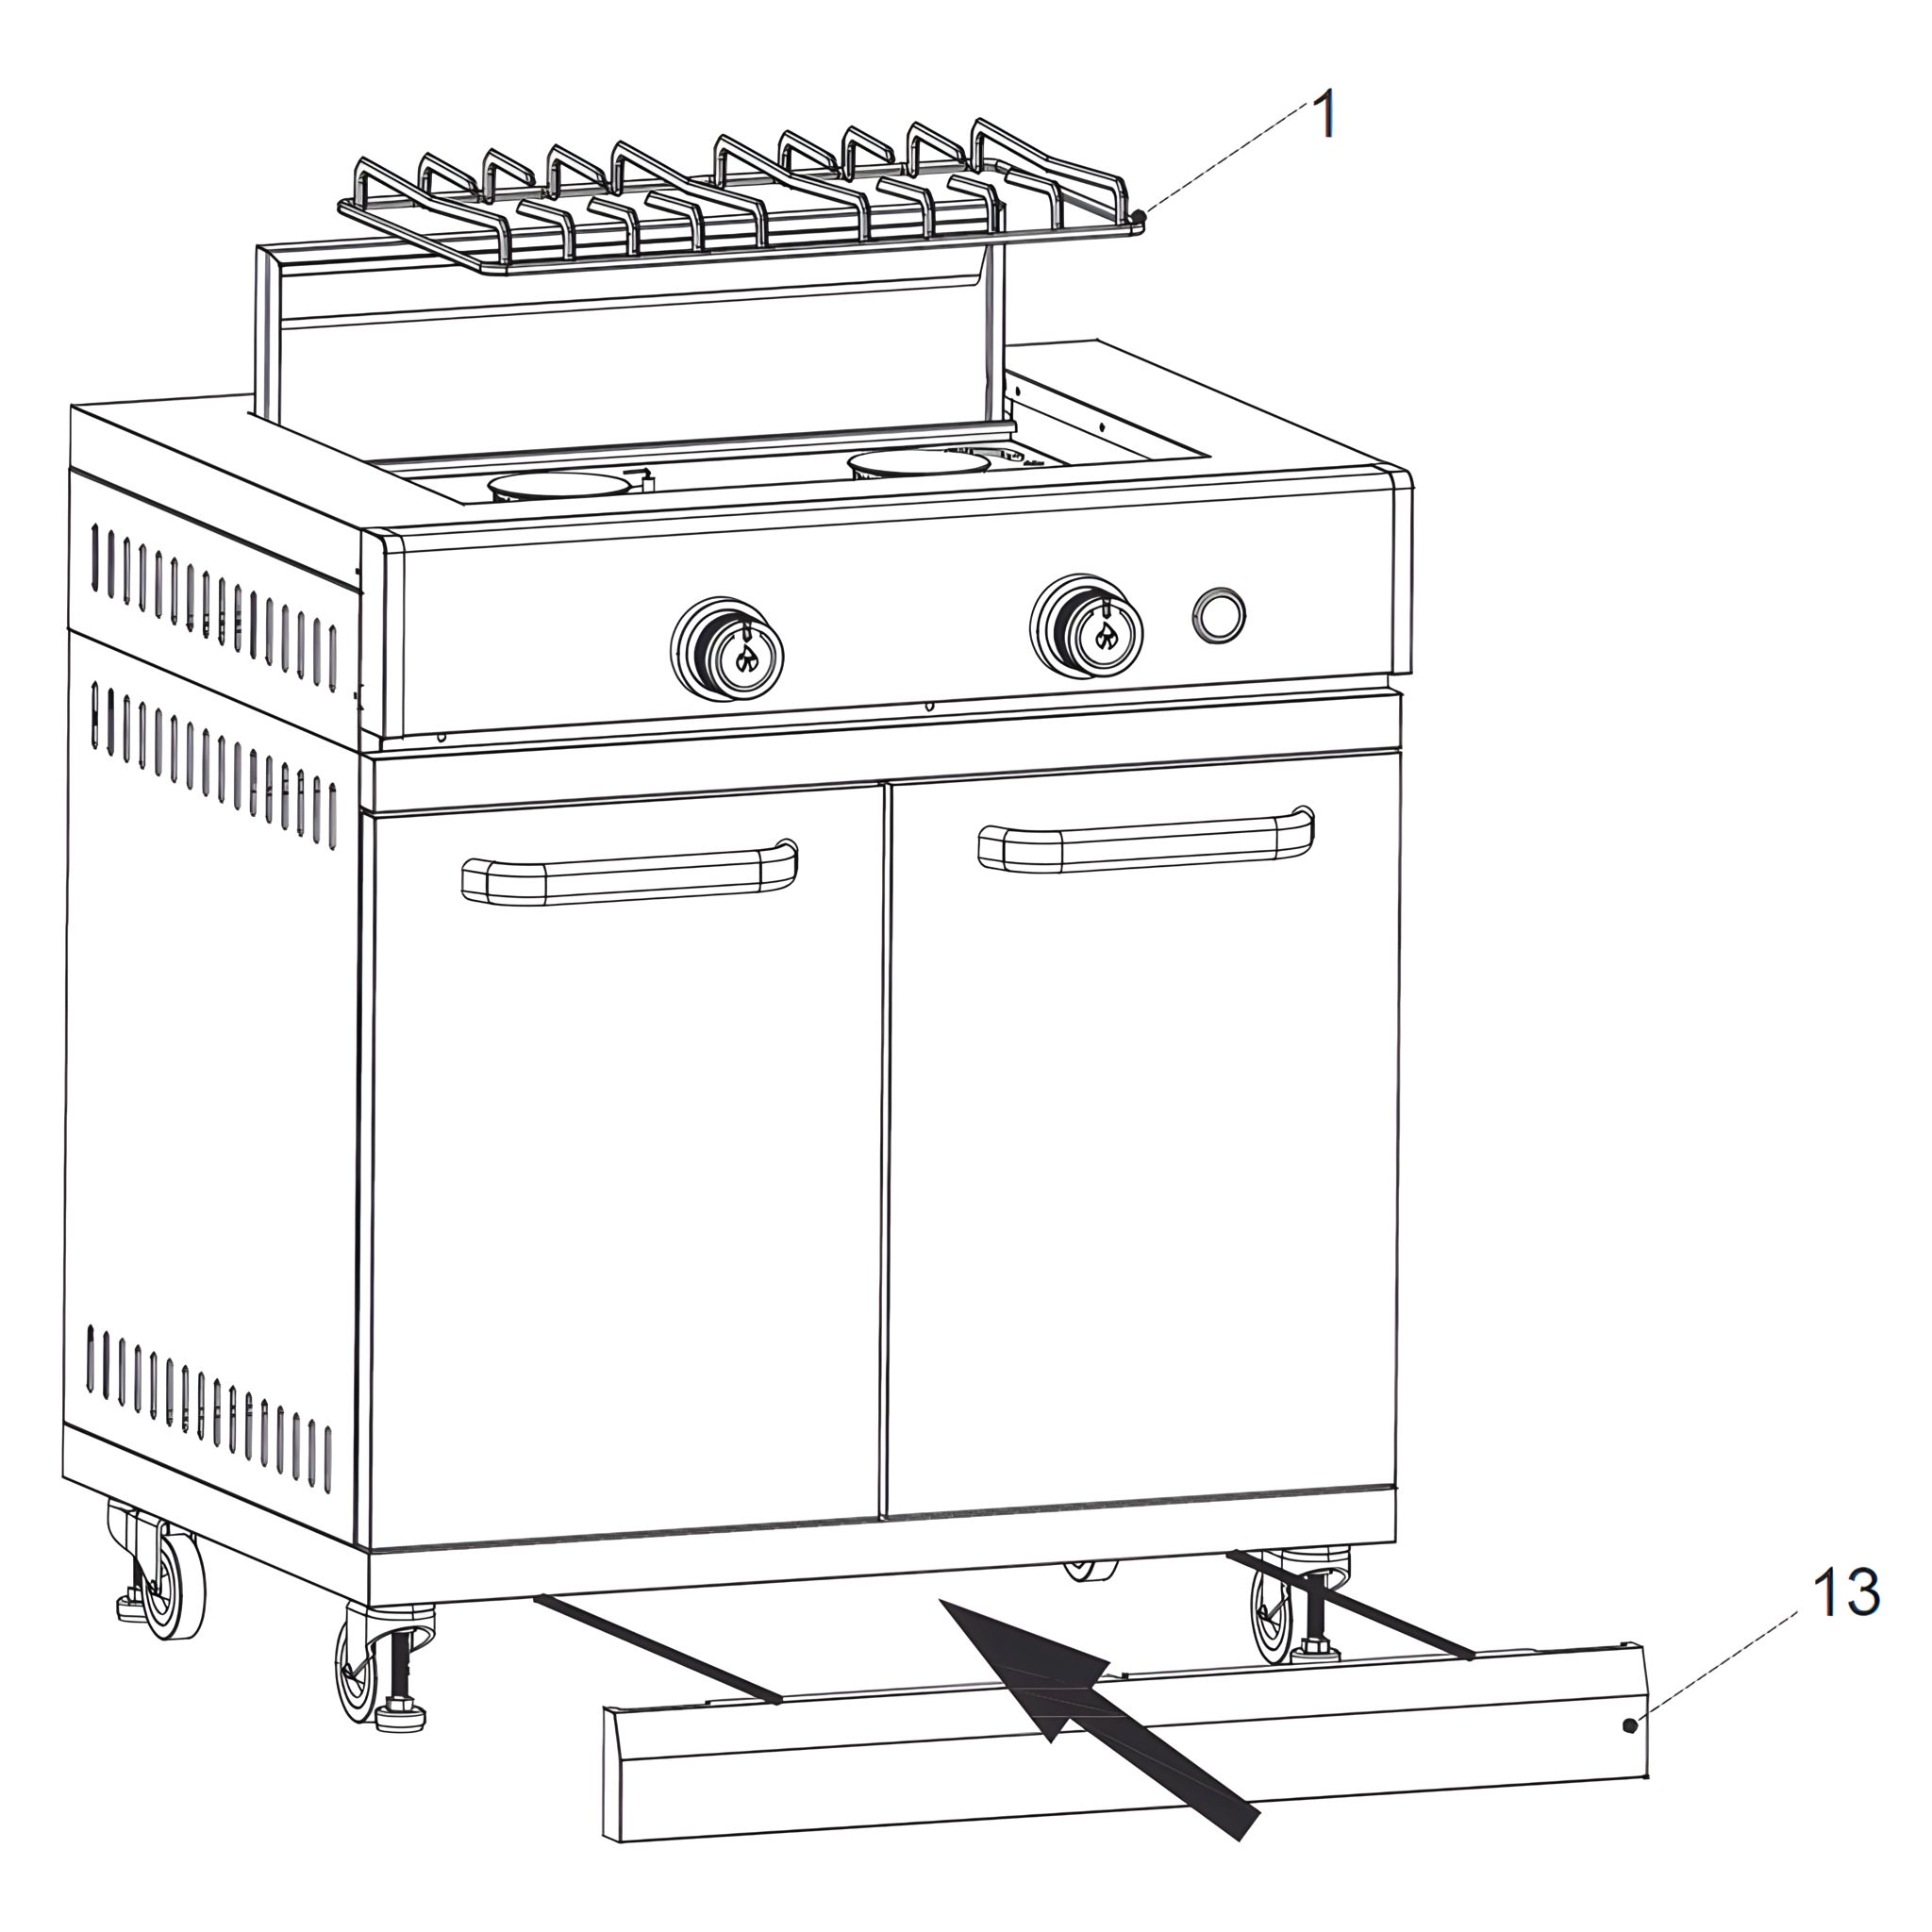
Place the Rack (1) on top of the Firebox Assembly (2), ensuring it sits evenly and is properly aligned with the burners.
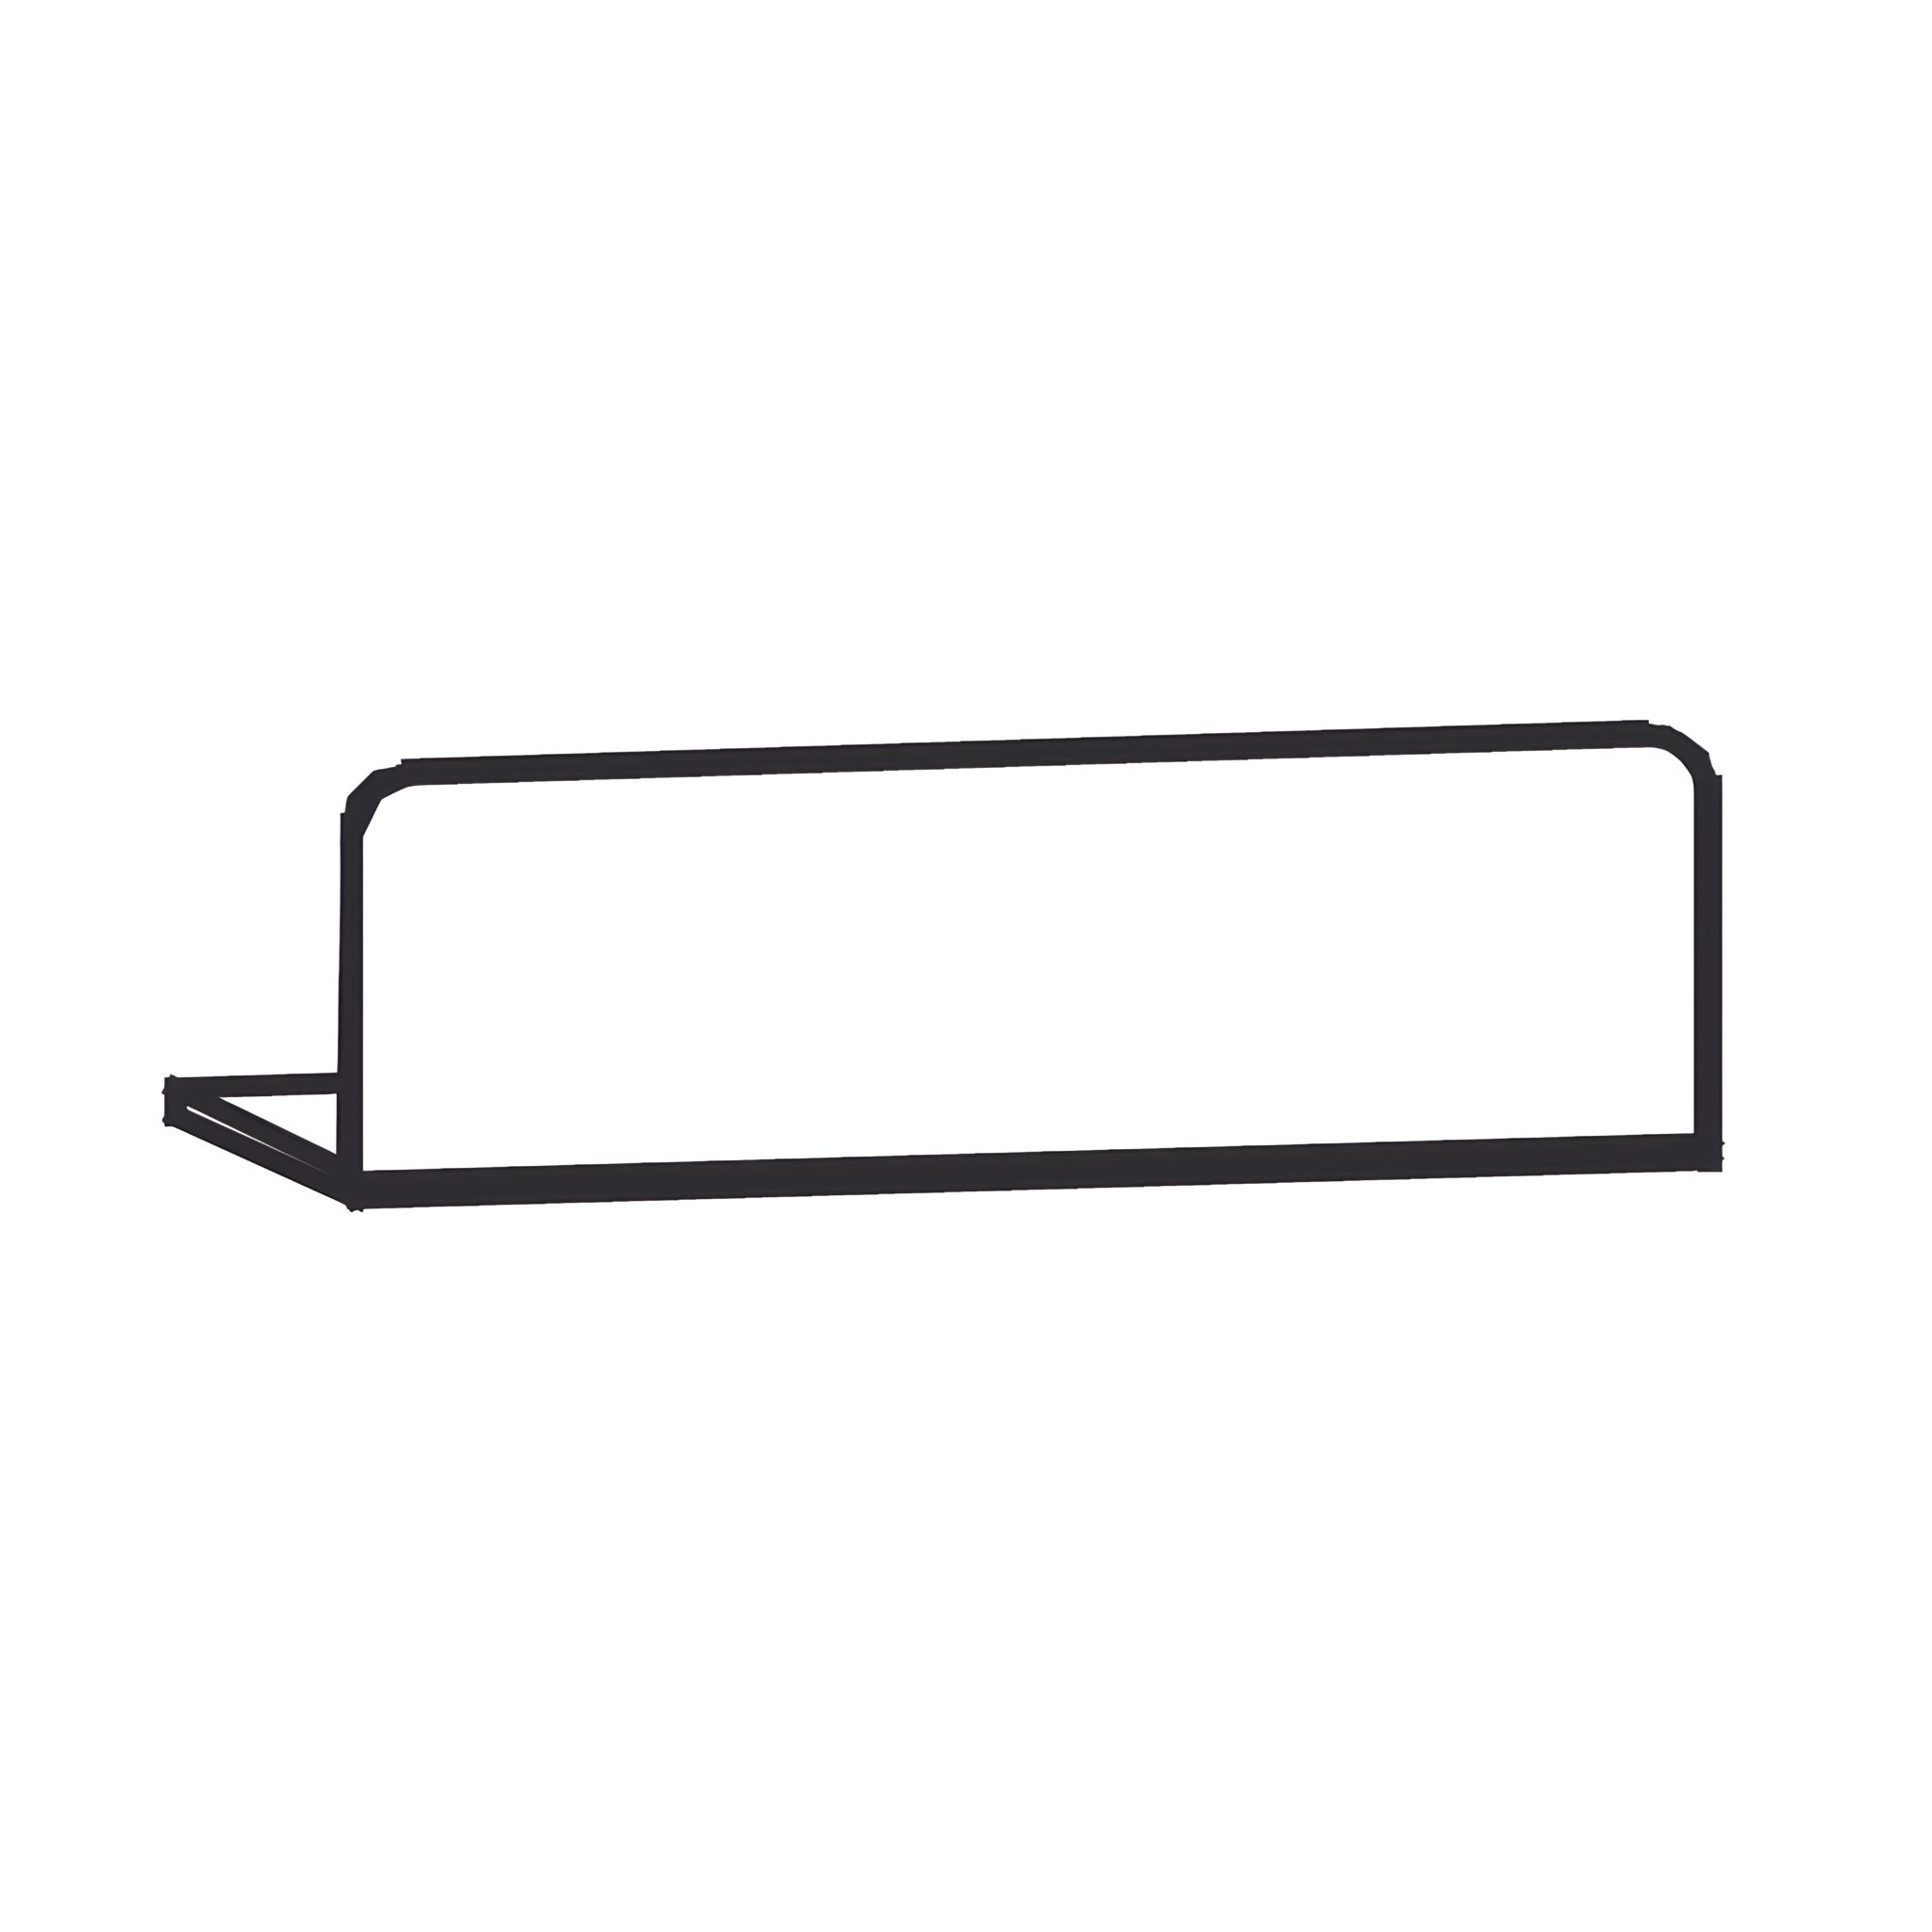
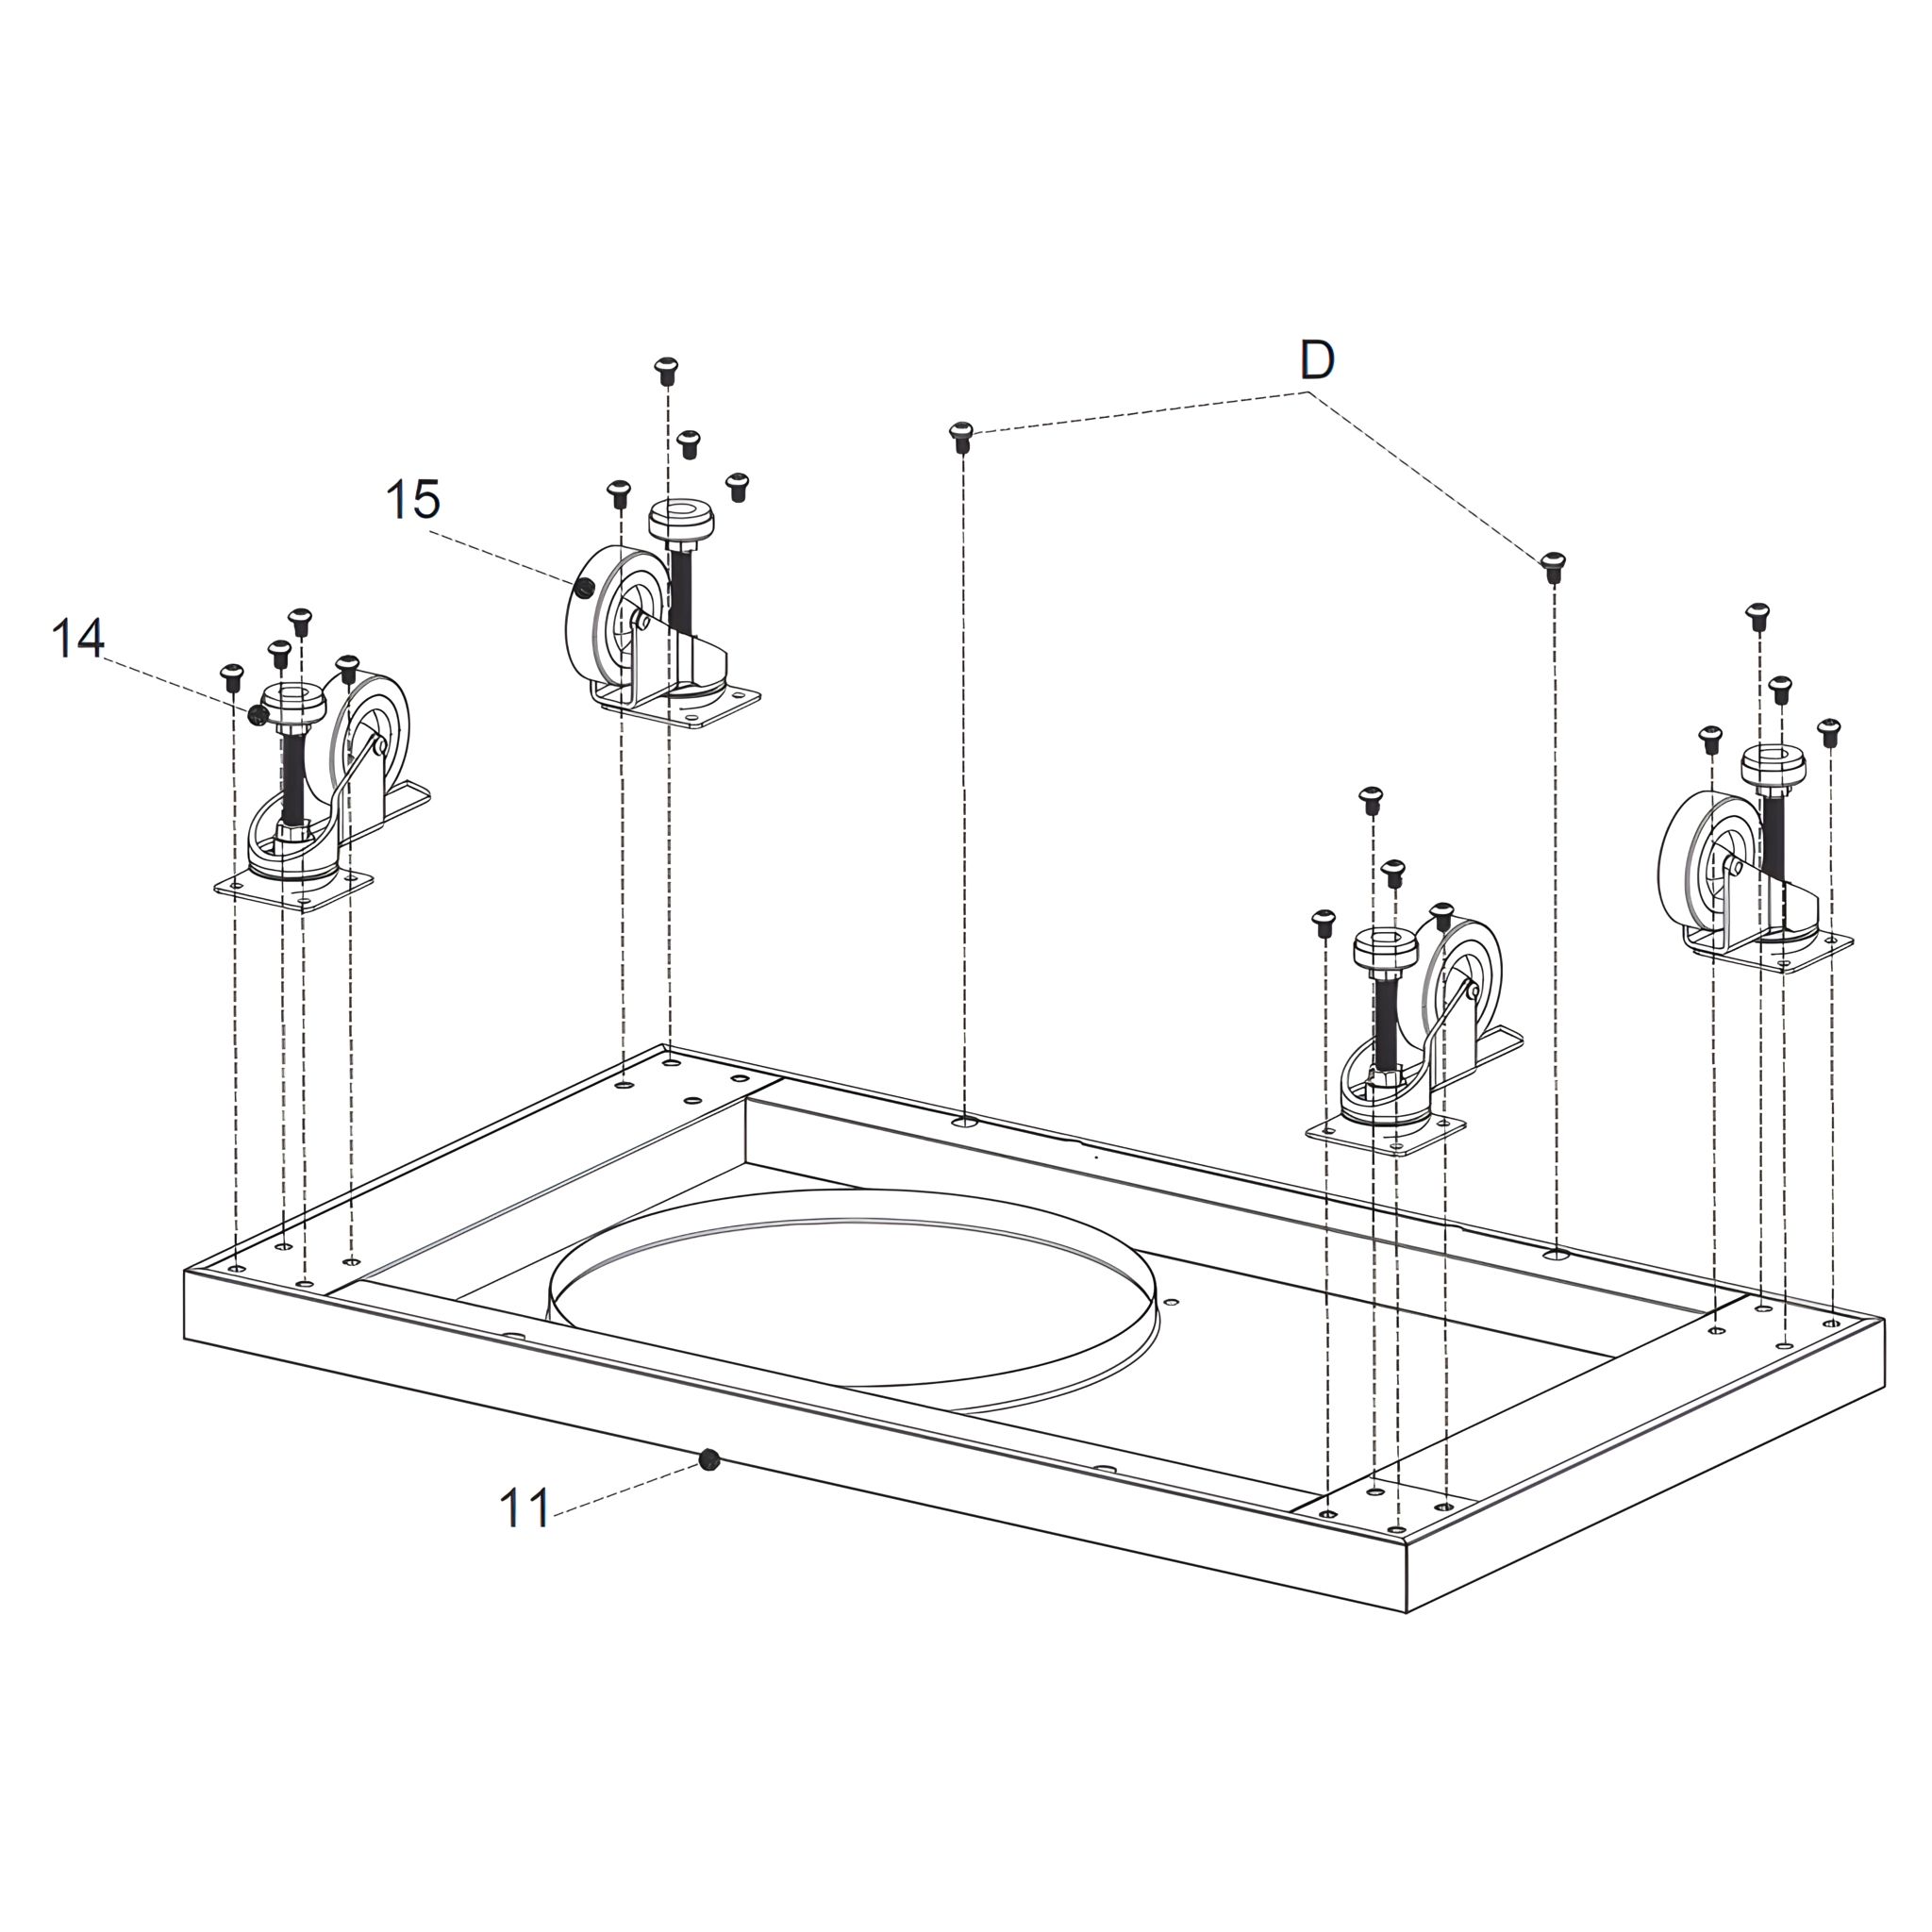
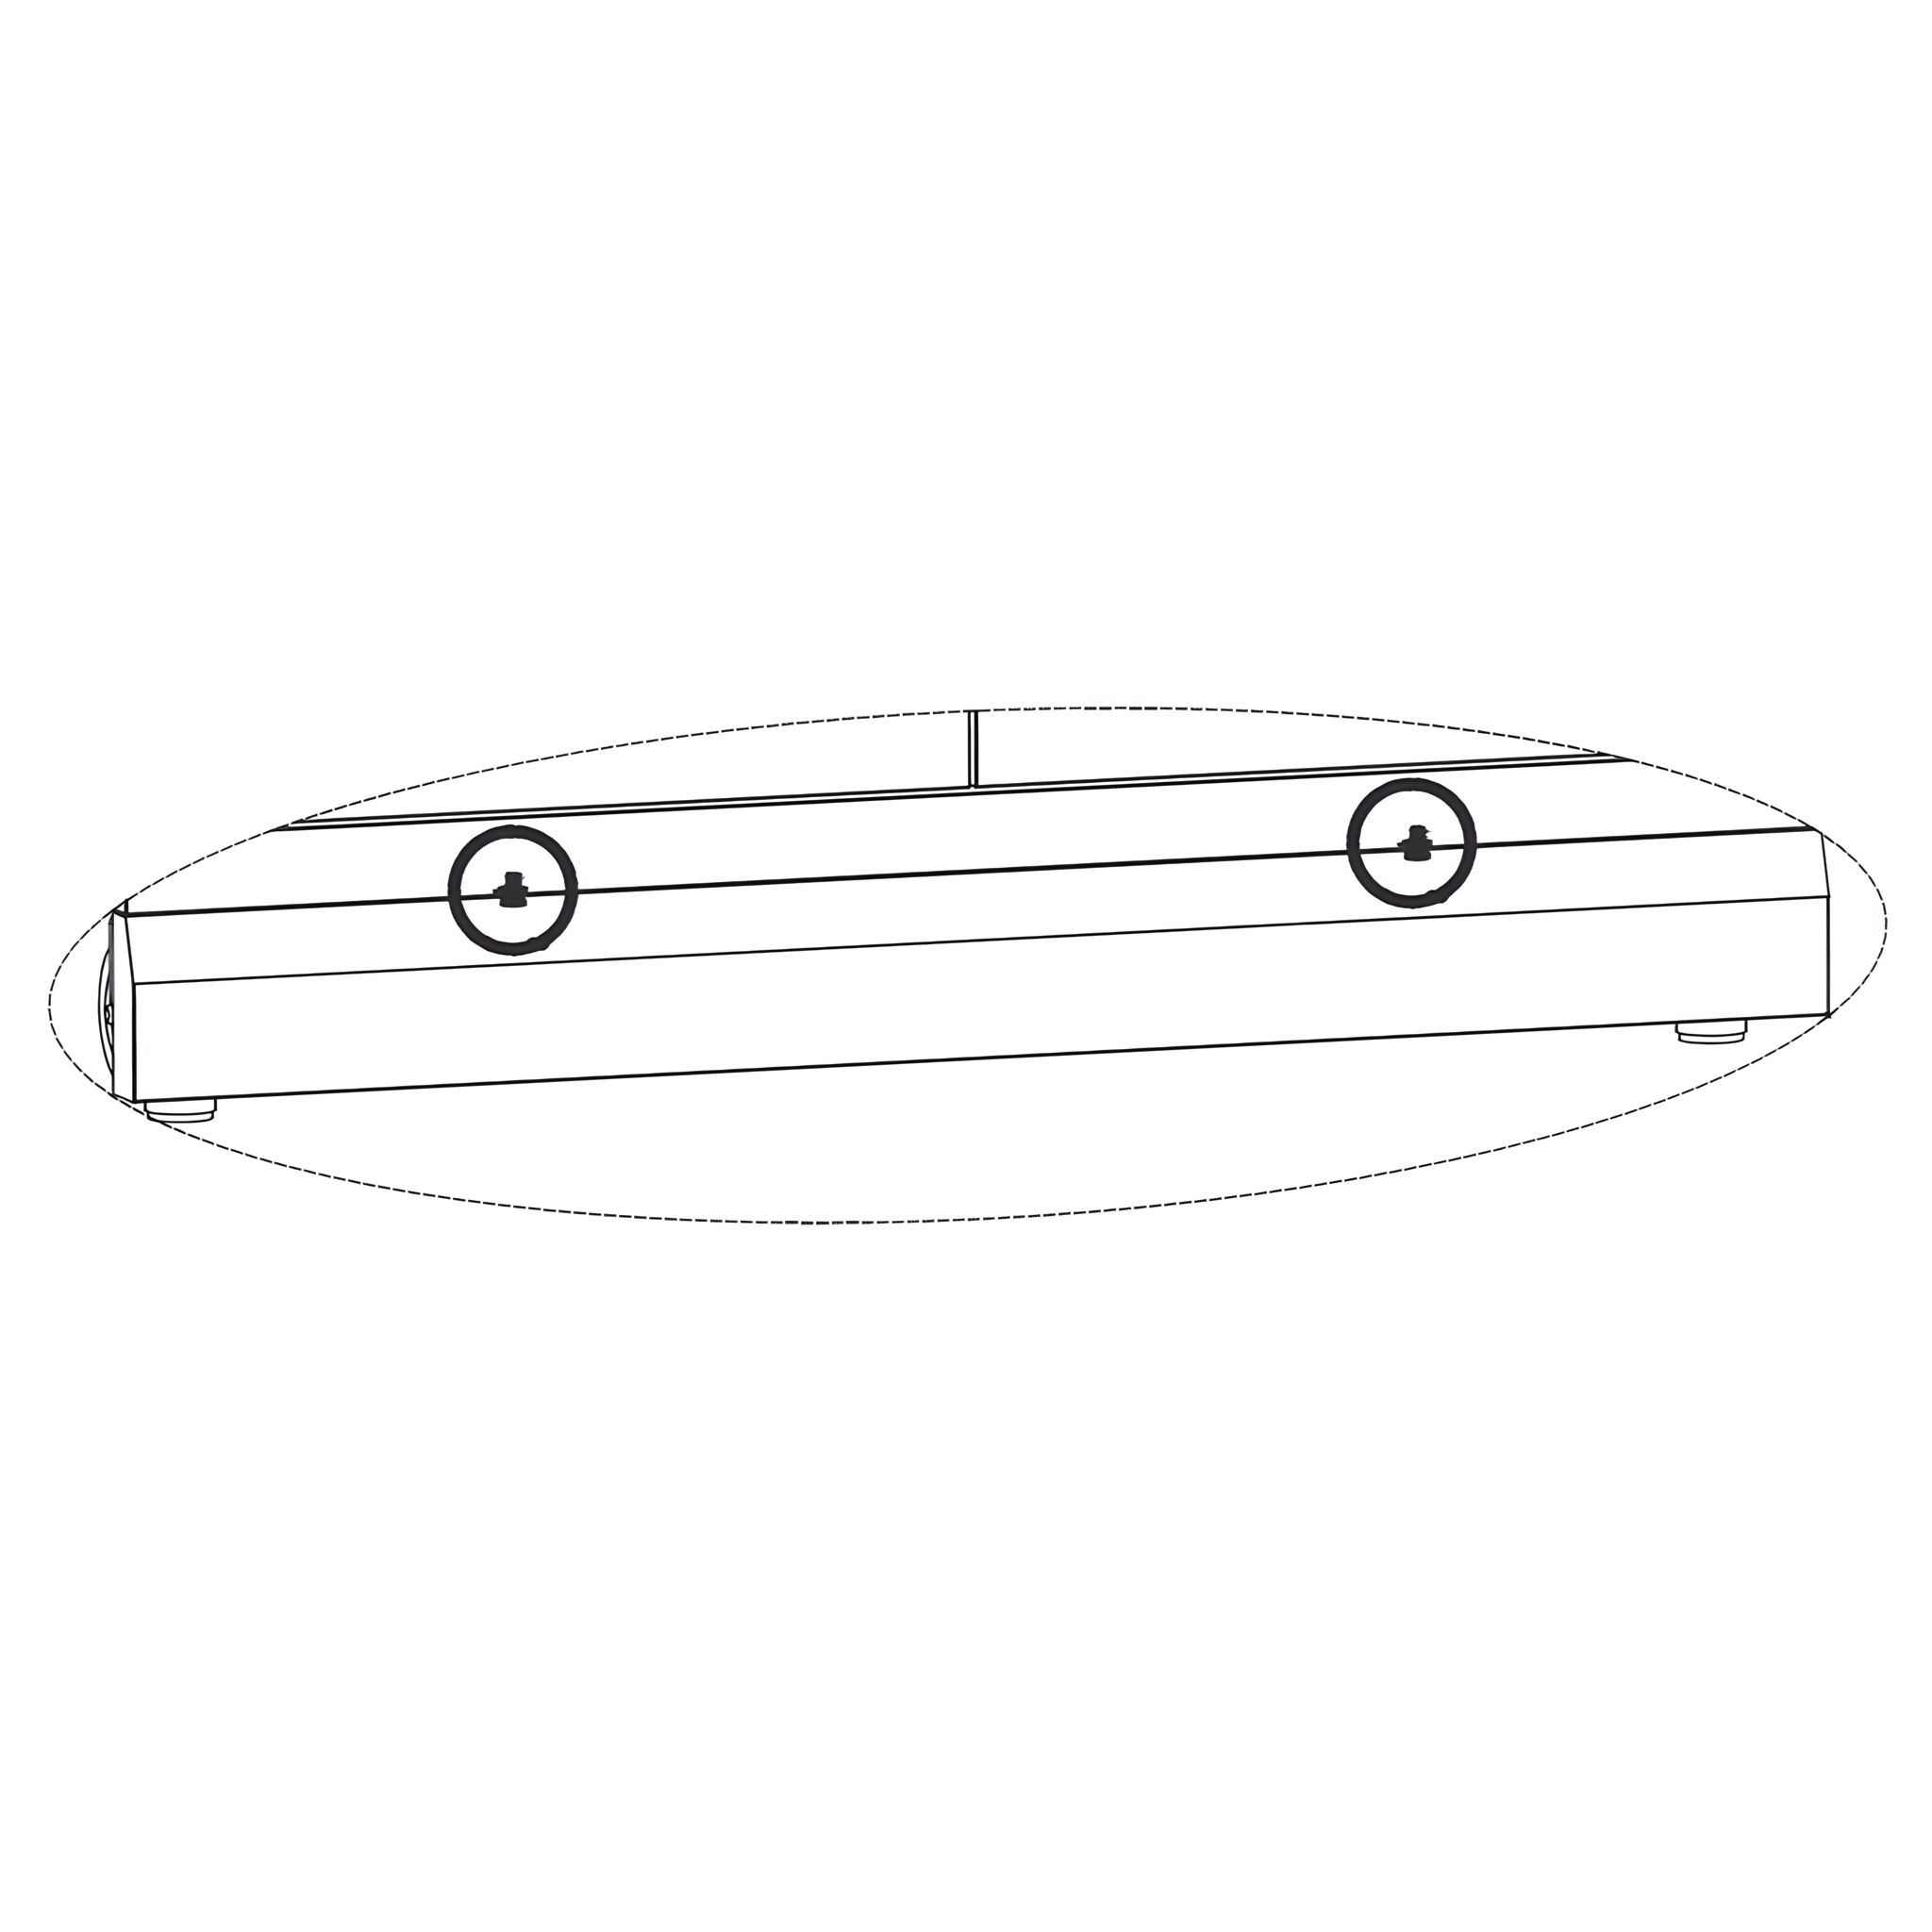
Position the Wheel Cover (13) along the front bottom edge of the unit, covering the casters.
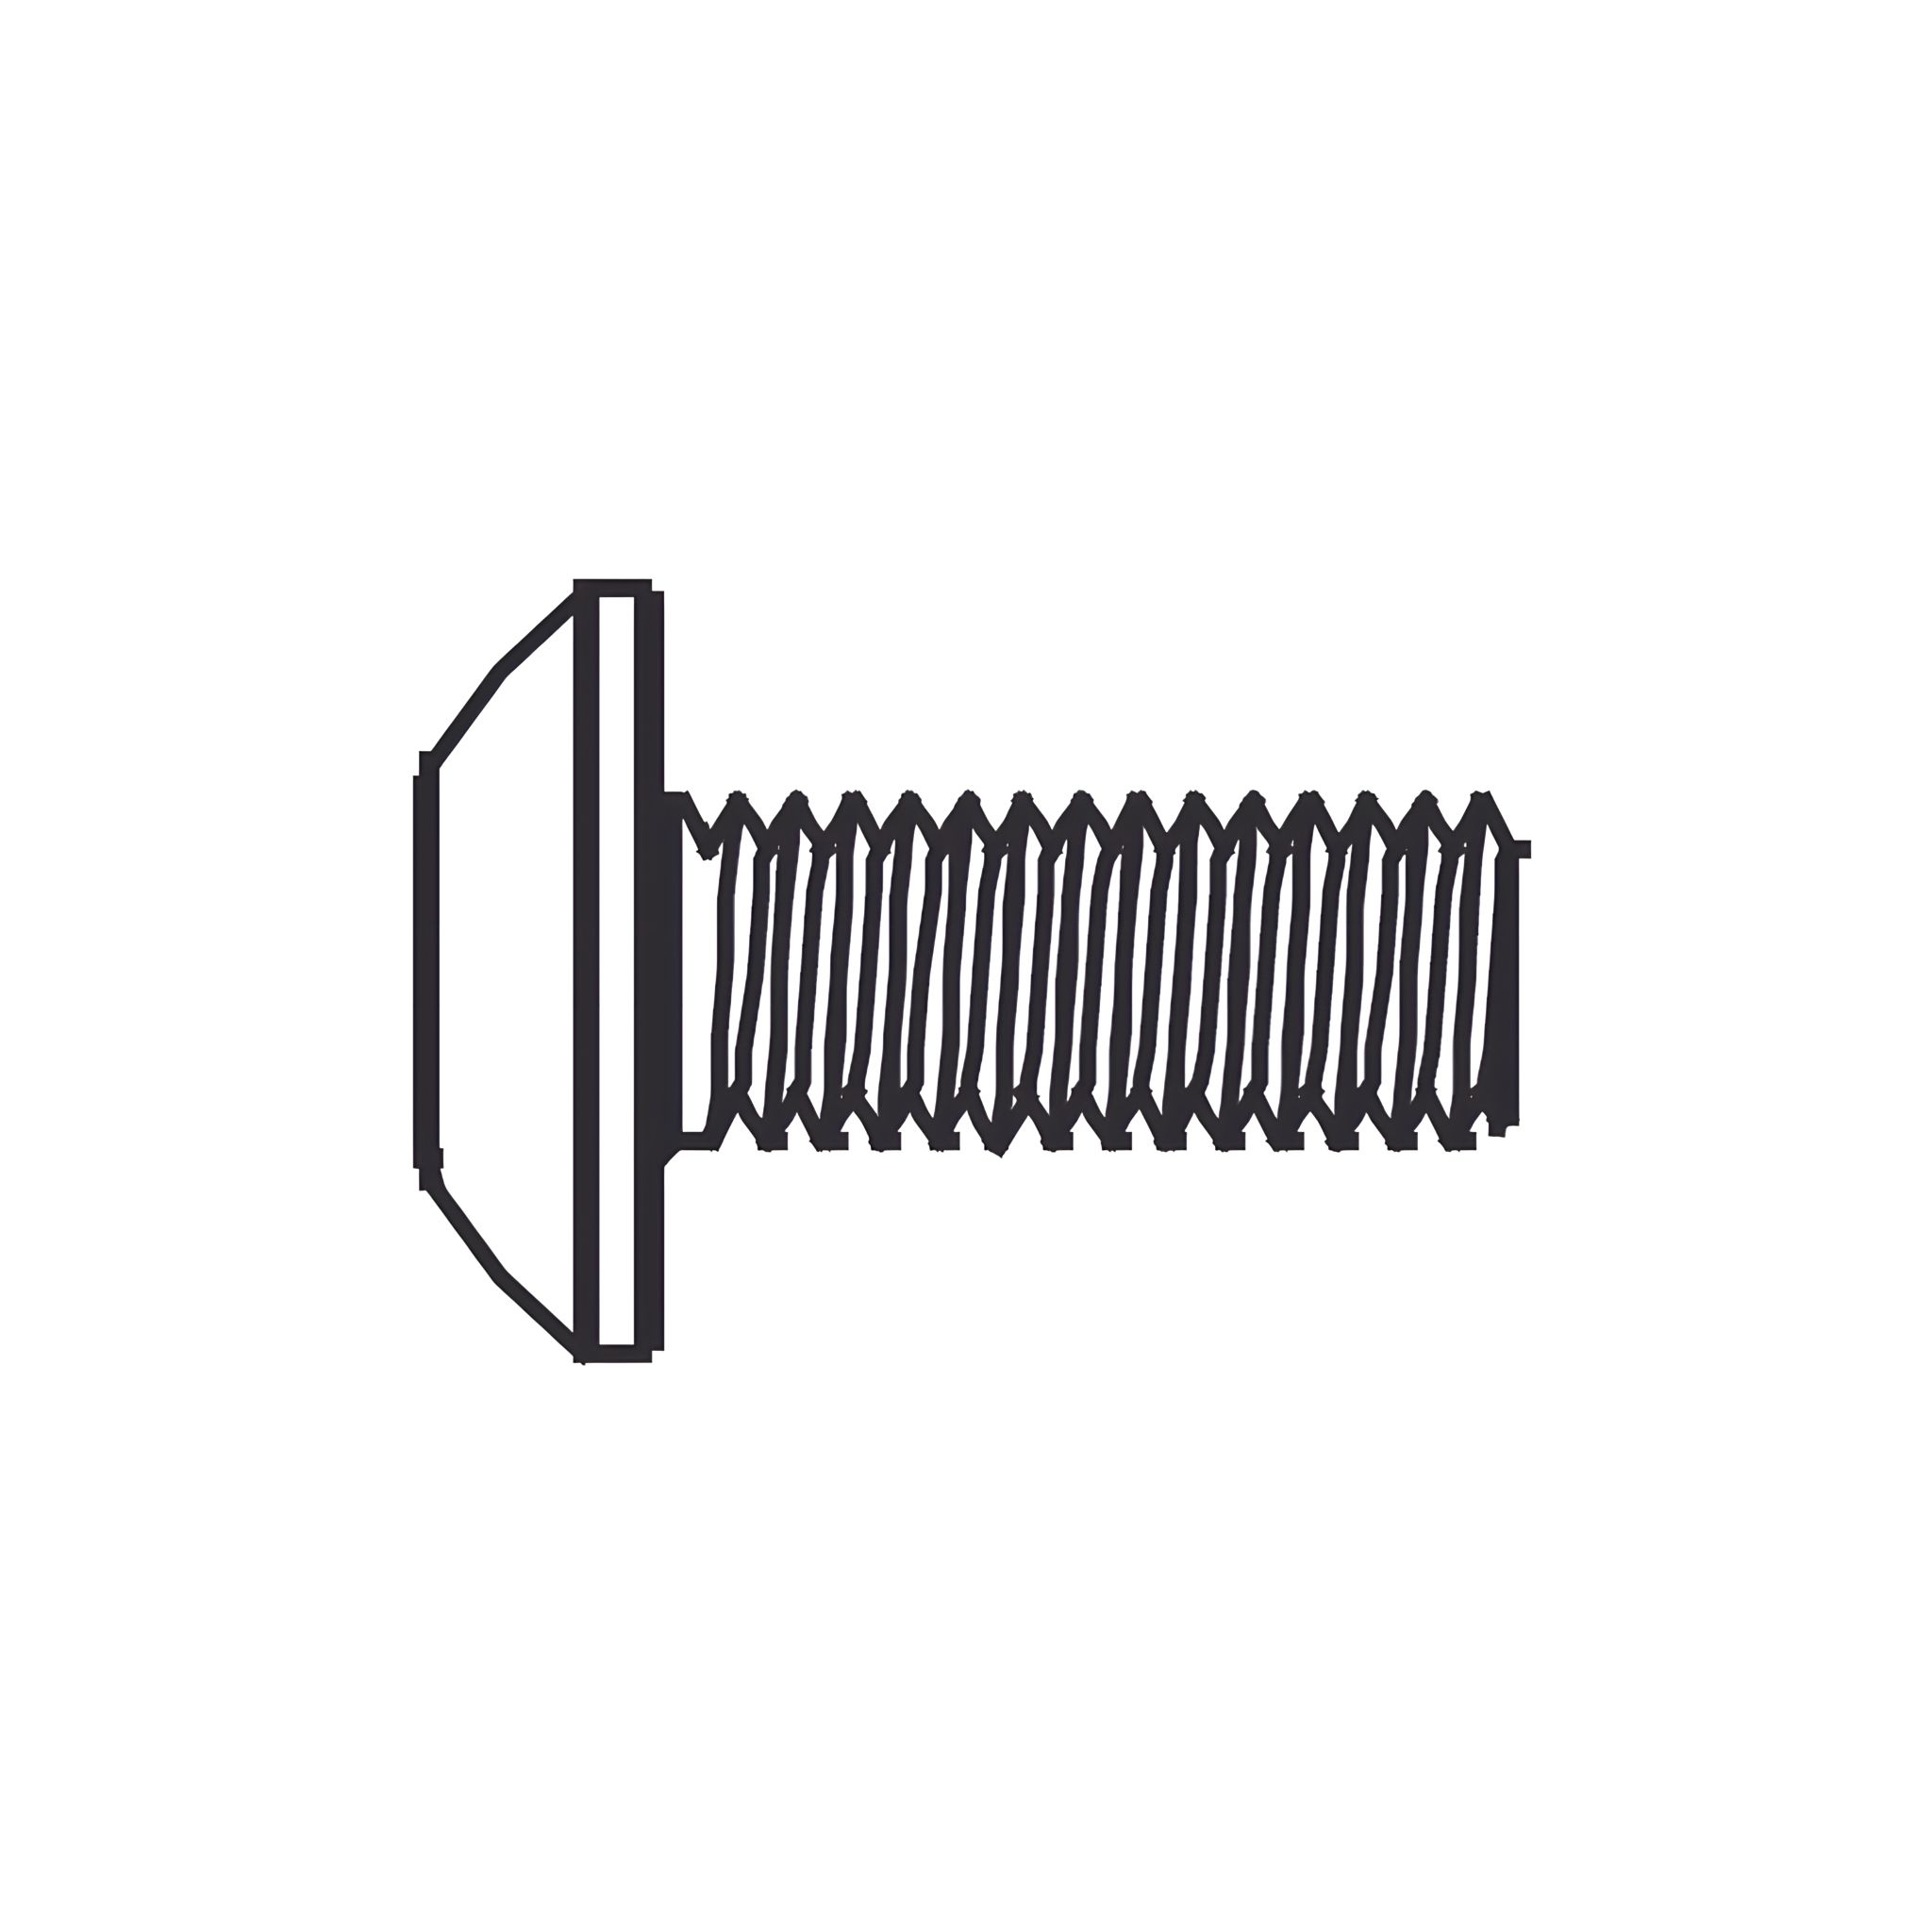
Align the screw holes and lock into position using M6 × 12 Step Screws (D) from underneath.
Note!
Plinth / Wheel Cover (13) should only be attached if the unit will remain stationary.
Parts used:
Wheel Cover | 13 | 1×
Rack | 1 | 1×
18. Connecting the Units
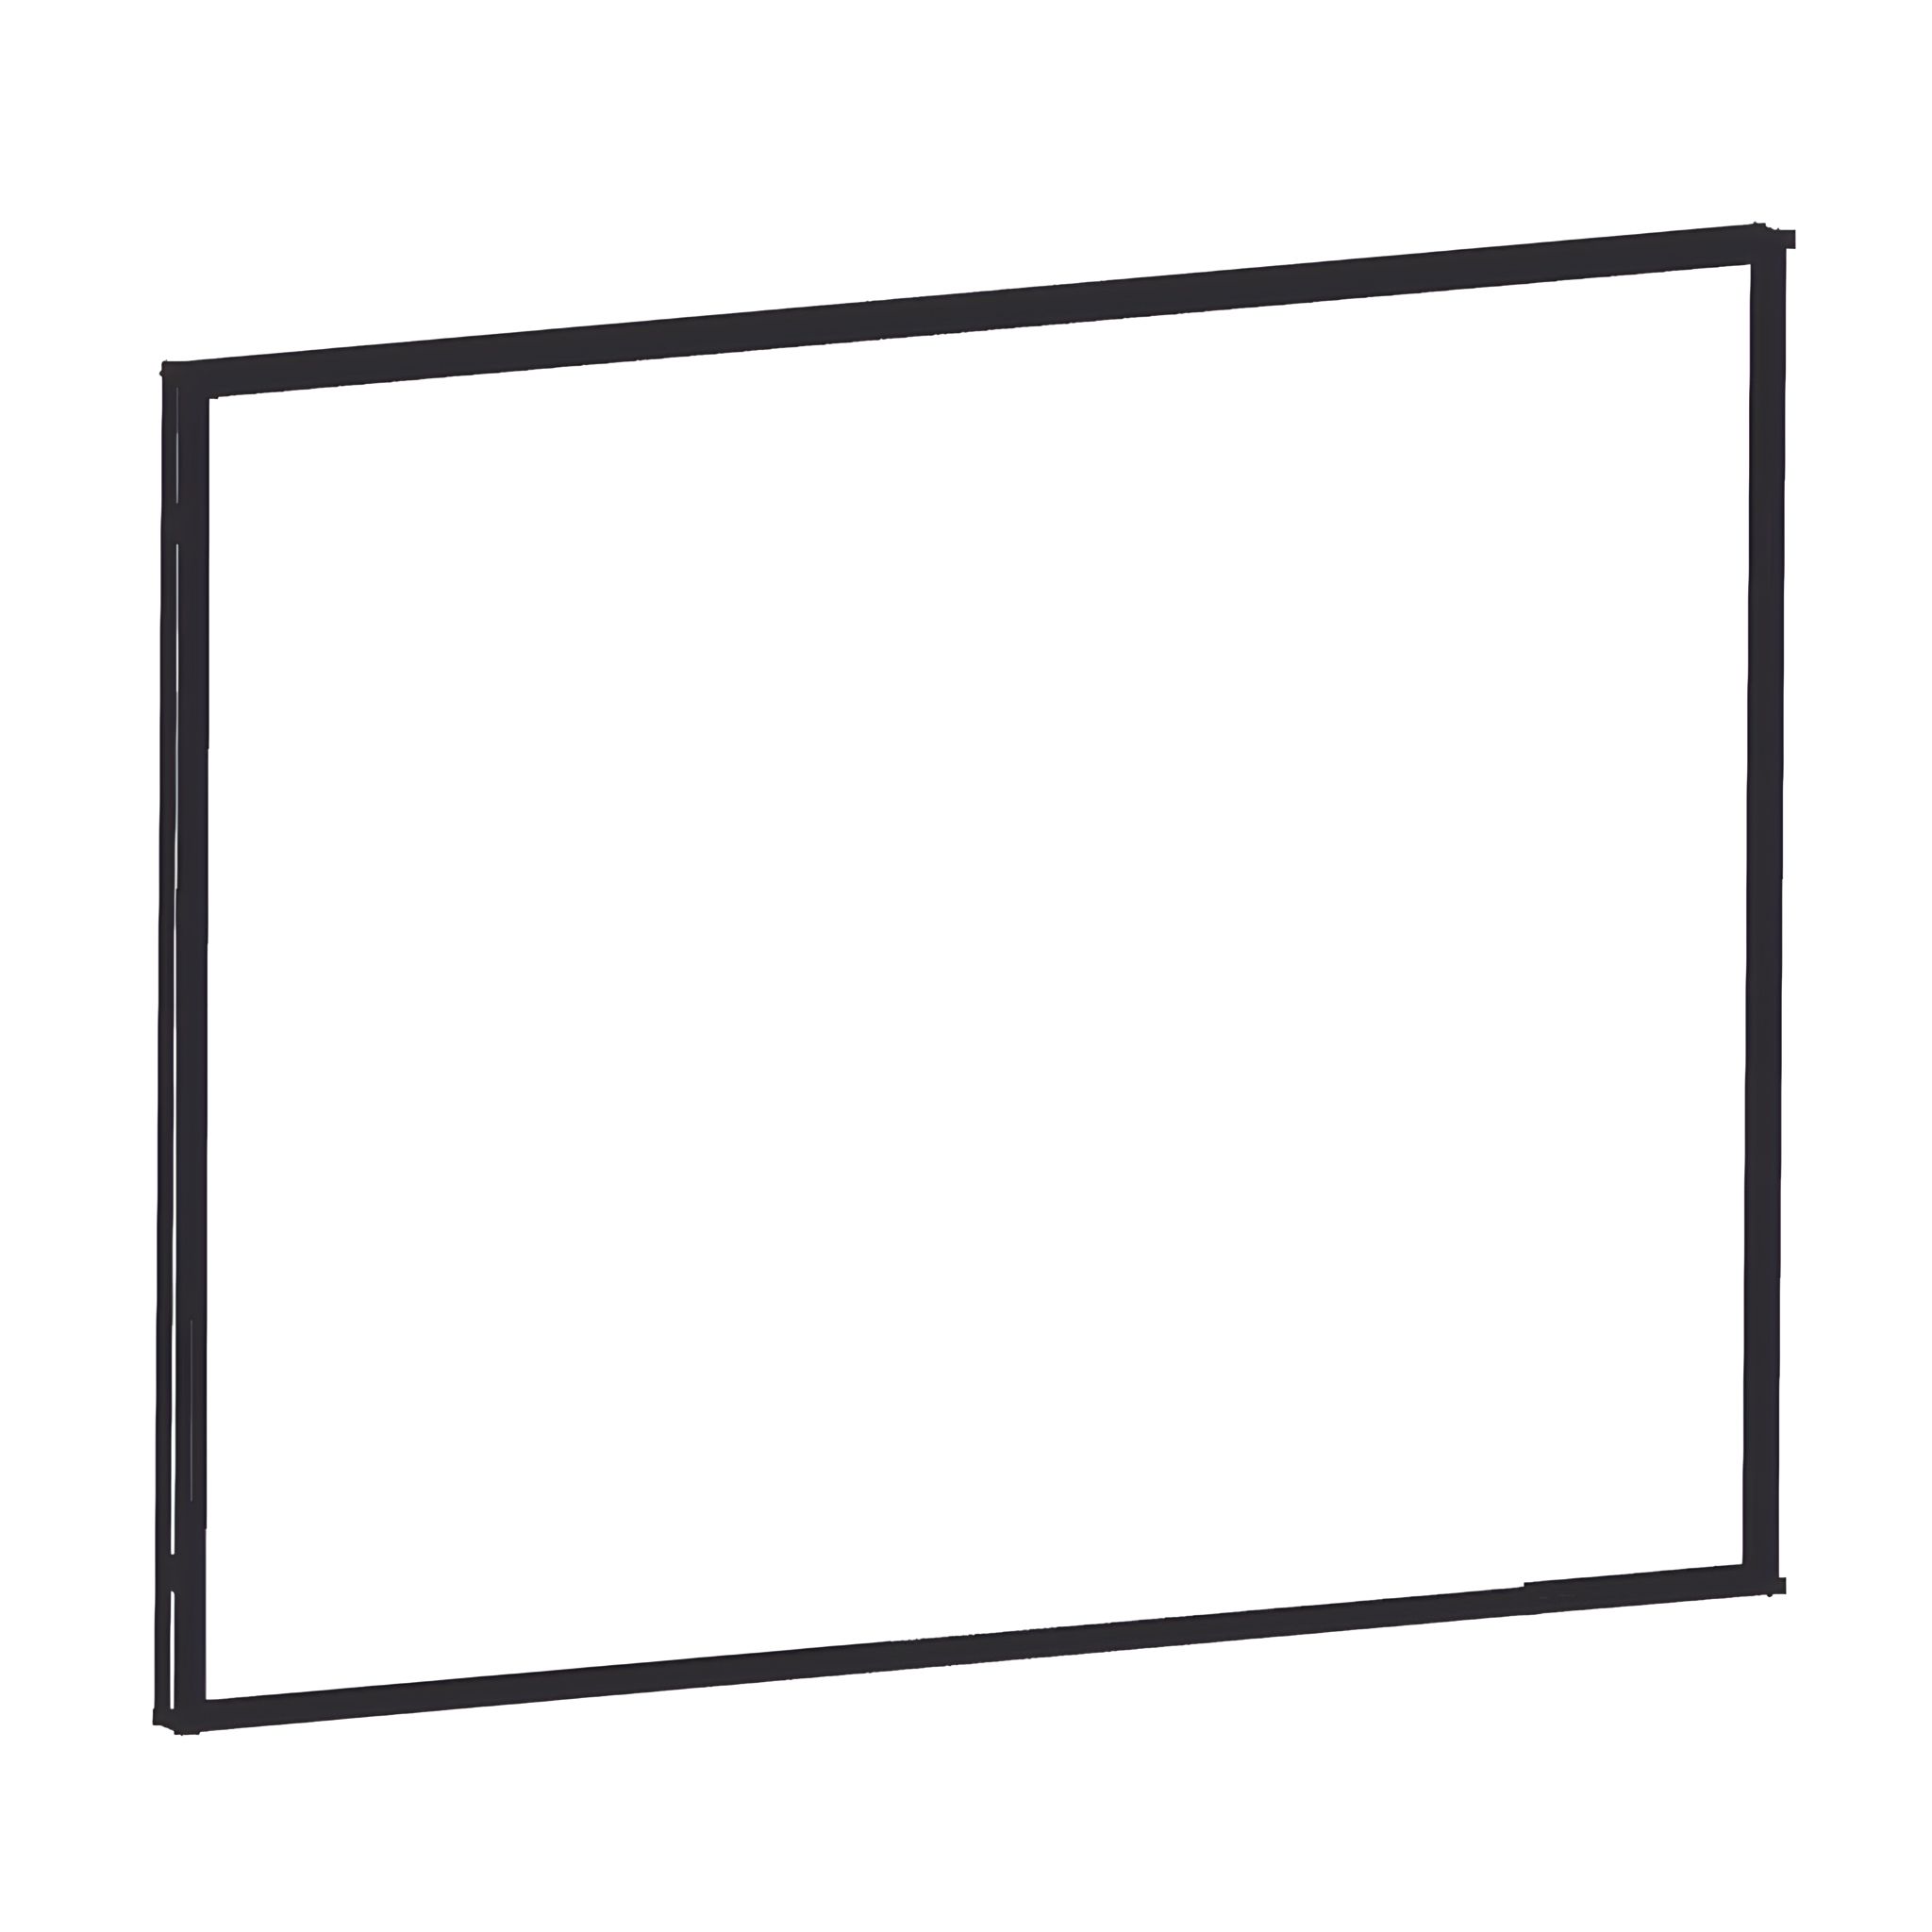
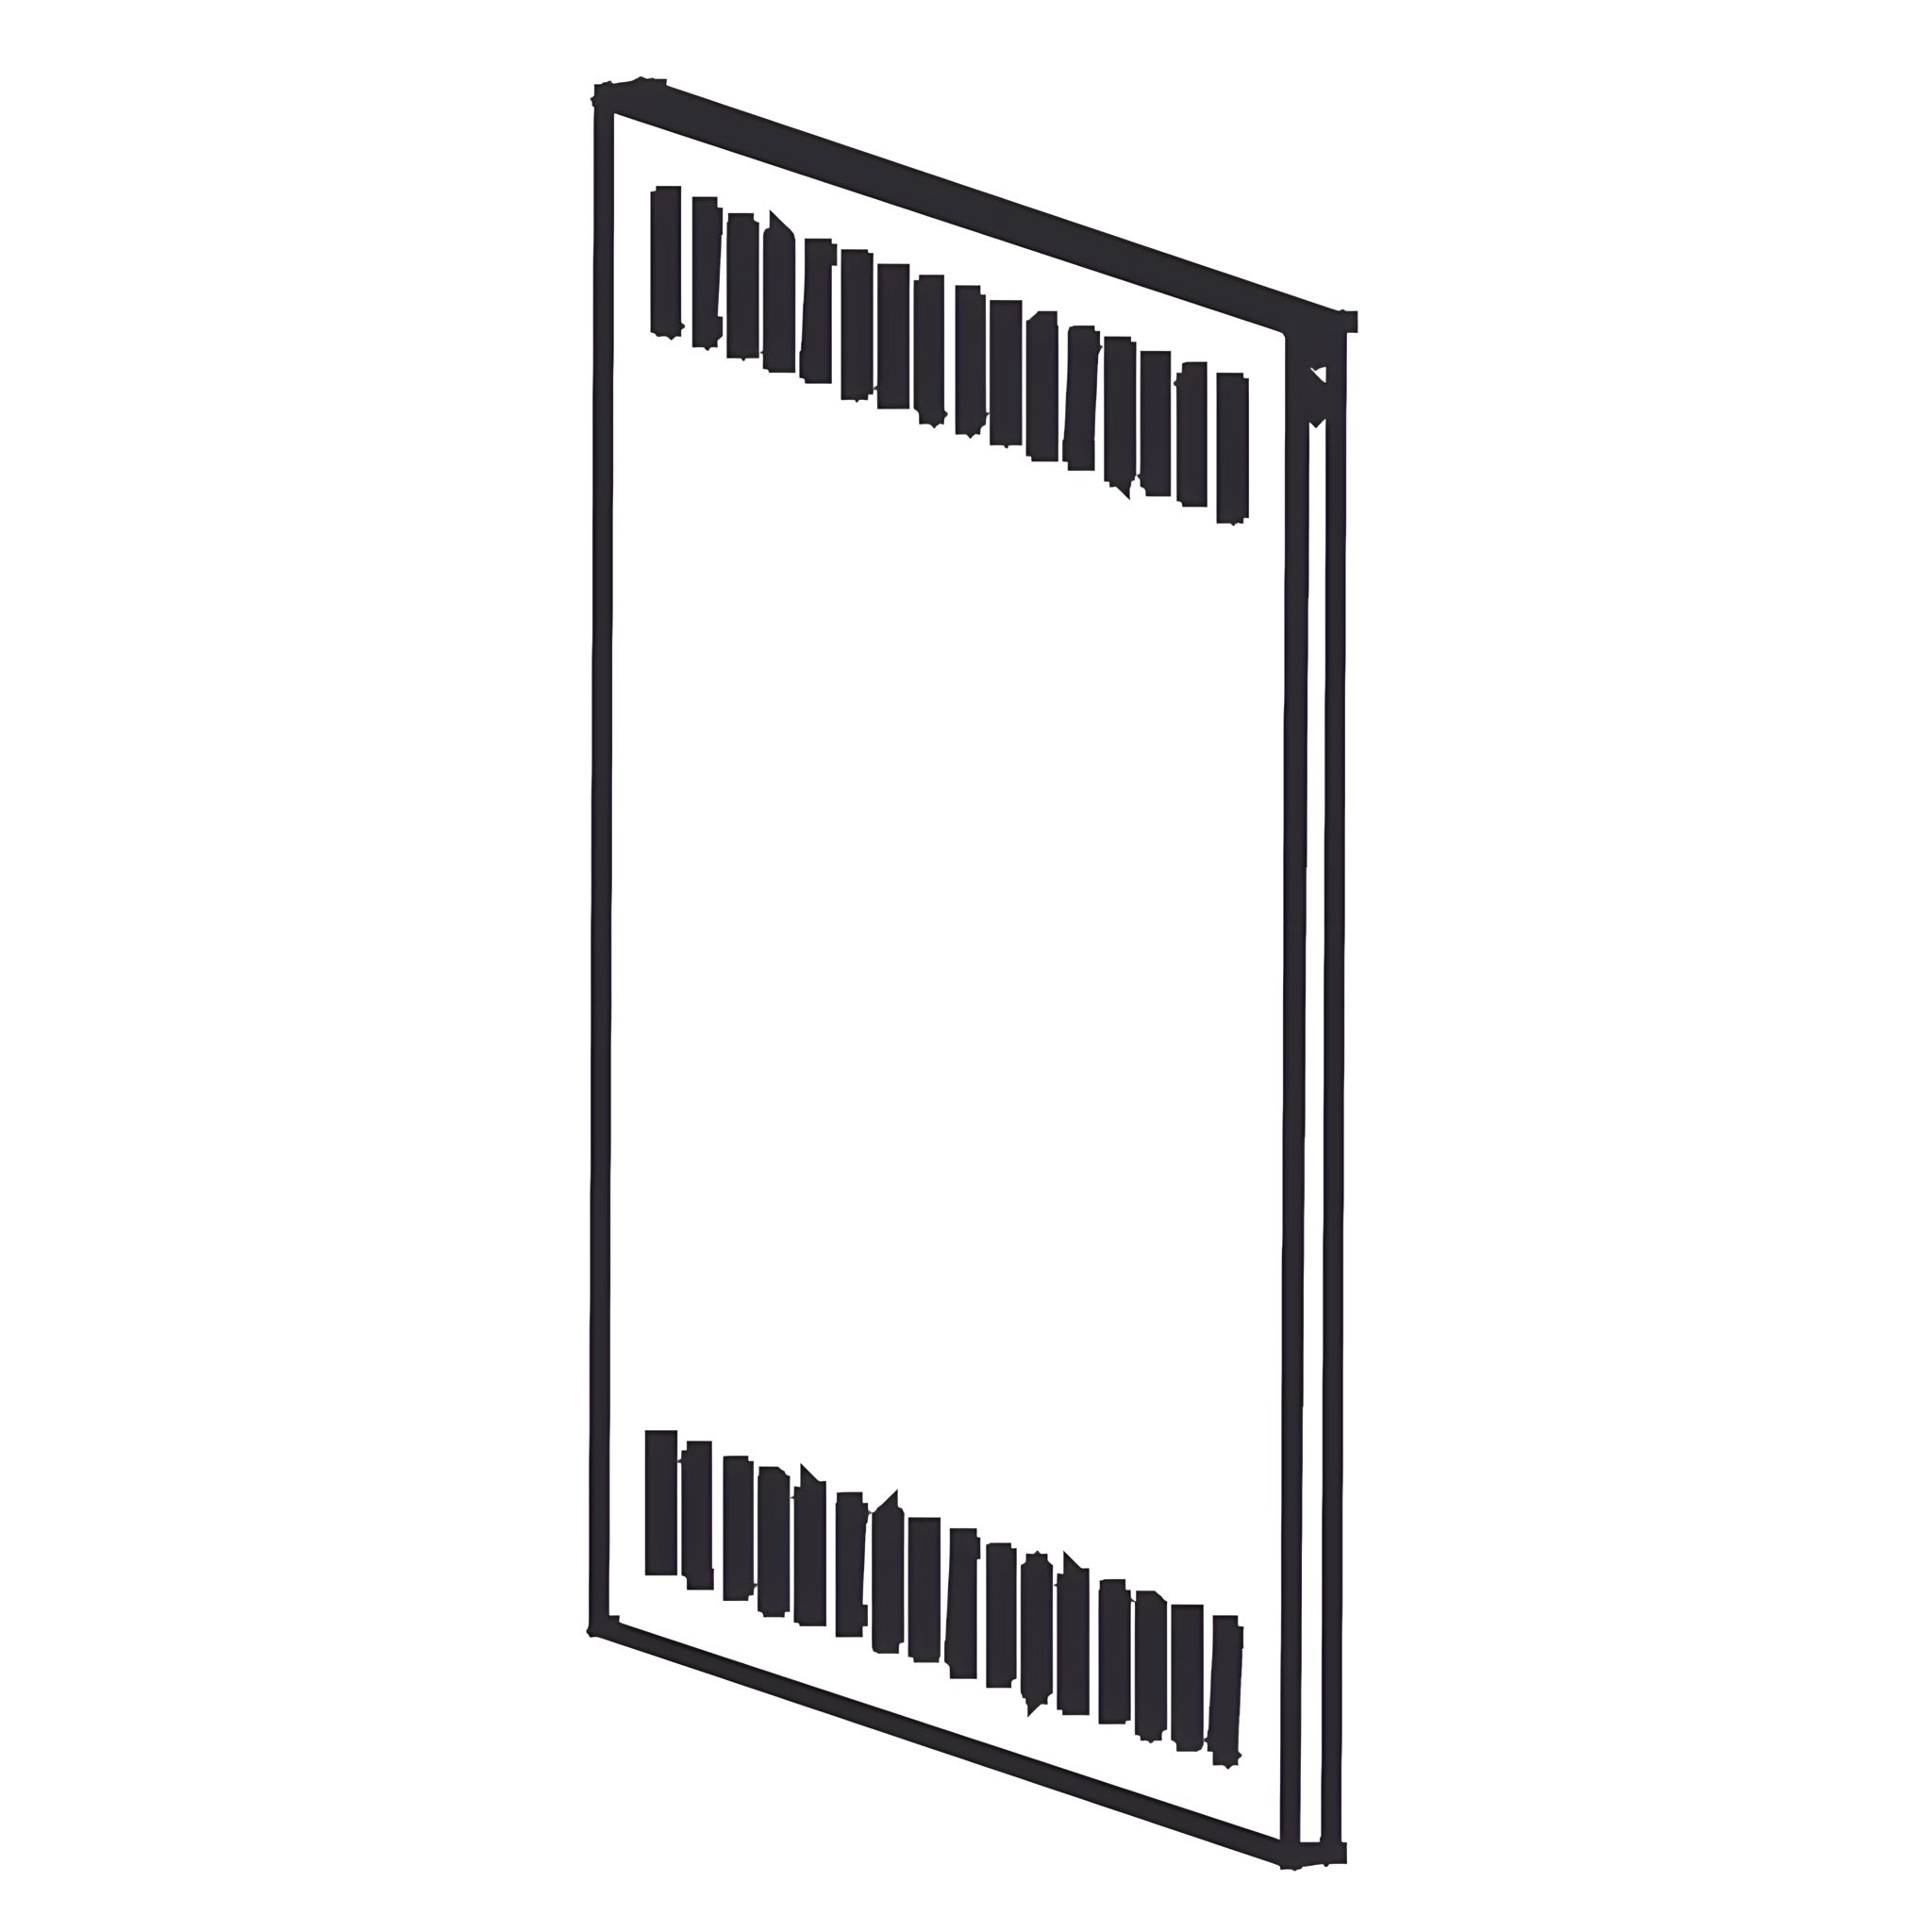
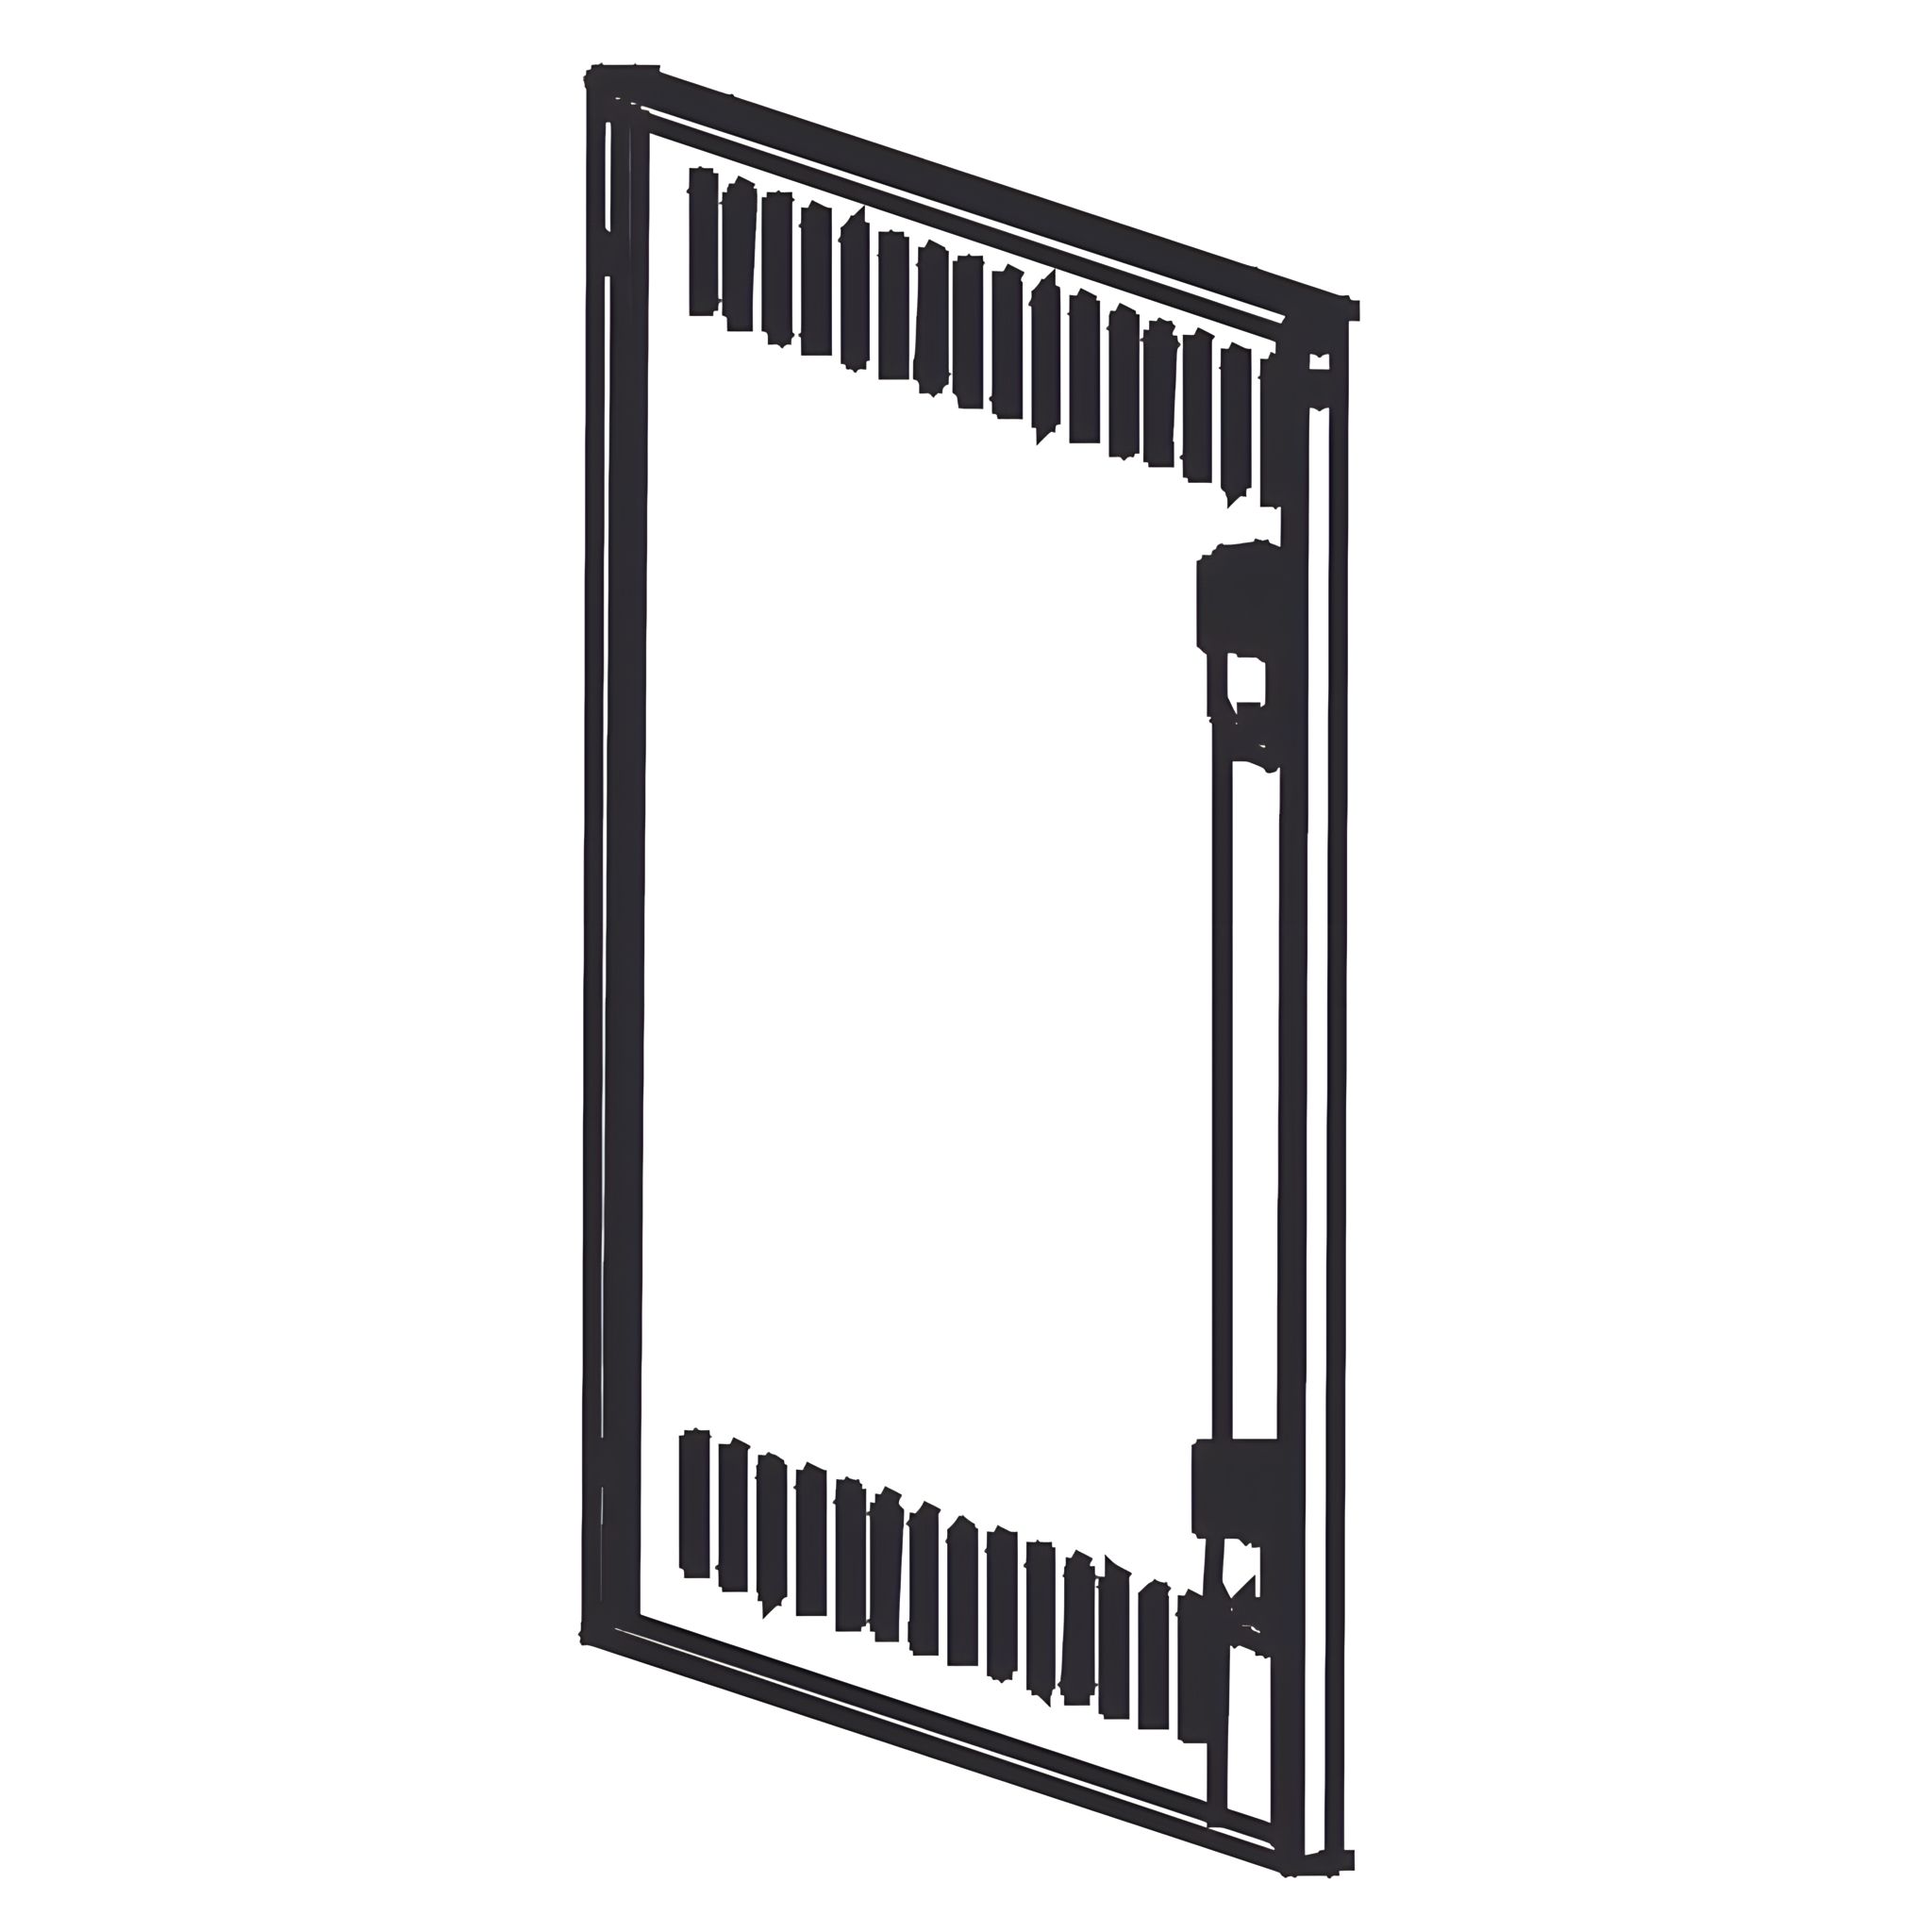
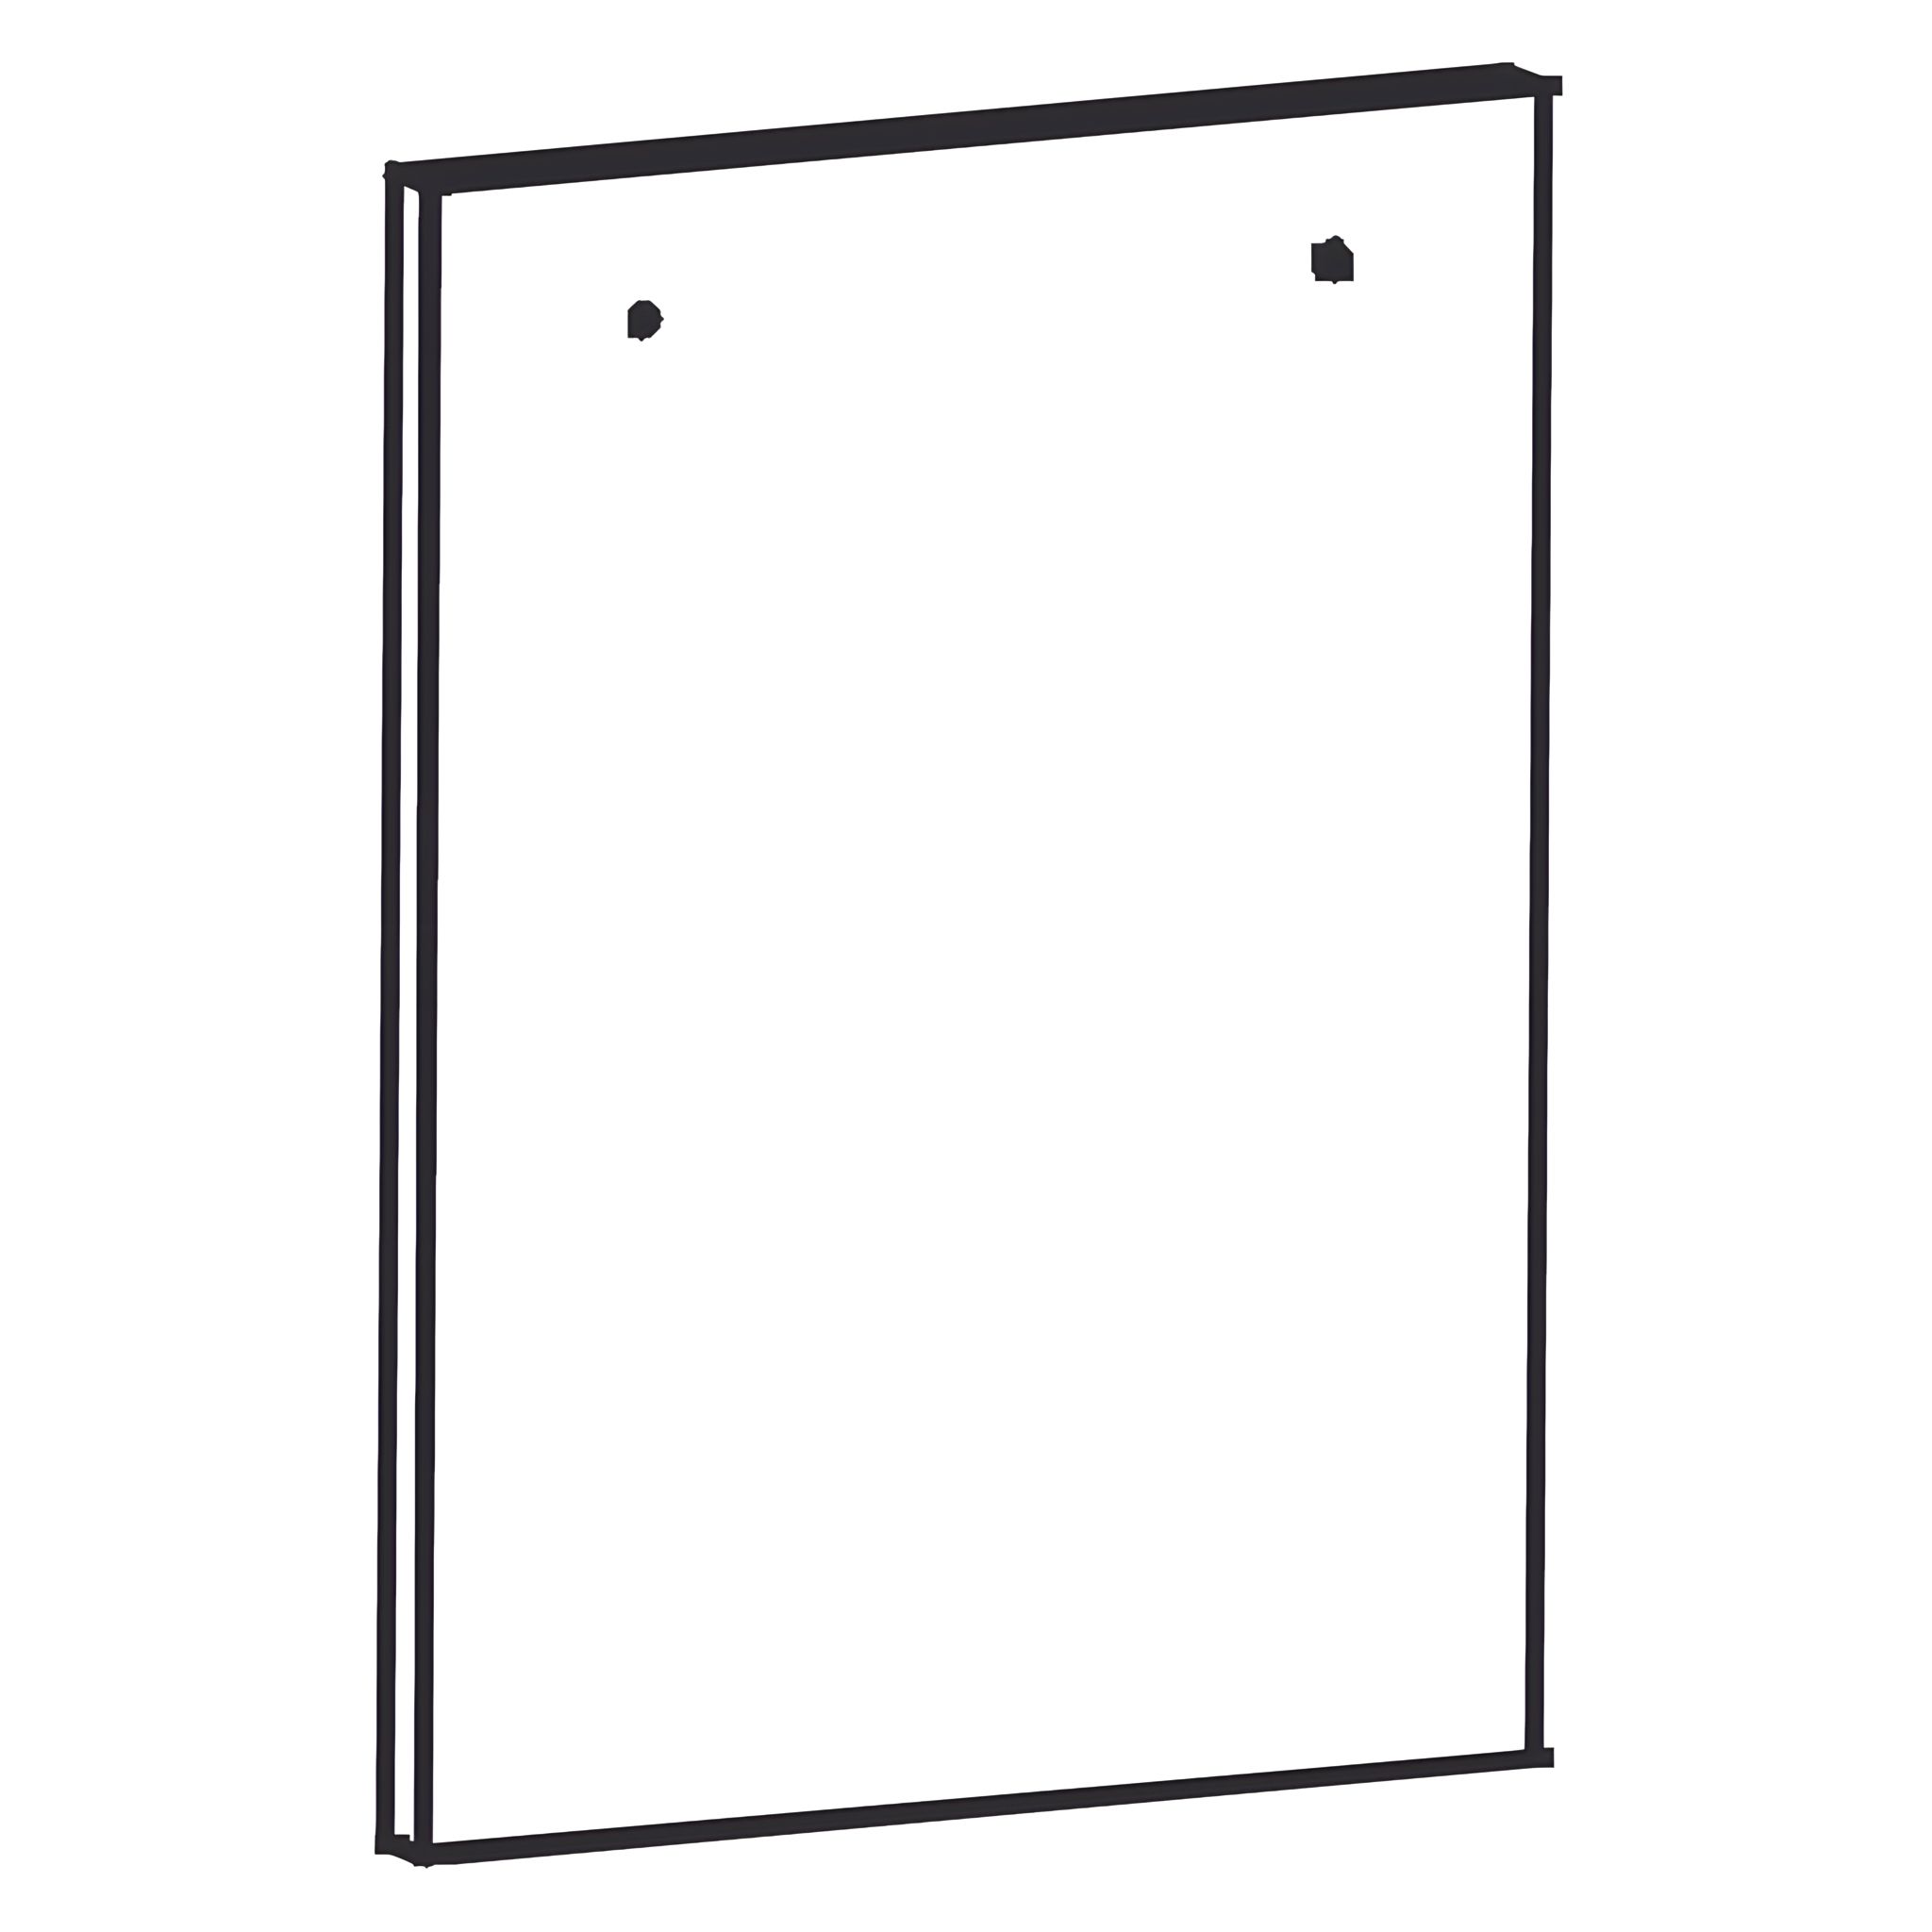
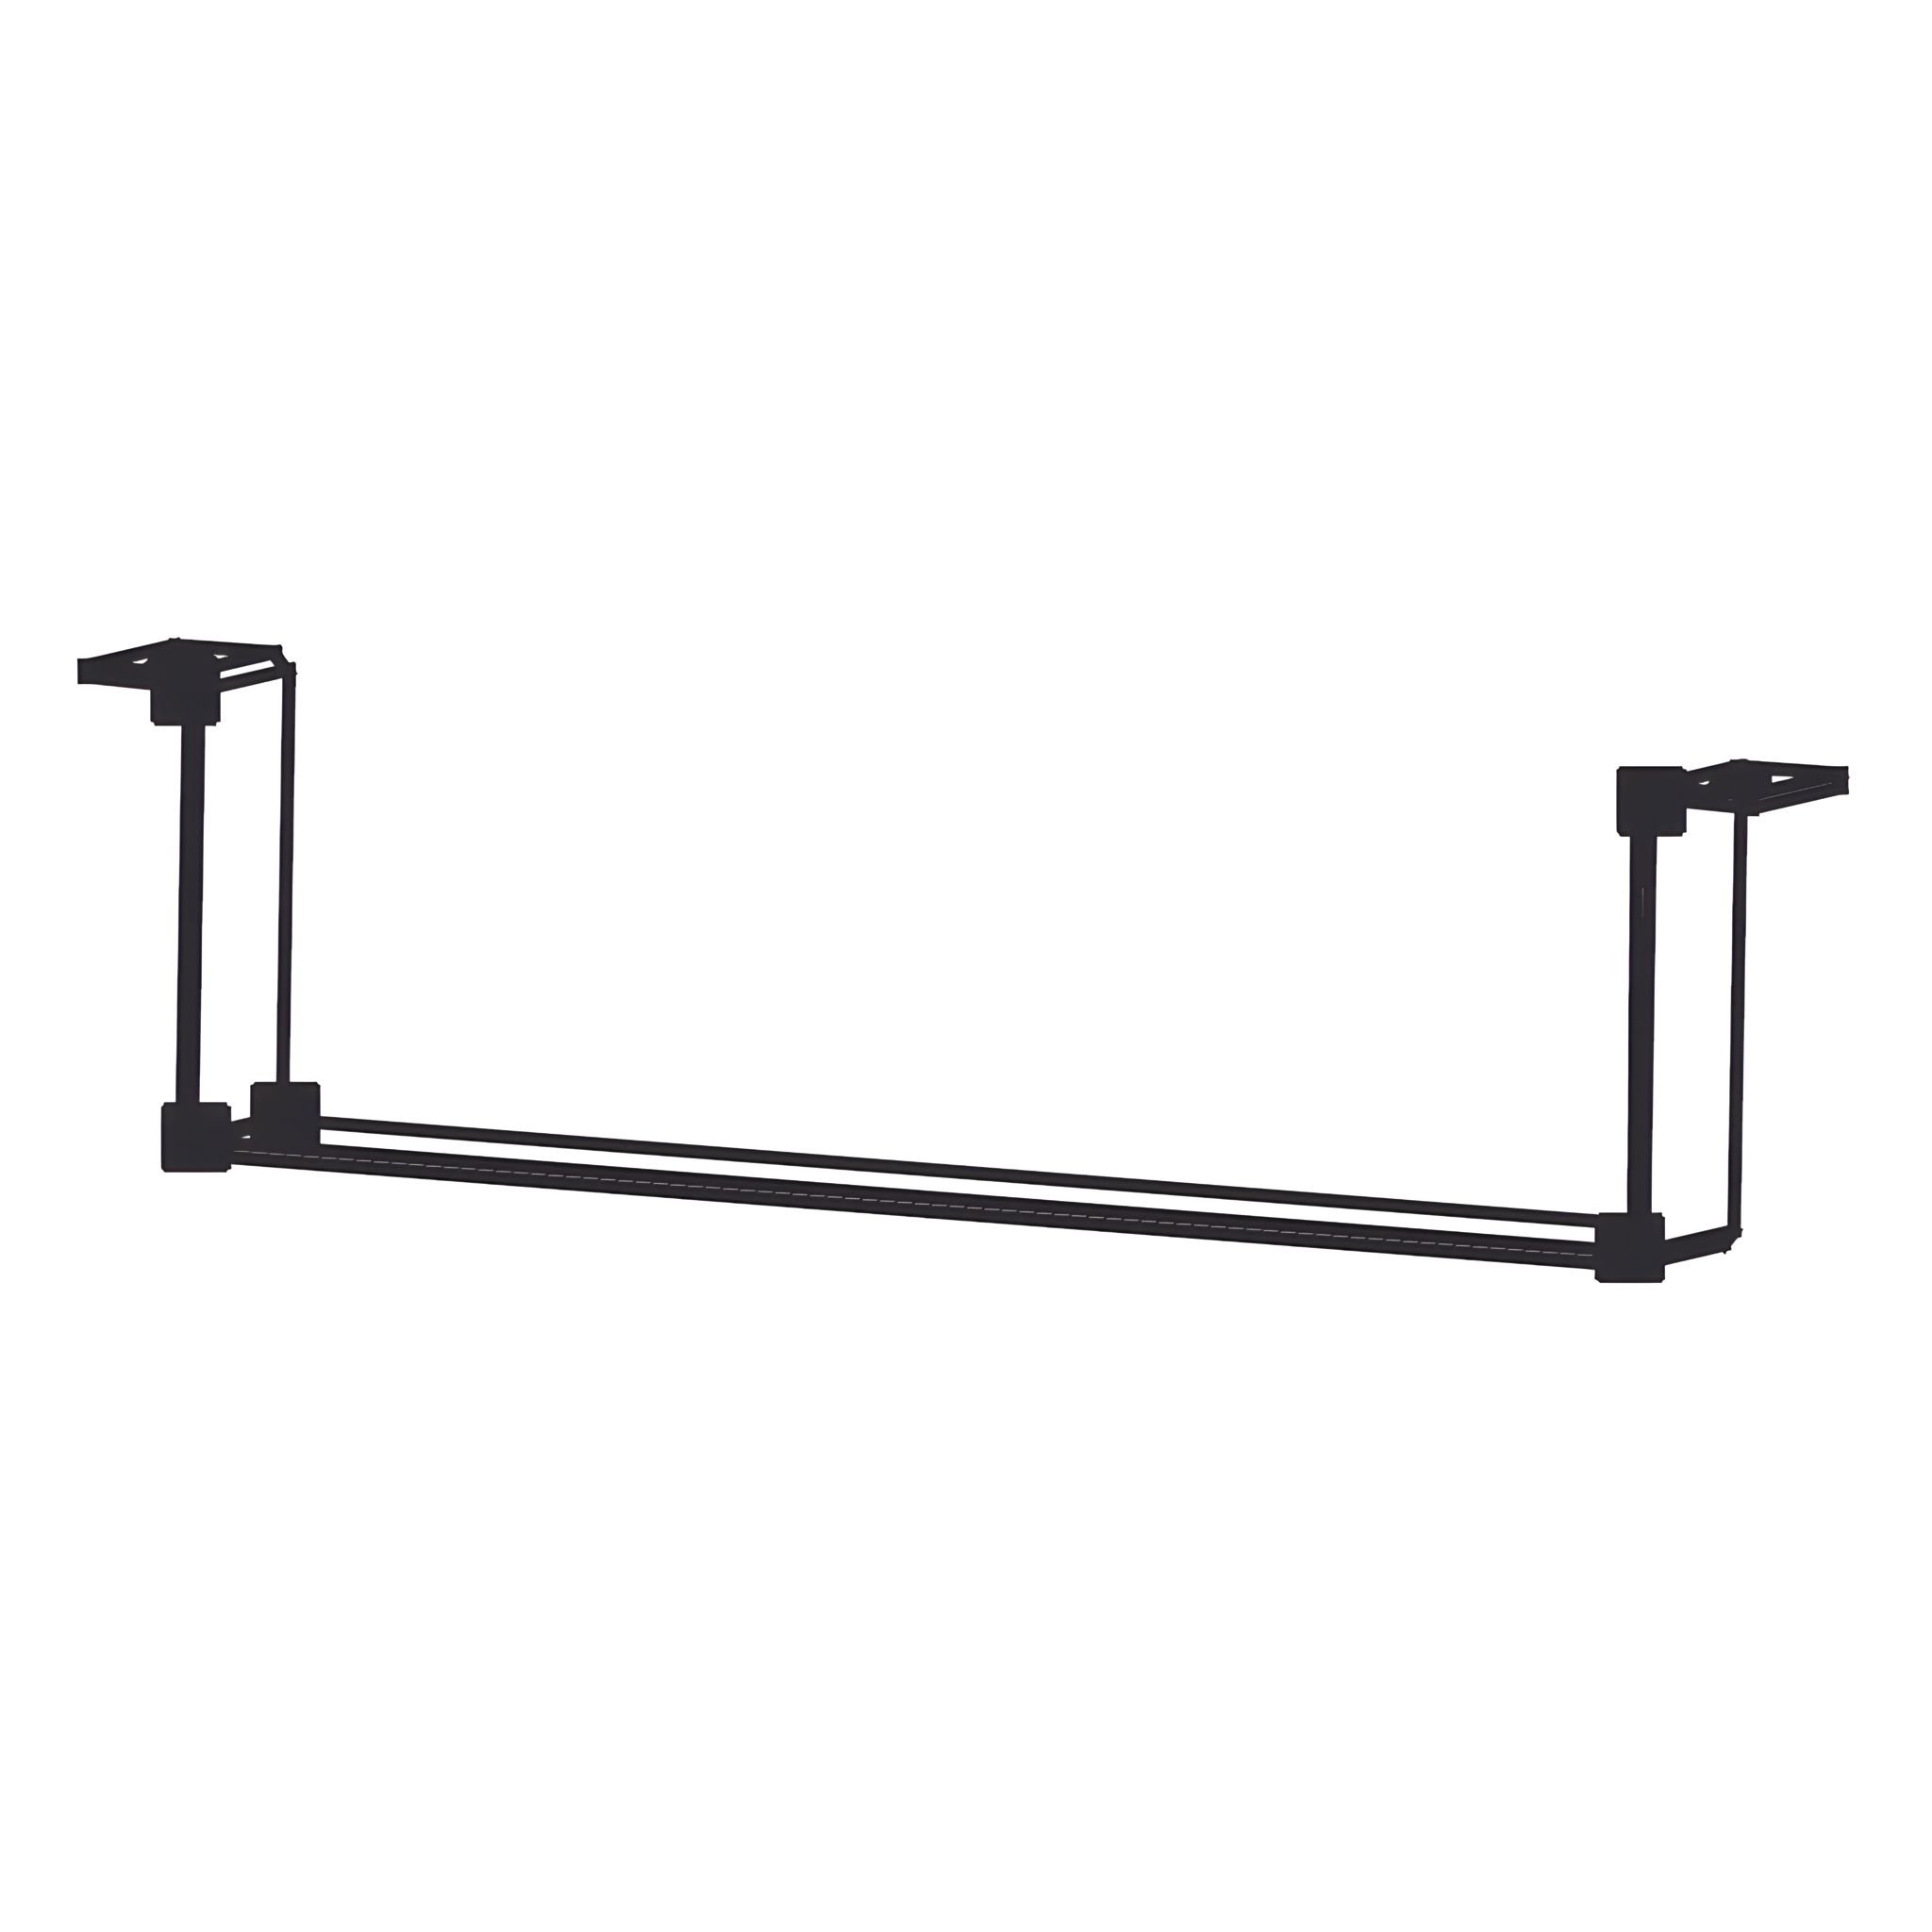
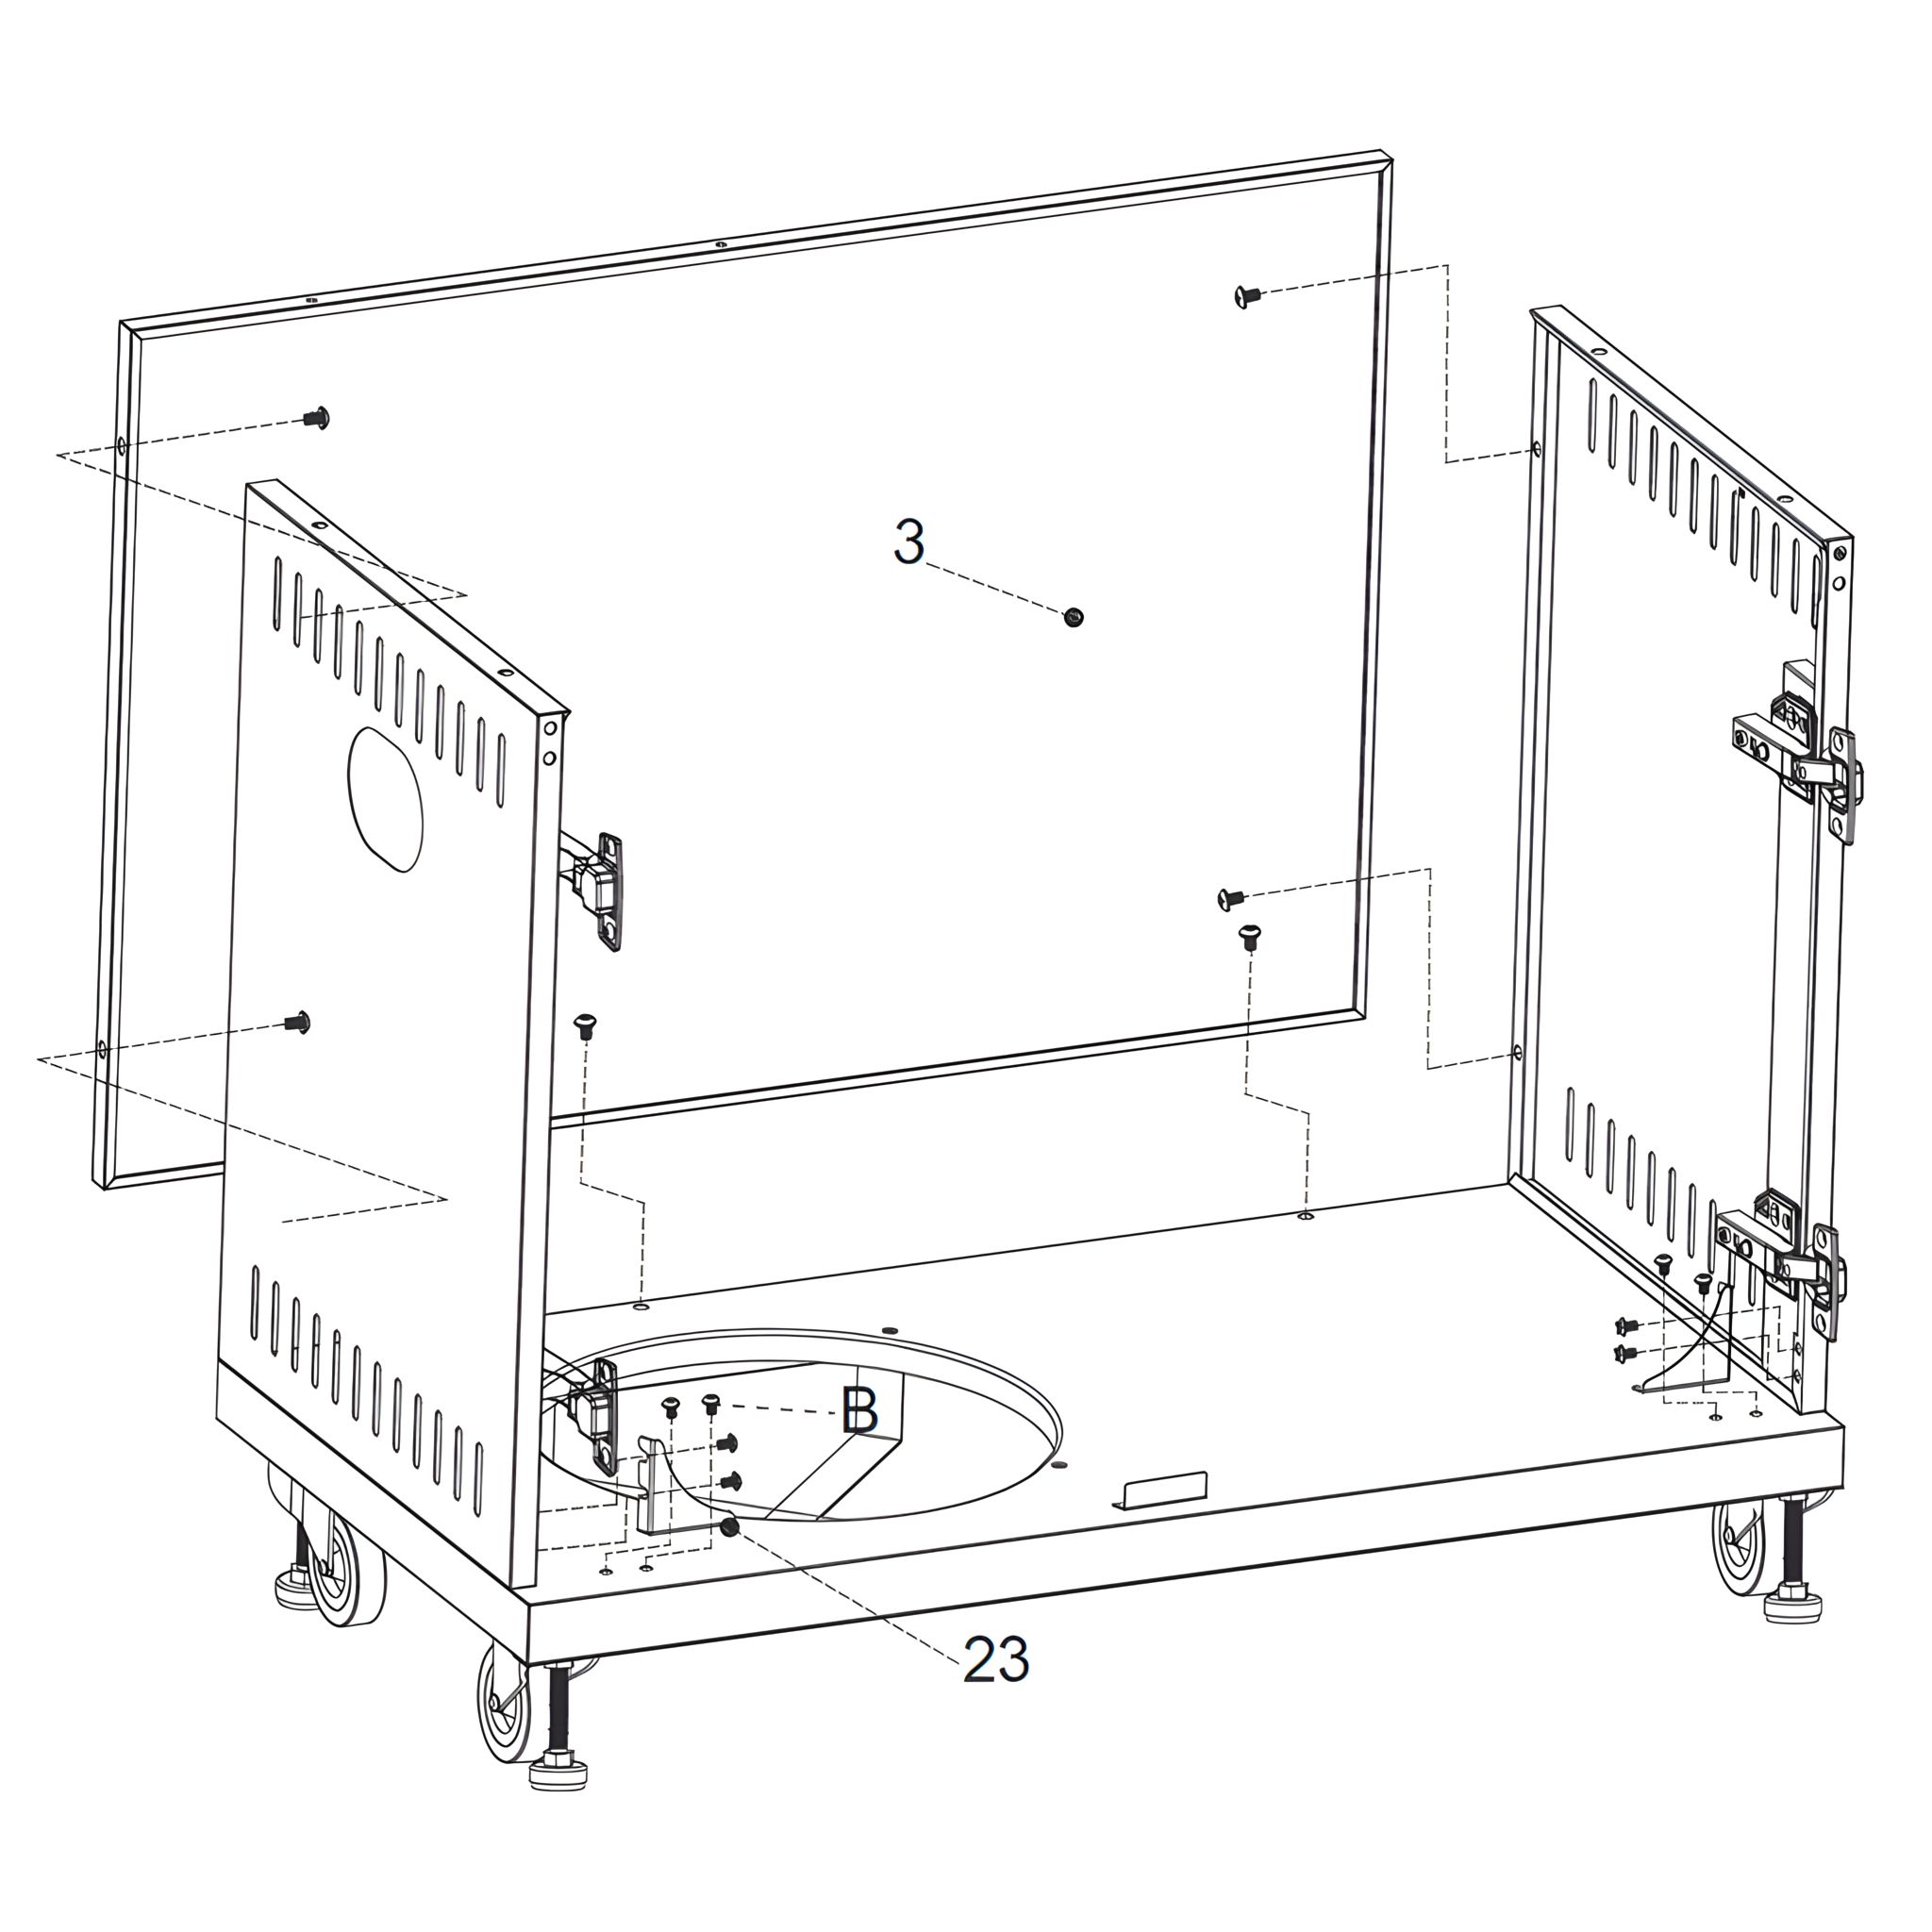
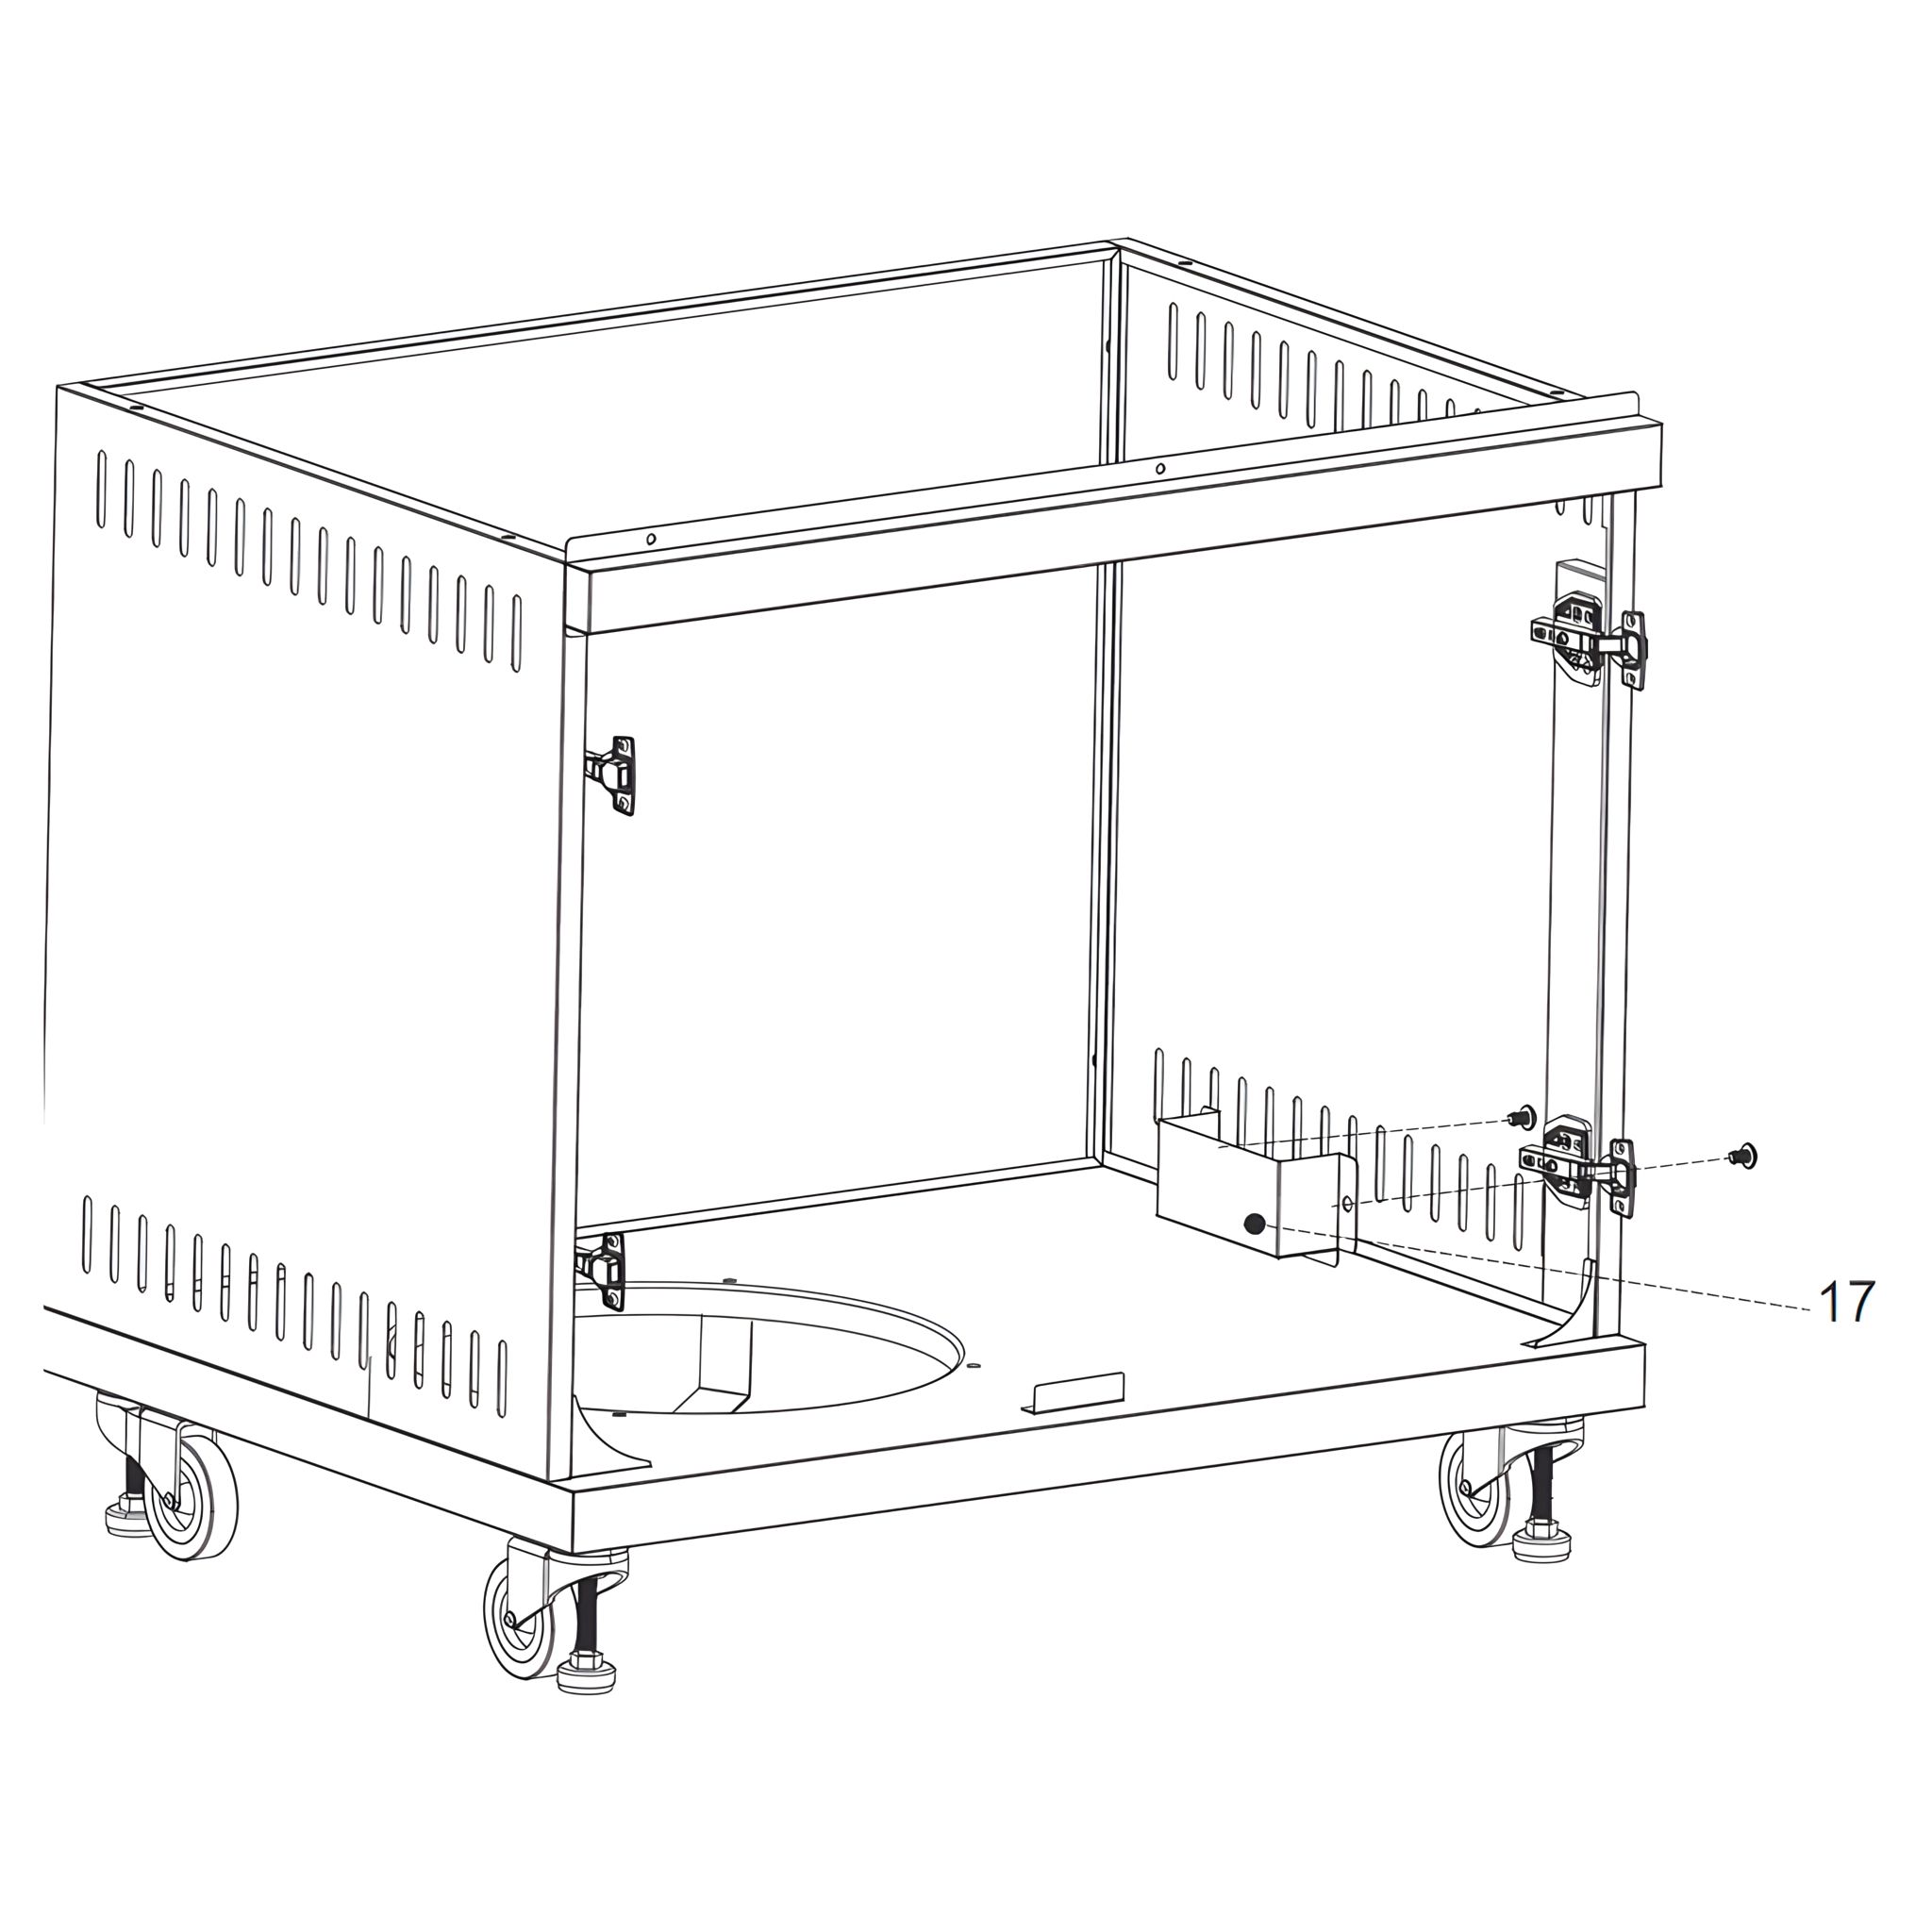
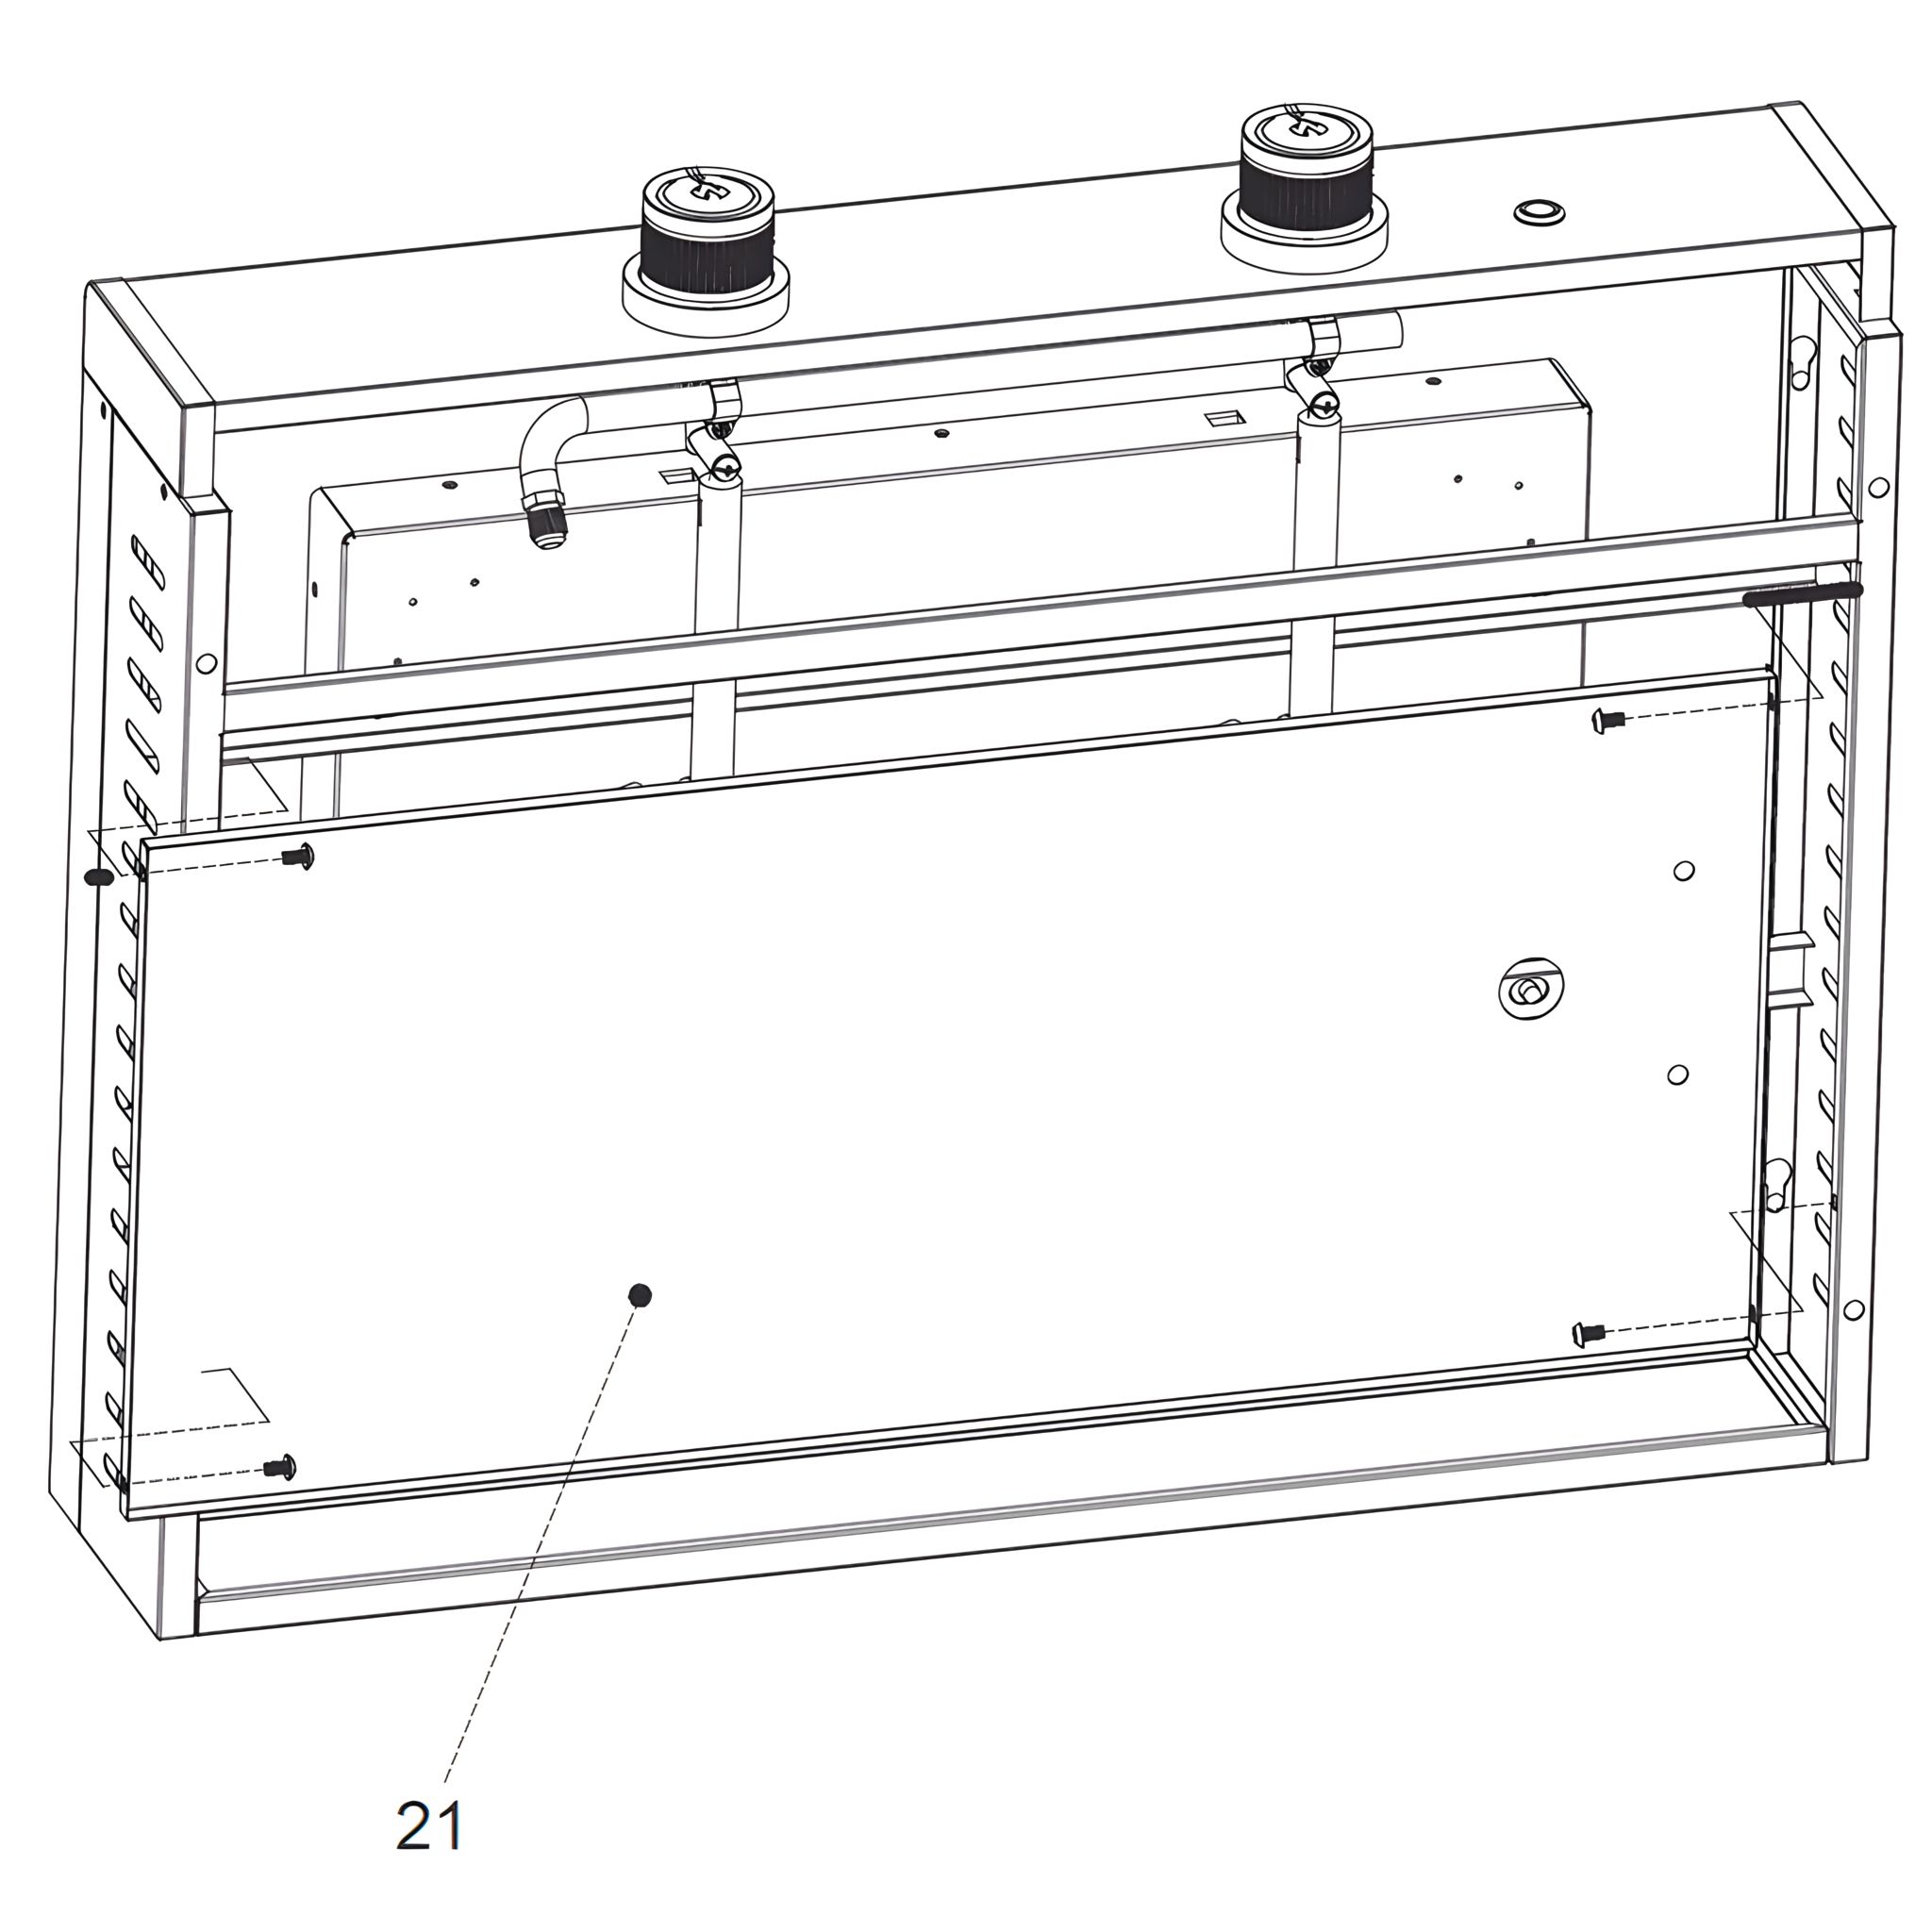
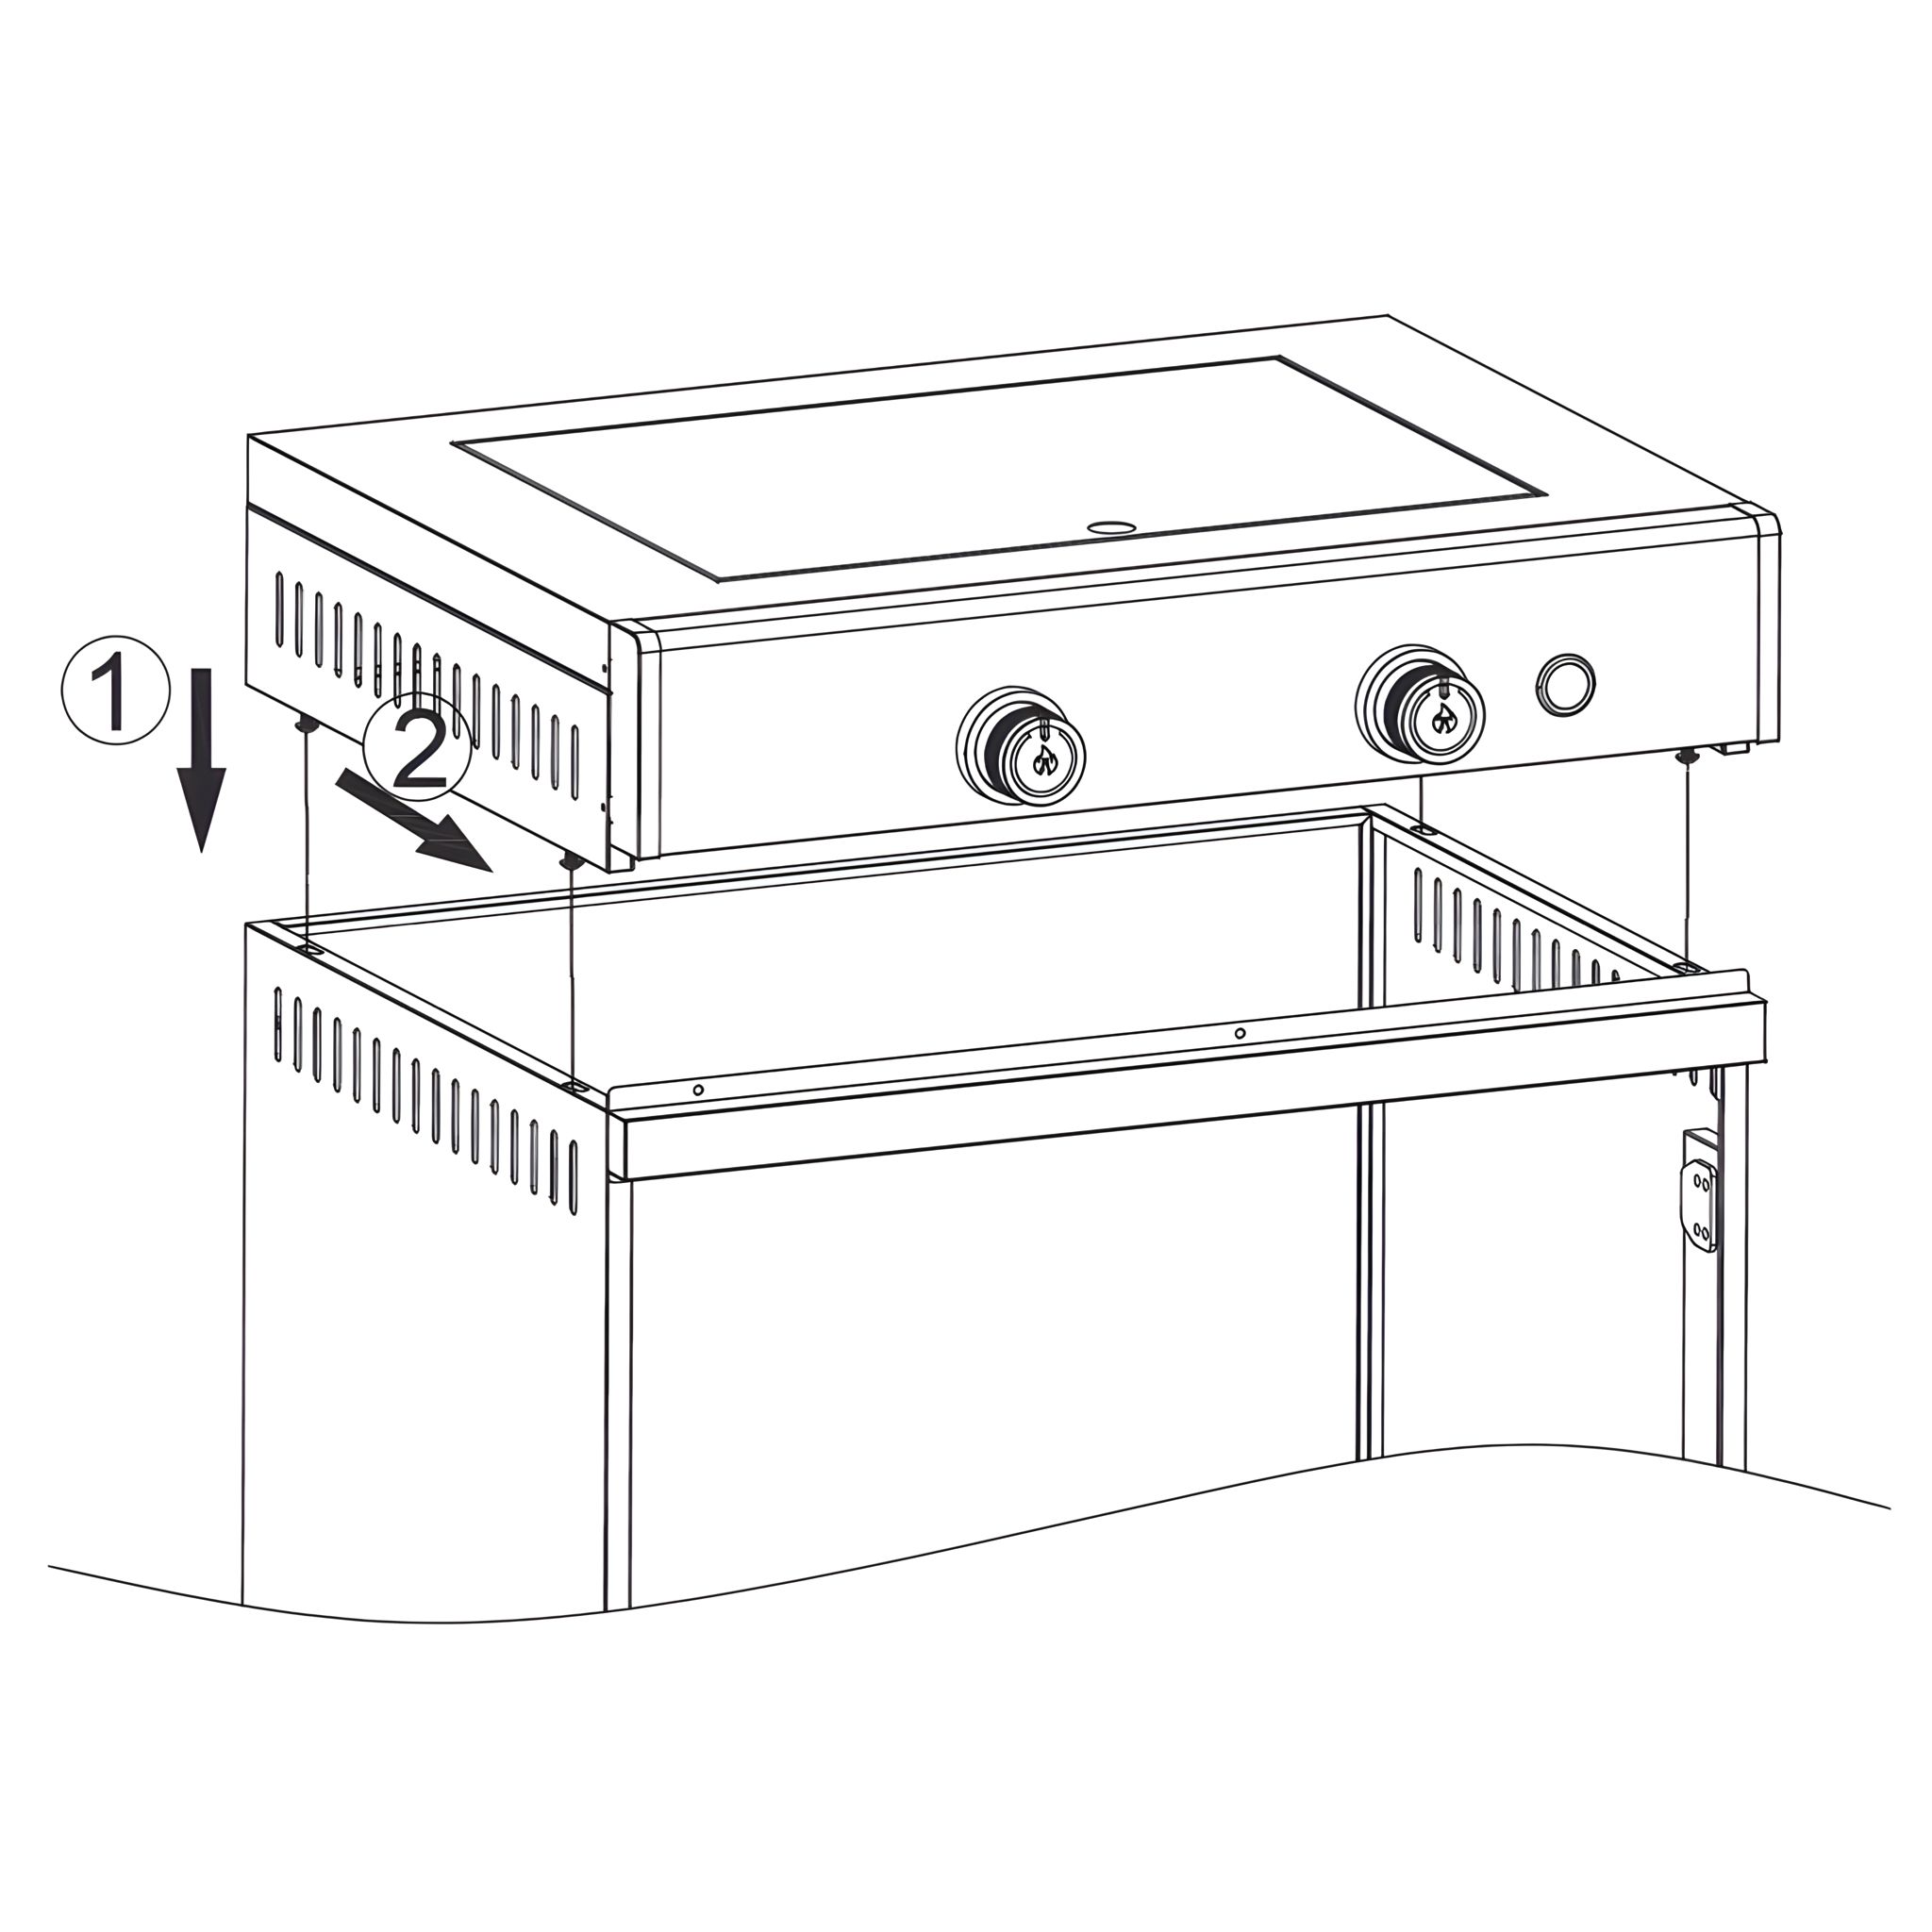
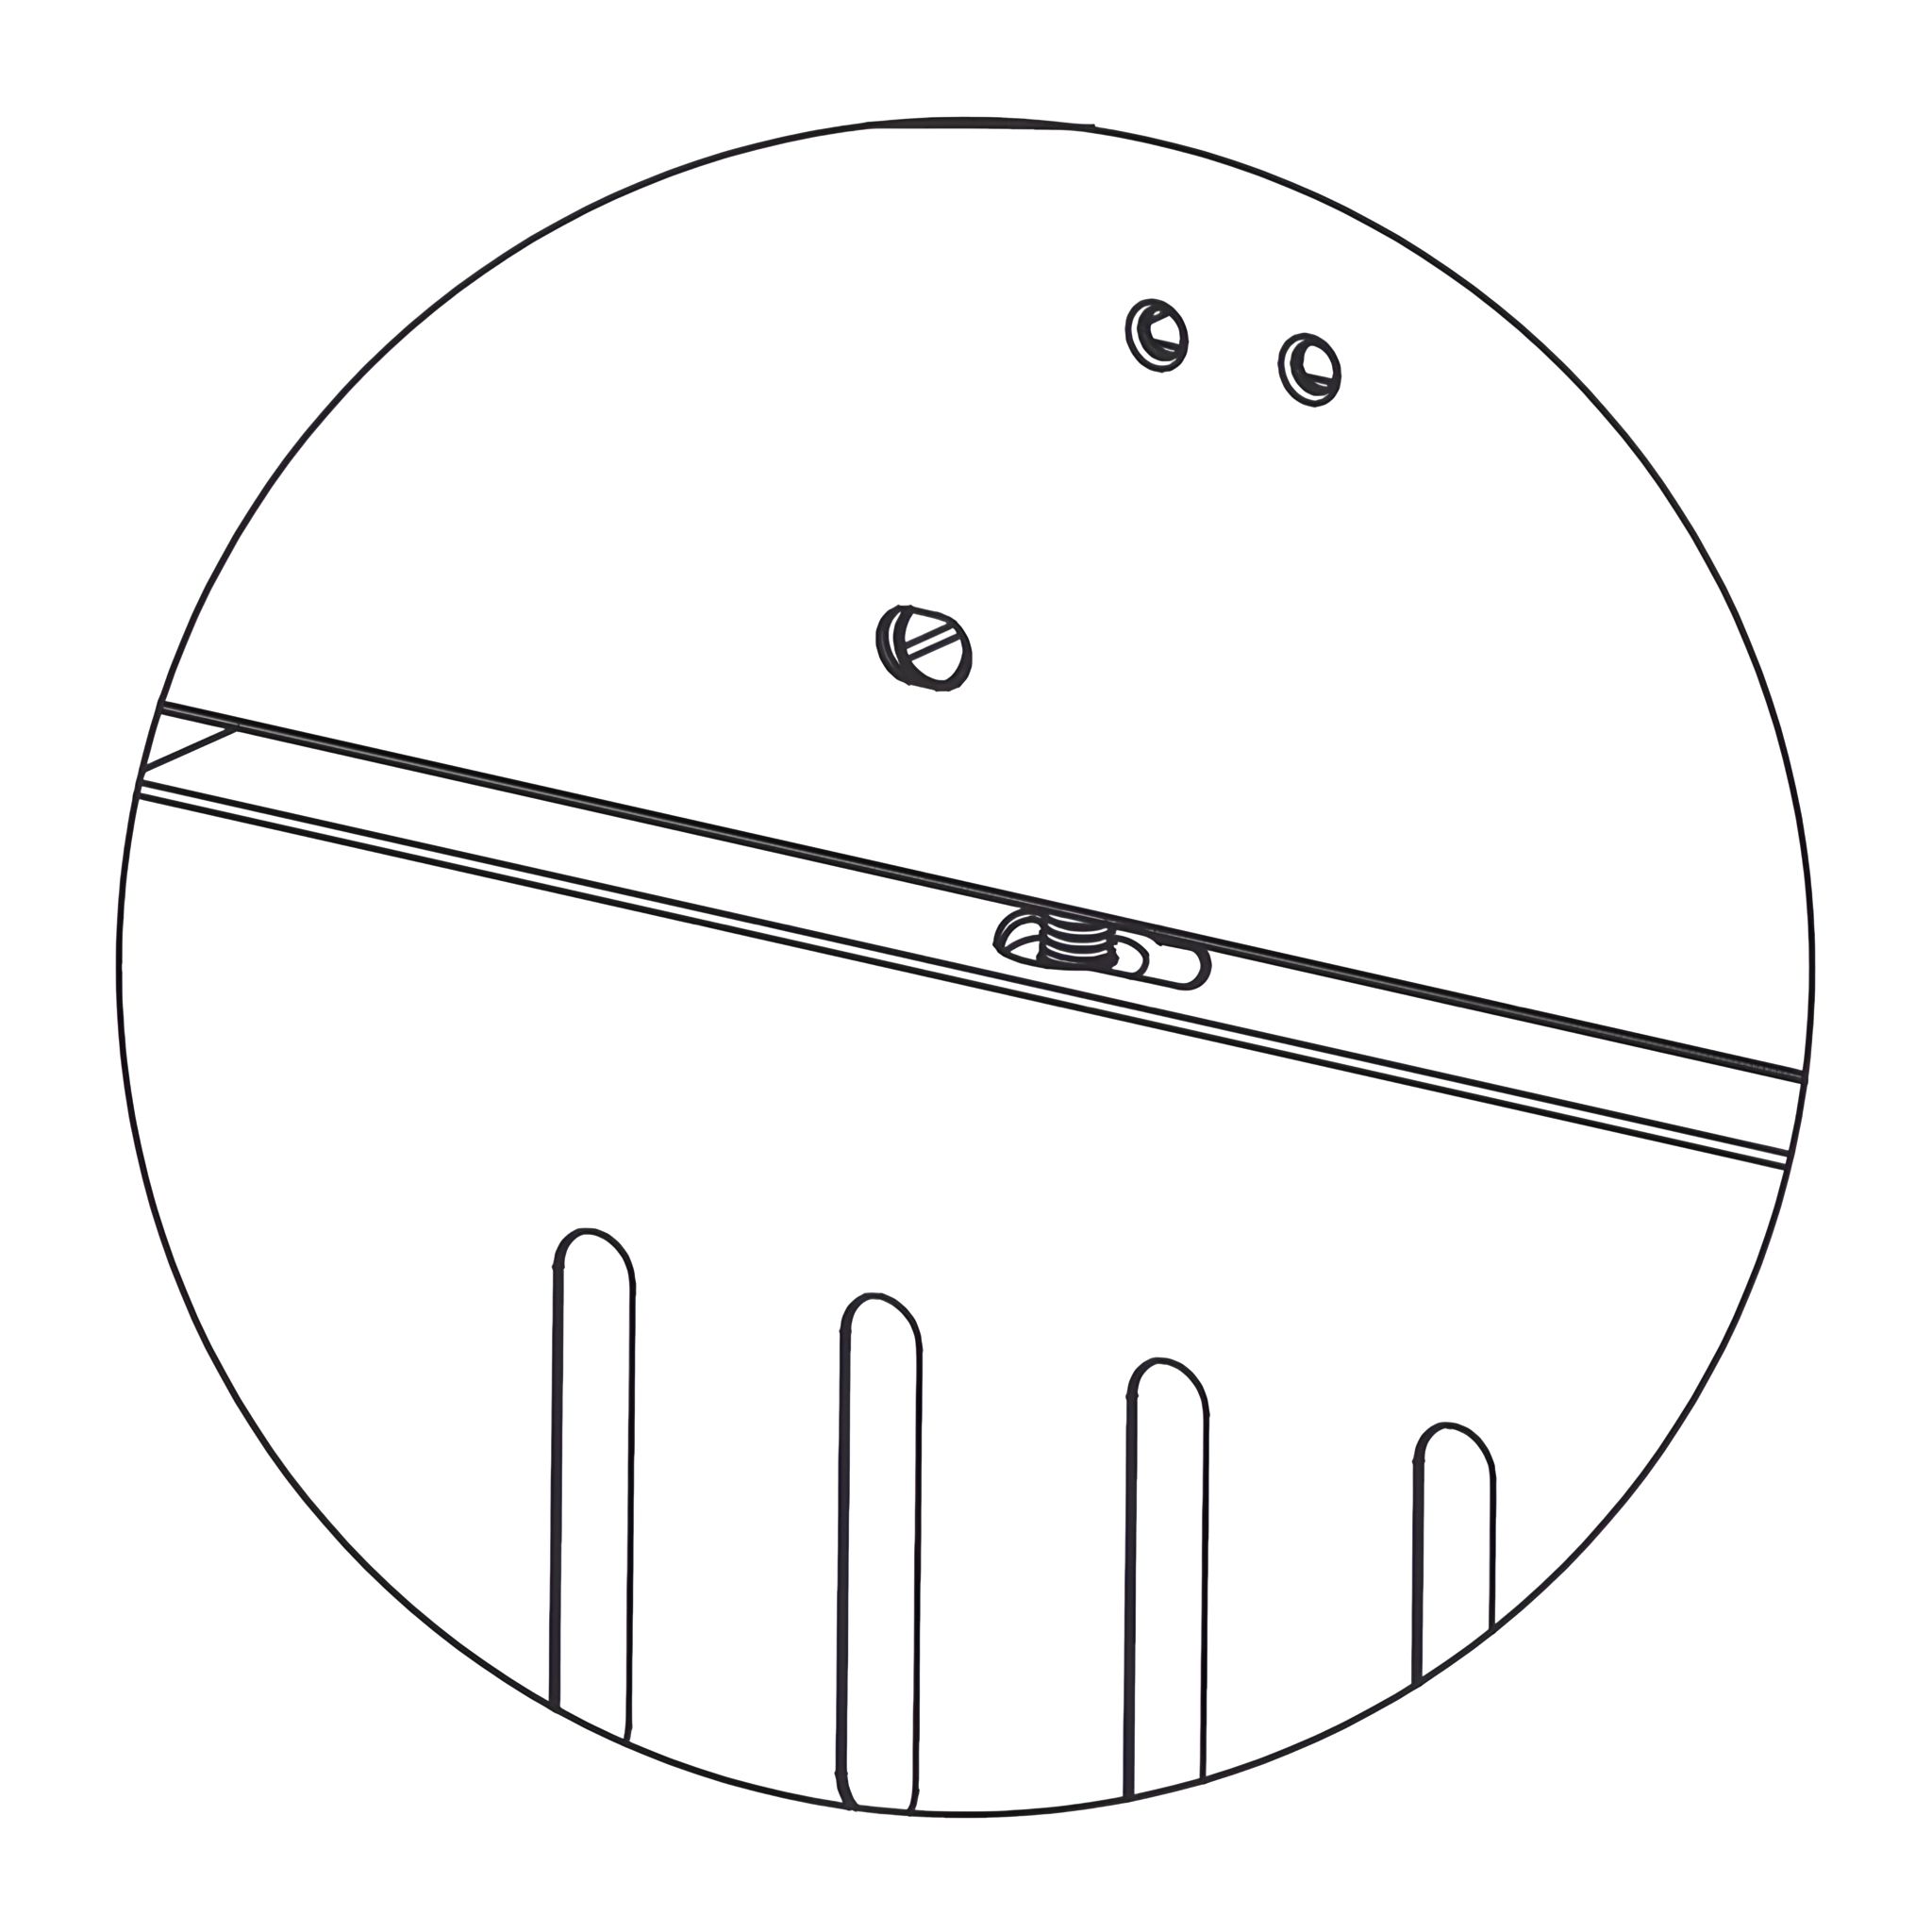
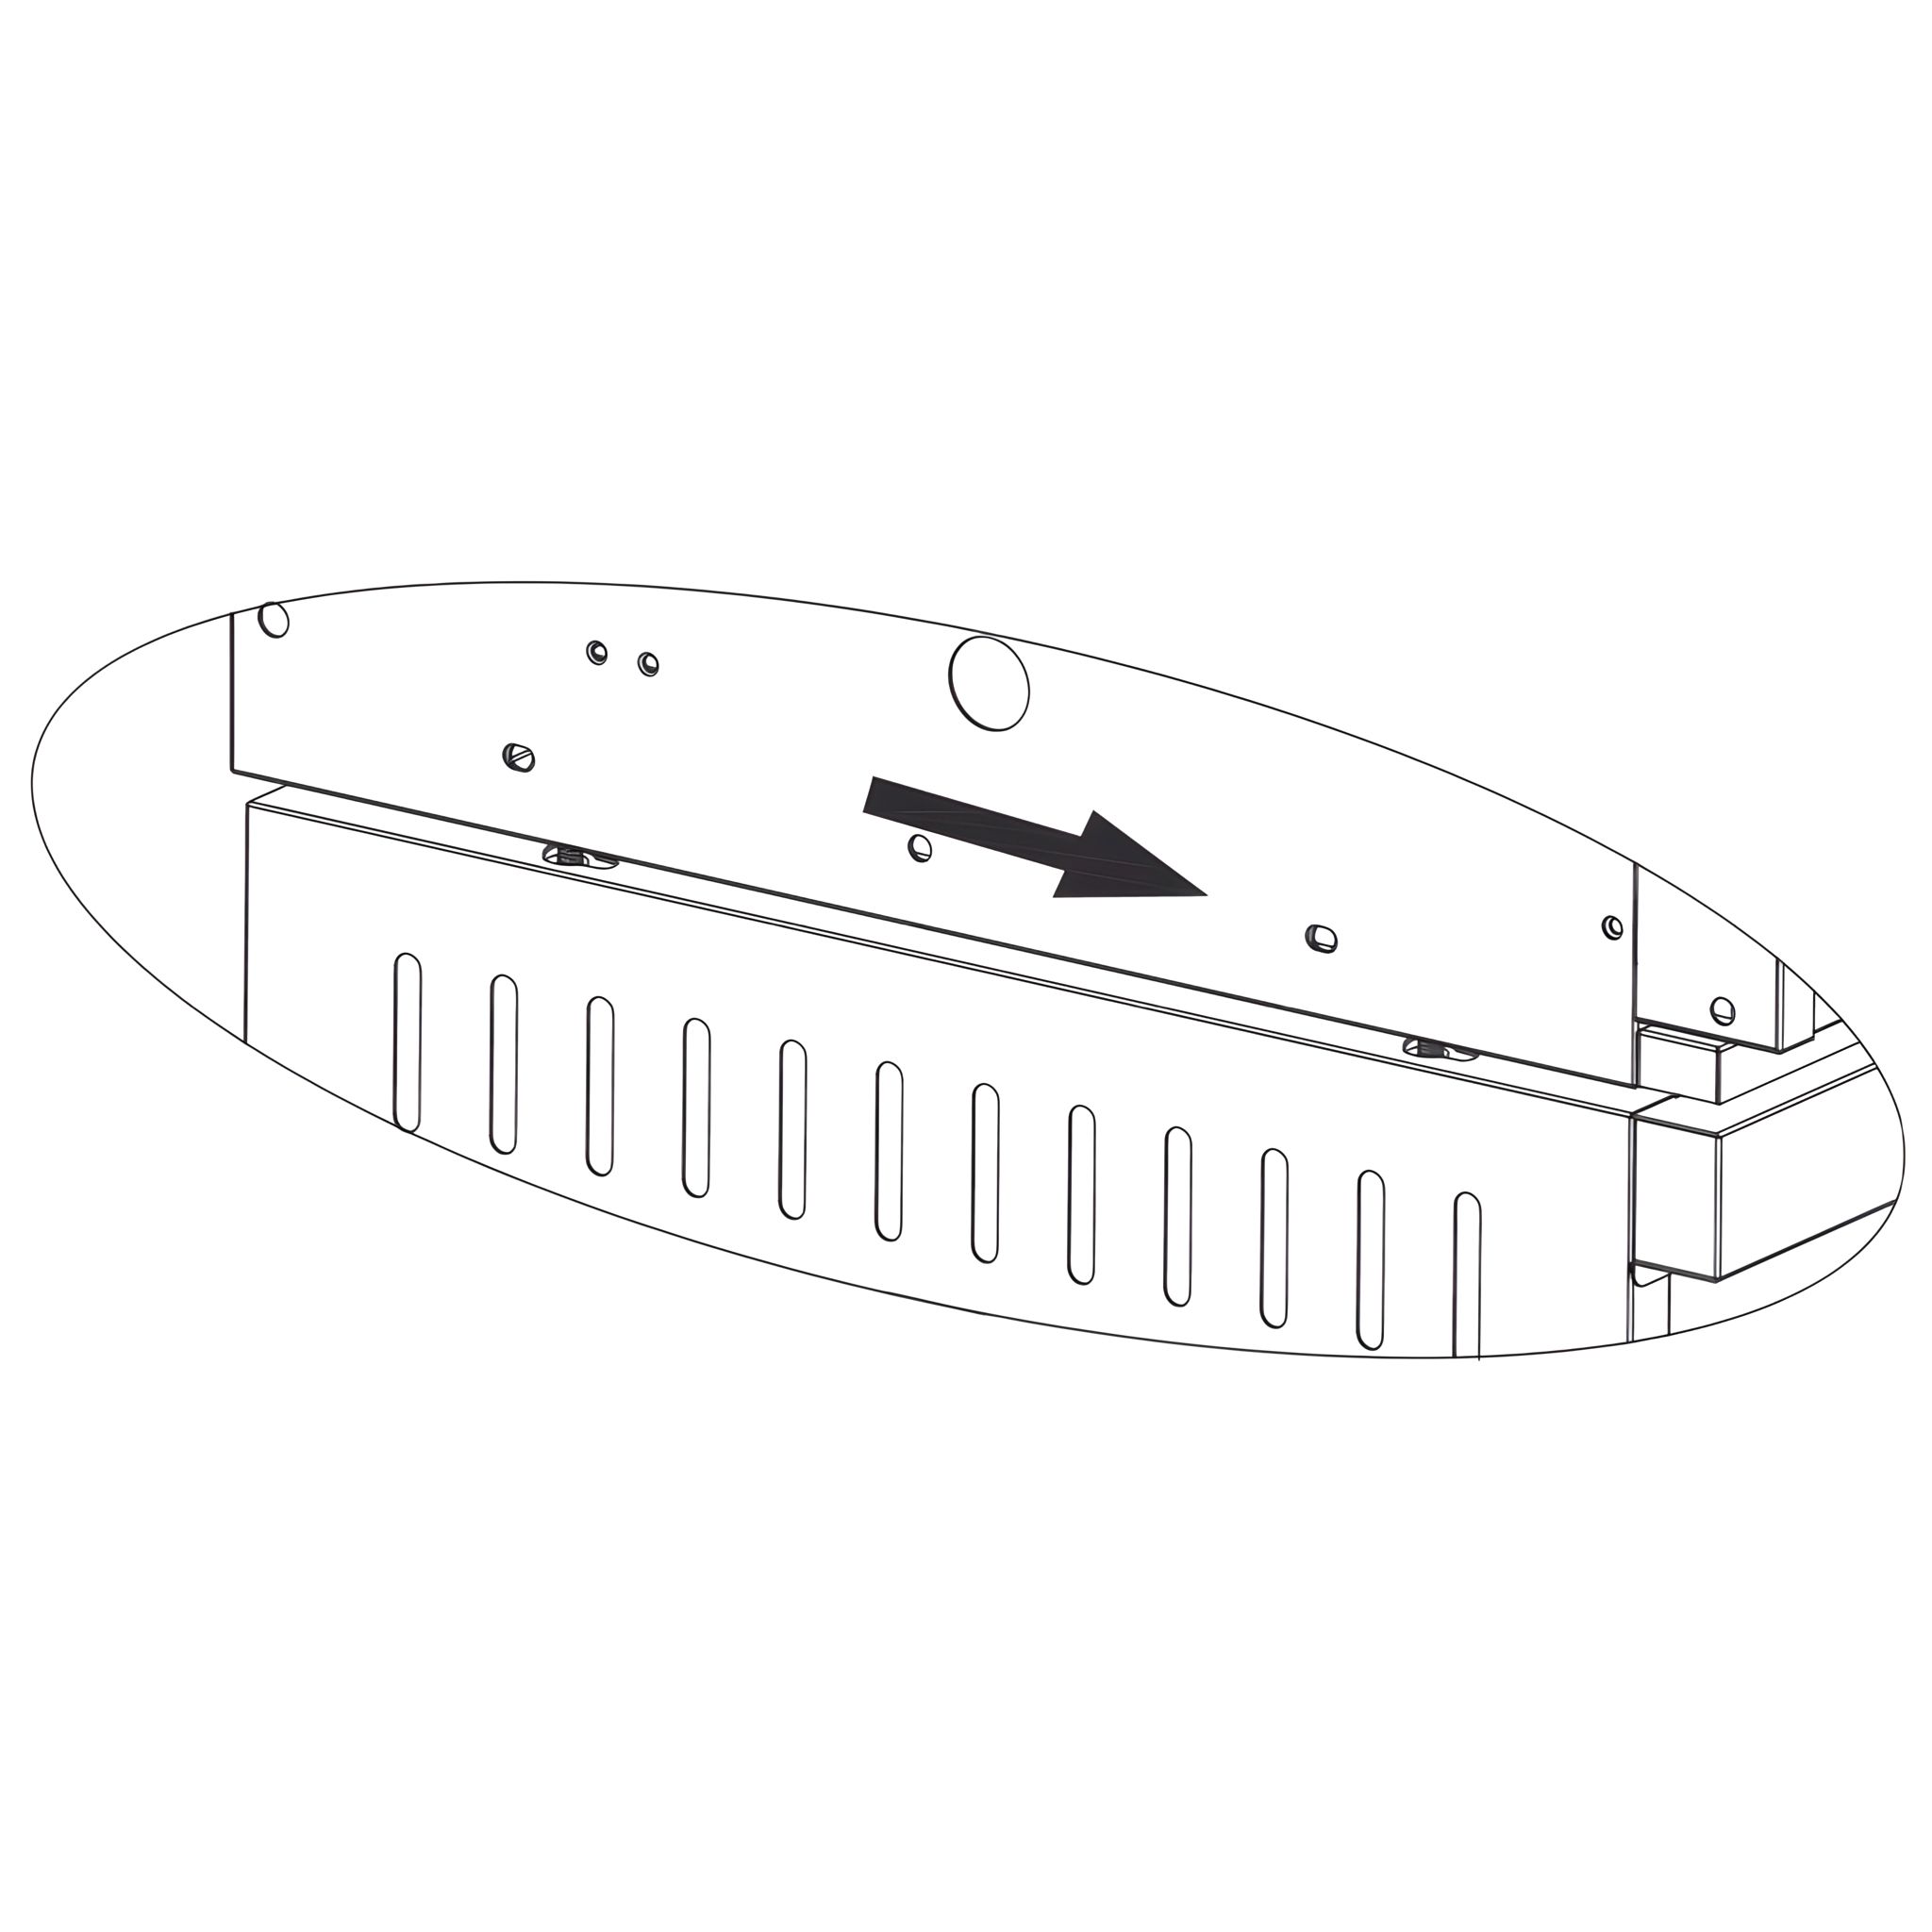
Align the rear panel between the left and right side panels.
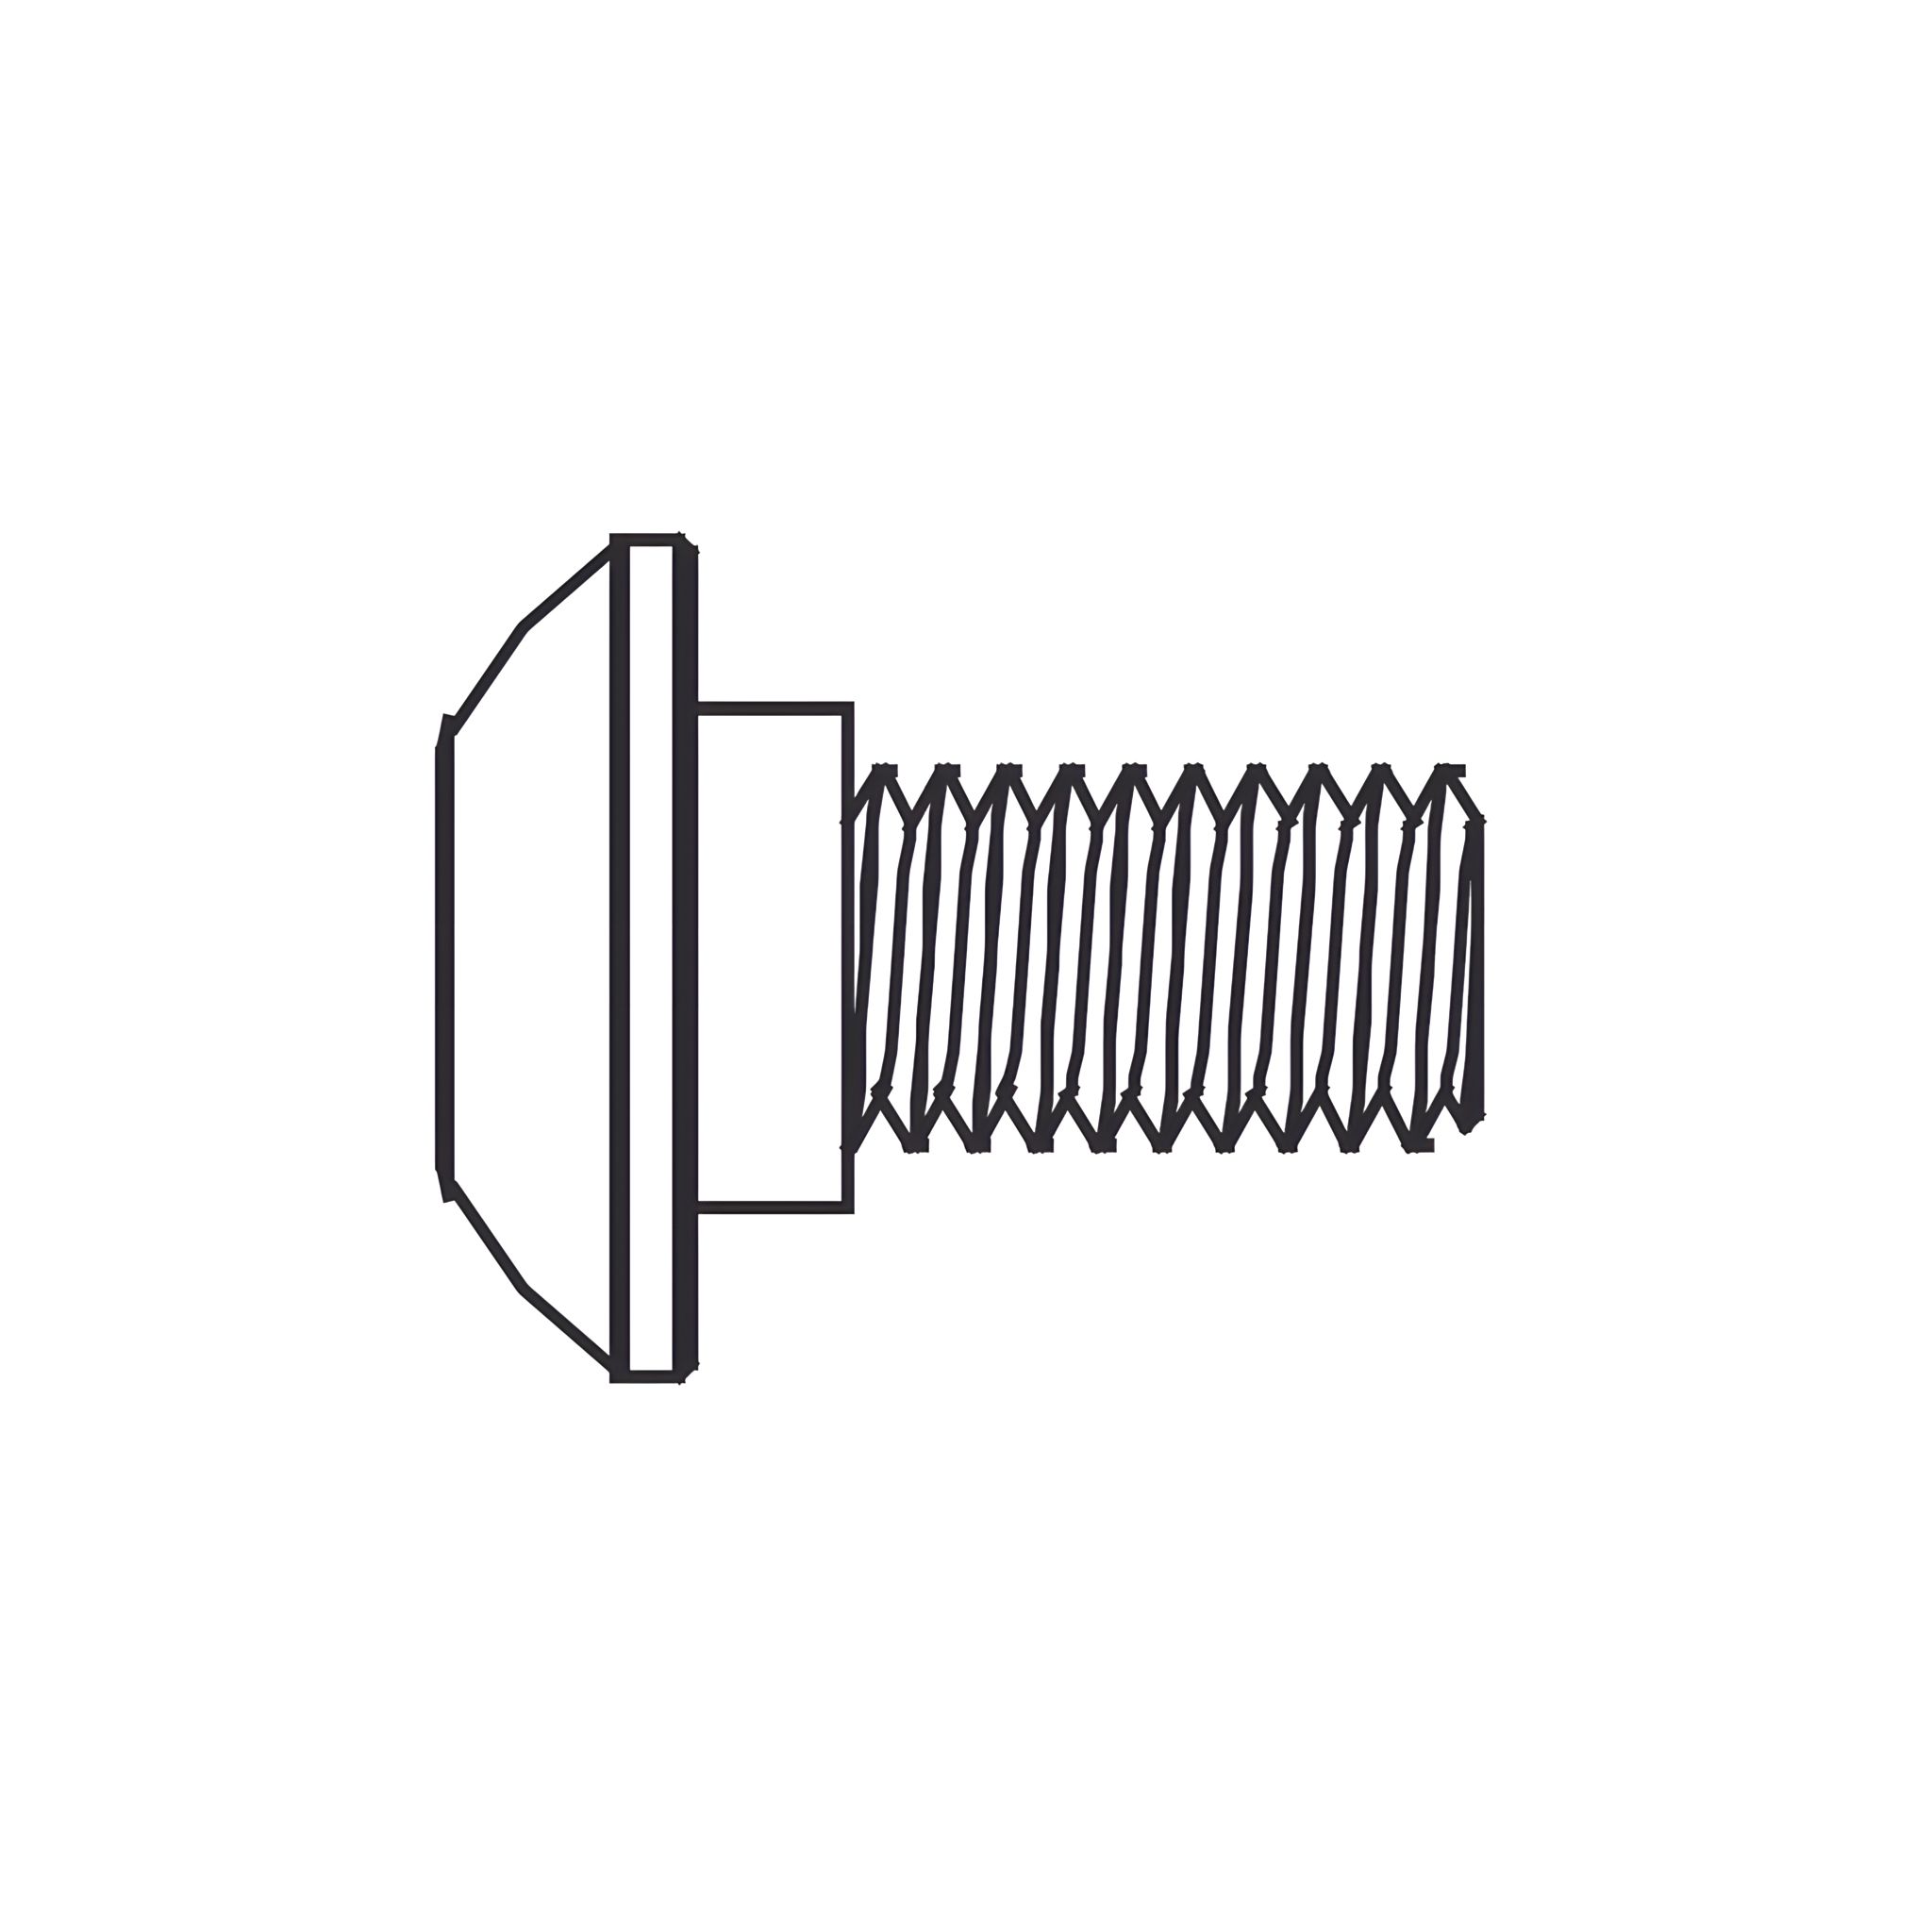
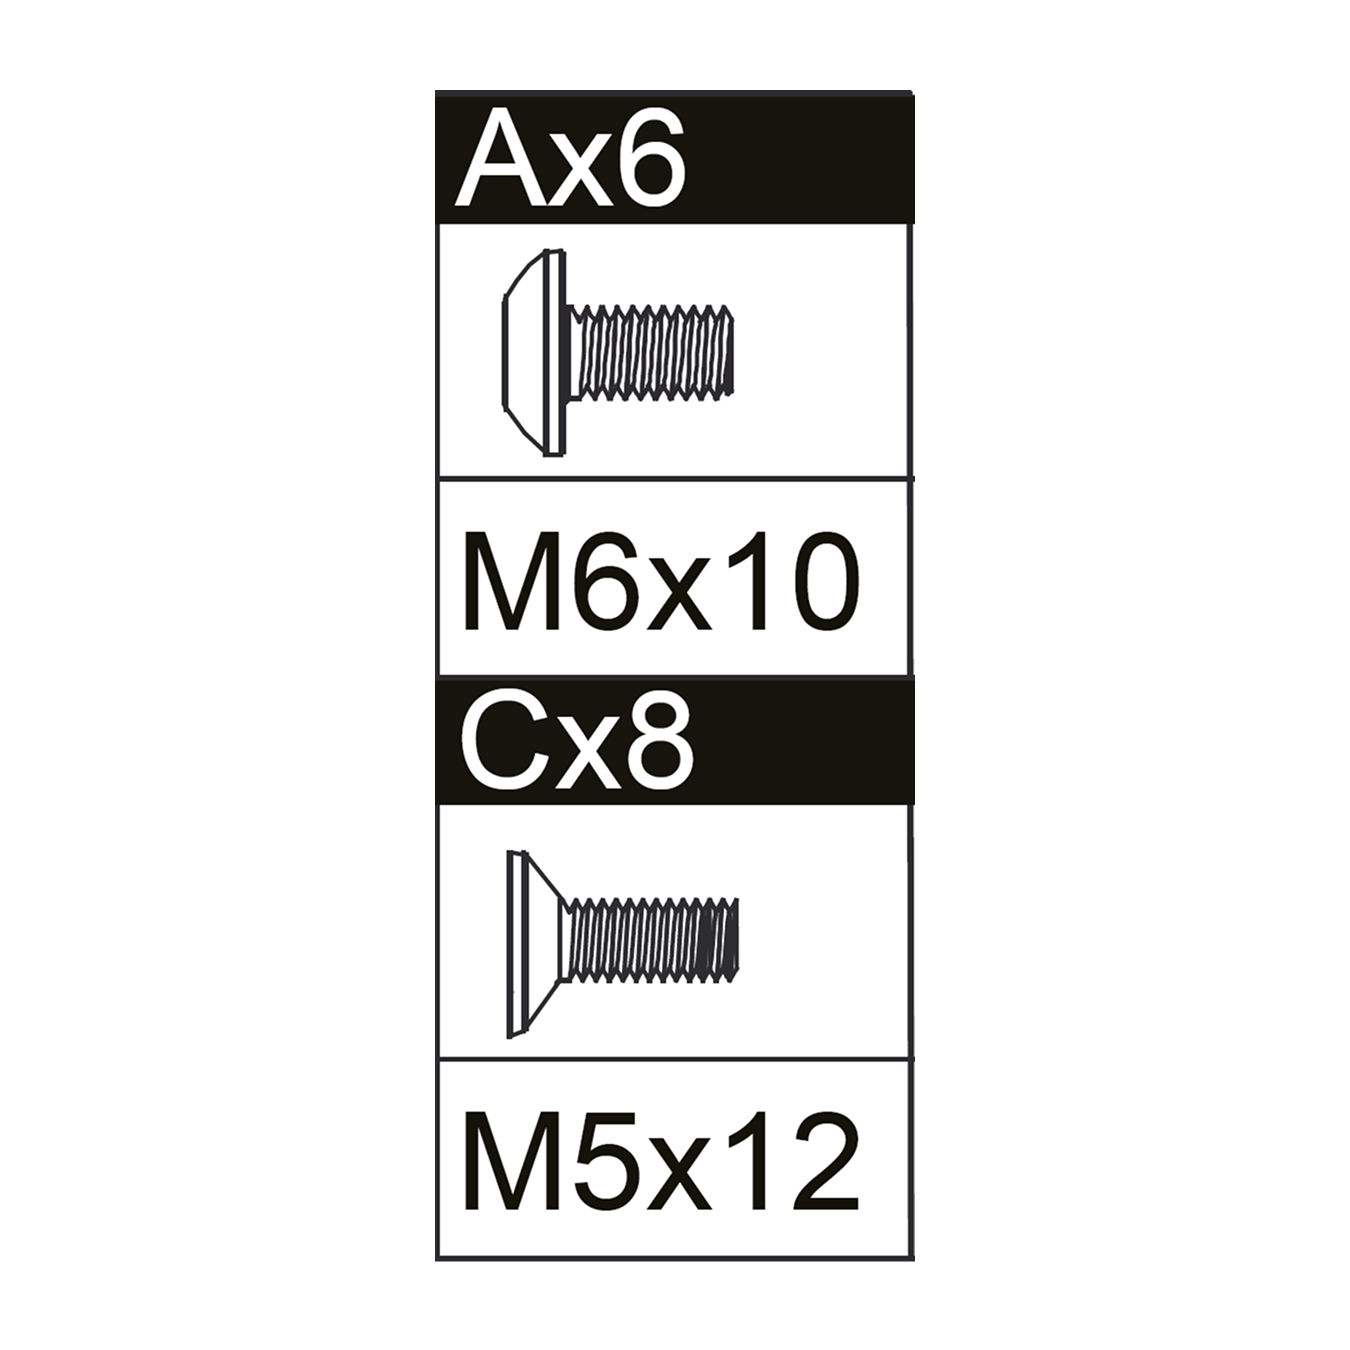
Secure it using M5×12 screws to attach the connect bracket, ensuring stability and proper alignment with the rest of the structure.
19. After connecting
We strongly recommend sealing the joints between the units along the top edge of the kitchen tops, as well as between every kitchen top and the fascia, with an appropriate outdoor sealant to prevent water ingress.
20. Connecting the LPG Gas Cylinder to the Appliance
The appliance may only be used with butane, propane, or a low-pressure LPG mixture, and with a suitable low-pressure regulator and a flexible hose. The hose must be securely connected to the regulator and the appliance with hose clips or screws. Please refer to the technical specification for the appliance’s gas pressure. 
Use a suitable regulator certified to EN 16129: 2013, suitable hose certified to EN 16436-1. Contact your LPG supplier for further information on suitable regulators and hoses for gas cylinders.
21. Gas Cylinder Safety
Always keep the gas cylinder away from any possible ignition in a well-ventilated area. 
Do not smoke while handling the gas cylinder. 
Never store gas cylinders indoors. 
Store away from direct heat in a well-ventilated area. 
Always keep the gas cylinder in an upright position. 
Close the gas cylinder valve when the appliance is not in use. 
Do not subject the gas cylinder to excessive heat. 
Cylinders should never be stored at temperatures above 50°C. Never store gas cylinders close to flames, burners or other heat sources.
Type of Gas Cylinder to Be Used
There are many different size of gas cylinder available. The spec of shown here is the maximum that should be used.
Max Capacity: 11kgs
Max Height: 590mm
Max Diameter of Bottom: 305mm
22. Regulator & Hose
These items are not supplied with the barbecue, but are available separately from your retailer or approved LPG gas distributor. Use only regulators and hoses that are intended for use with LPG at the pressures indicated according to the correct gas pressure and gas type (Refer to technical specification). The service life of a regulator is estimated at 10 years. It is recommended that you change the regulator 5 years after its date of manufacture. The hose should be changed when national regulations require it. It is recommended that you change the hose 5 years after its date of manufacture. Using an unsuitable regulator or hose is dangerous. Ensure that the products that you have are suitable for use. The hose must comply with the standards in force in the country of use. The hose must be a minimum of 0.6 meters long and a maximum of 1.5 meters. A damaged regulator or hose must be replaced. Ensure that the hose is not blocked, kinked or in contact with any part of the barbecue other than the connection point.
23. Leak Test
Do this before using the appliance.
Do not test for gas leakage with open flame. If smells gas, turn off gas supply immediately.
Before each use, must check for gas leakage as below procedure:
1. Mix one part washing up liquid to three parts water to make 60 to 90 ml of leak finding solution. 2. Ensure that the control valve is closed. 3. Connect the regulator to the cylinder and the open/close valve to the burner. Ensure that connections are correctly made and then open the gas inlet valve. 4. Spread the solution over the hose and all joins with a brush. If any bubbles appear, then there is a leak, which must be repaired before the barbecue is used. 5. Test again, once the leak is repaired. 6. Close the gas inlet valve on the cylinder, when the test is complete. 7. If a leak is detected which cannot be repaired, do not attempt any other action but contact your distributor for assistance.
24. Burning Off Factory Grease Before First Use
Measures to perform before using the product for the first time.
When burning off the storage grease, the appliance produce unpleasant smoke.
This is normal, the smoke will vanish once the storage grease has been burned out.
After the leak test, the grease used during factory storage must be burned off from the grill before it can be used.
You can burn off the storage grease by following the instructions below:
1. Open the hood and ignite all burners according to the lighting instructions. 2. Set the burner to “MAX” and let them burn for 5 minutes with hood open. 3. Close the hood and keep the burner at “MAX” for 10 minutes 4. Close the regulator valve and turn off the burner. 5. Let the appliance cool down for 15 minutes. 6. Clean the cooking grids with grill-cleaning brush. 7. Grease the cooking grids with cooking oil.
25. Before Use
To operate the grill safely and appropriately, you need to perform a few checks before each use.
Carefully go through the checklist below:
1. Check that the grill is place correctly and there are no flammable materials in the immediate vicinity of the grill. 2. Check that the gas hose is not cracked or torn. 3. Check that the regulator is fastened tightly. 4. Check that the grill’s bottom, grease tray, flame tamer and burners are clean of grease and marinade. By doing this, you can prevent grease fires. 5. Checked that the burner holes are not covered by insert or webs. 6. Checked that there are no bristles from grill brushes stuck to the grill or grids.
26. Using a Pan
GENERAL INSTRUCTIONS FOR USING A PAN ON THE GRLLR CONNECT STOVE UNIT the burner can only be used.
The burner can only be used with a flat-bottomed pan with a diameter between 16 cm and 22cm.“. Please have a look to find a fit for the Connect Stove Unit.
27. Lighting the Main Burner
1. Open the hood. 2. Turn the regulator valve on.  3. Turn the control knobs clockwise to the “OFF” position.  4. Push down the control knob and turn it anti-clockwise to the position, this will light the burner.  5. When the first burner has been ignited, ignite the remaining burners like in step 4.  6. Adjust the power of the flame by turning the knob to the MAX/MIN position.  7. If the burner does not light up, turn the control knob to OFF and wait 5 minutes before attempting to ignite the burner again. If you cannot get the burner to ignite using the piezo igniter, you can try lighting the burner up with a long match or lighter. 8. To switch the barbecue off, close the valve on the cylinder or the switch on the regulator if you have finished using the barbecue, then turn the appliance’s control knobs clockwise to the “OFF” position. 9. If the side burner is still in use, just turn the control knobs clockwise to the “OFF” position.
28. Igniting the Burners with a Match or a Long Lighter
1. Open the hood of the grill. 2. Turn the regulator valve on. 3. Light a long match (min. 90mm length) or lighter. 4. Push down the control knob and turn it anti-clockwise to the “MAX” position. 5. Place a long match or lighter about centimeter away from the burner. When the first burner has been ignited, you can ignite the remaining burners in order by turning the control knob counter-clockwise between 6. When the first burner has been ignited, you can ignite the remaining burners in order by turning the control knob anti-clockwise between “MAX” and “MIN”.
If the burner does not light up within five seconds, turn the control knob to OFF and try to find a solution from the troubleshooting table. Or contact your retailer/distributor.
29. Checking the Flame
Always check the flame when turning the grill on. The burners have been optimized at the factory, but the small holes on them attract insects to nest and make webs on the burners. When the burners are burning properly, only the tip of the flame is occasionally yellow, and the flame’s color changes from light blue to dark blue from the top down.
30. Preventing Rust
Rust is a chemical process in which iron oxidizes and begins to flake away the metal. This is caused by water that soaks into the metal or comes in contact with the metal frequently over time. As an outdoor appliance made of steel, some surface rust should be expected from time to time. Keeping your grill under cover, clean and dry, goes a long way toward preventing rust from occurring. Some tips are:
1. Ensure cooking surfaces (including flame tamer) are kept clean and dry after cooking, particularly after cooking with marinades. The cooking surface should be rubbed with oil after use. 2. Do not leave the grill out in the rain. 3. Do not store the grill when it is wet. Dry thoroughly first. 4. During both summer and winter, periodically remove the cover to enable the grill to air out, and get rid of any built-up condensation. 5. Light surface rust can be easily removed with a rag, soaked in white vinegar, or using a commercial rust remover. Dry the affected area and apply a coating of rust-preventing fluid, available at most auto stores. 6. Chipped enamel can be treated with touch-up paint to cover the bare metal surface.
31. Cleaning
Do not wash any parts of the grill in the dishwasher!
32. Cleaning Burners
The grill’s burners are the most vital part of the grill’s functionality and heating. This is why you need to check their cleanliness and condition regularly. You must remove and check the burners at least twice a year, particularly when the grill has been in storage for a long time. The small holes on the burners attract insects and spiders which can build nests. Such obstructions cause the flame to burn unevenly and impurely. Obstructions may cause the flame to flare up outside the gas pipe, which will damage the grill severely. Clean the burners by following the instructions below:
1. Check that the grill is turned off. 2. Remove the grill grids and heat distributor plates. 3. Remove the burner from the fire box by loosening the mounting screw. The screw is normally located at the back end of the burners. 4. In some grill models, removing the burners requires that you also remove the back plates of the grill. 5. Some models can be cleaned even when the burners are in place. The most important part is being able to access all of the small gas holes. 6. Use the brass cleaning brush intended for grills to clean the burner surfaces. 7. Ensure that the burner holes are open and clean. You can use a thin wire for this. 8. If the burner is damaged or badly corroded, replace it immediately. 9. At the same time, check that the valve nozzle is clean and intact. 10. Place the cleaned burners back into the grill.
33. Cleaning Other Grill Components
Chloride and salt may cause the grill to rust. If the grill is being used in the immediate vicinity of seawater or a pool, the grill must be cleaned after every use. In addition to the components mentioned above, the grill also has many other steel parts that need to be cleaned regularly. You can follow the general instructions below for cleaning such components:
1. Clean the steel parts of the grill with grill cleaning fluid, stainless steel cleaning liquid or mild dishwashing liquid and a cloth. 2. Do not forget to dry the cleaned parts carefully. 3. Do not use detergents for cleaning the control panels and the surfaces with warning labels, as they may remove the text or other labels. 4. Clean all of the grill’s outer surfaces at least three times a year so that stains do not stick to the surfaces. 5. Always test the suitability of a new detergent in an unnoticeable spot.
34. Storage
Check these instructions if you stop using the grill for a longer time or if you wish to put the grill into storage for the winter, for example. Proper storage prolongs the grill’s service life and keeps it operational for many years. When storing the grill, follow the instructions below:
1. Clean the grill completely according to the instructions in the manual. 2. Turn the grill on and let it warm up for 15 minutes so that all the steel parts dry off. 3. Let the grill cool down. 4. Ensure that all grill grids are greased. 5. If storing the grill outdoors, remove the burners, grids, heating grid and heat distributor plates from the grill. These parts need to be stored in a dry and warm space. It is also recommended that you wrap these parts in newspapers or something similar so that the surfaces do not get scratched. 6. Remove the low-pressure regulator from the gas cylinder. 7. Always store the gas cylinder outdoors and ensure that it is not exposed to heat or sunlight. 8. If the grill is stored outdoors, it is recommended that you purchase a high-quality cover for it that will cover it all the way down. Ensure that air can circulate even under the cover.
35. Handling Malfunctions
Malfunctions may occur in all grills. These malfunctions are usually easily fixable. If you cannot find a solution for your problem in the table below, please contact the retailer or distributor.
36. No gas flow
Regulator valve is off Turn the regulator valve on The regulator is not connect to the gas cylinder properly Remove the regulator and connect again * The regulator and hose are faulty Replace the new regulator and hose
37. The burner can not ignite with Integrated push-turn piezo
* The igniter cables are loose or incorrectly installed (For side burner) Check the connections and re-install the cables
- The faulty assemble of valve Adjust the ignitor to the burner
38. The burner can not ignite with match or lighter
* The burner’s holes are blocked Clean the burners according to instructions
- The burners are not properly attached to the valves Check the installation and condition of the burners
39. Not heat up properly
* The air supply into the burners is blocked Check and clean the burners
- Too little gas Replace the full cylinder - Regulator is obstructed Check that the gas hose is intact and not twisted
40. The flame is uneven, completely yellow or smoking
* The burners do not get sufficient air Clean the burners according to instructions
- There is food, salt or marinade stuck on the burner surface Clean the burners according to instructions
41. The flame flares up often or the temperature is too high
* Too much grease and marinade on the food Wipe any extra grease off
- The flame tamer or grease tray are too dirty Clean flame tamer or the grease tray of excessive food or grease
42. The flame does not stay on
The wind is too strong Move the grill away from wind Low gas Replace the full cylinder
43. Flames are visible outside the burners
Obstruction in the burners Check and clean the burners Strong wind Move the grill away from wind
44. The pressure regulator is buzzing or humming
Hot outdoor temperature No actions necessary Full gas cylinder A passing situation
45. Warranty
**Company Address**
The GRLLR Company B.V.\
Leeststraat 43 A\
4813 BC Breda\
The Netherlands
**Conditions of Warranty**
* This limited warranty applies only to products registered within 30 days of purchase according to instructions in the manual.
* Proof of purchase date according to buying receipt.
* The GRLLR manual must be kept, in order to refer back to it.
* Products must be assembled, used and maintained according to the manuals.
* Any alteration, reparation or adjustment of the original product parts will cancel the validity of this warranty.
**1. Coverage**
GRLLR warrants this Connect Unit to be free from defects in material and workmanship from the date of purchase by the original consumer purchaser. This warranty is limited to the following components:
* Cast Iron parts have a warranty period of 5 years - no rust through or burn through
* All stainless steel parts have a warranty of 10 years from the date of purchase.
* Kamado worktop has a warranty of 2 years, provided adequate maintenance with seasonal oil.
* Water drainage accessories and tap have a warranty of 2 years from the time of purchase.
* All other parts are covered for 5 years from the date of purchase.
Please note: Surface rust is normal and can be cleaned easily. If not maintained properly as indicated in the manual, it can become a bigger issue. Please follow the instructions for optimal usability and durability.
**2. What Is Not Covered**
**This limited warranty does not cover the following**
* Normal wear and tear.
* Damage caused by improper assembly, installation, use or maintenance.
* Commercial use of this product.
* Any modifications or alterations made to the appliance.
* Damage caused by accidents, misuse, abuse, or neglect. • Surface corrosion, discoloration, or rust.
**Excluded from this warranty are the following:**
* Removal or re-installation expenses. This warranty does not cover transit or in-home service costs.
* We do not assume responsibility for any loss or damage that occurs during transportation.
* This warranty does not apply to instances of inadequate maintenance, abuse, neglect, misuse, accidental or improper installation of the appliance.
* Any cosmetic imperfections, including scratches, dents, corrosion, or discoloration due to heat, abrasive chemical cleaners, or chipping of porcelain enamel components, as long as they do not impair the functionality of the appliance.
* Costs related to cleaning and normal wear and tear will be subject to service charges.
* Corrosion or damage resulting from exposure to elements such as insects, weather, hail, grease and fat fires, abrasive chemicals, food acids, and juices are not covered.
* Commercial use of this appliance is not included in the warranty.
* Unauthorised repairs or alterations during the warranty period are not eligible for coverage.
* Surface rust is not considered an eligible warranty claim.
**3. Exclusive Remedy**
In the event of a covered defect, GRLLR will, at its option, repair or replace the defective part or product. The cost of labor for removal or installation of the replacement part is not covered.
**4. How to Obtain Service**
If you believe that your GRLLR product is defective and covered under this warranty, please contact our Customer Service Depart- ment at the contact information provided above.
**5. Limitation of Liability**
To the extent permitted by applicable law, GRLLR’s liability under this warranty is limited to the repair or replacement of defective parts or products, as specified in section 3 above. GRLLR shall not be liable for any other damages, including but not limited to incidental, consequential, or punitive damages.
**6. Governing Law**
This warranty shall be governed by and interpreted in accordance with the laws of the country or jurisdiction where the product was purchased.
**7. Non-Transferable**
This warranty is valid only for the original consumer purchaser and is not transferable to subsequent owners.
**8. Other Conditions**
* Set-up and installation of all GRLLR products must conform with the manual, as well as with the applicable Gas, Electrical and Building standards as laid down by the local laws and codes in your country, state or region.
* Do not place any GRLLR BBQ, Oven or Stove directly on/near a combustible surface, such as tables, carpets, wooden floors or other combustible materials. You must use a refractory barrier with adequate thickness as a protective base, such as concrete tiles between the GRLLR product and a combustible surface. Improper use of GRLLR products or misplacement of any GRLLR BBQ, Oven or Stove will cancel any warranty validity and dis- claims all liability for direct, indirect or incidental damages.
* This warranty has been translated from English to several other languages. We do not cover claims that result from a mistrans- lation or a poor interpretation of context. At the GRLLR Compa- ny, we always strive to help our clients and partners as well as we can. Disagreements will always refer to the English or Dutch warranties to rule out contextual mistranslations.
For warranty claims or spare parts, please contact: ****
To register your GRLLR product, please go to [www.grllr.com](https://grllr.com/)