GRLLR Dome Cart Pro | Kettle with Trolley and Side Table: Assembly and Operation Manual
Step-by-step guide for assembling, operating, and maintaining the GRLLR Dome Cart Pro charcoal kettle BBQ with trolley and side table. Includes setup, grilling, temperature control, cleaning, and storage instructions for safe and efficient outdoor use.
Product Information
GRLLR Dome Cart Pro Kettle
Upgrade your outdoor cooking game with the GRLLR Dome Cart Pro Kettle BBQ. Featuring GrillFlow System, ample grilling space, durable cast iron grill grids, and smart design, it’s your recipe for perfect searing and seamless grilling experiences.
Failure to follow these instructions can lead to problems and risks while using the charcoal grill.
Follow all of the assembly instructions as shown at the beginning of this manual.
Attention! The BBQ Body is very heavy! Two or more people are required for assembly.
2. Setting Up the Kettle Barbecue
CAUTION
Risk of Damage
During use, the screws can loosen slowly and impair the BBQ’s stability.
Check the tightness of the screws before every use. If necessary, tighten all of the screws again to ensure the grill is standing securely.
Before use, place the kettle barbecue on a level, sturdy surface outdoors.
When using the grill, please protect the surrounding walls from possible soiling, e.g. through grease splashes.
3. Assemble the Base and Wheels
Place the Base Panel (17) upside down on a flat, stable surface.
Insert the WheelSupport Rod (20) through the openings on both sides of the Base Panel.
Slide one Wheel (21) onto each end of the Wheel Support Rod(20).
Secure both Wheels using Nuts (H) on the inside. Tighten firmly.
Mount the Castor Wheels (19) to the opposite side of the Base Panel using .Screws (A) Ensure they rotate freely. 
Attach the Support Bracket (22) using Screws (A).
Parts used:
Base Panel | 17 | 1×
Wheels Support Rod | 20 | 1×
Wheels | 21 | 2×
Castor Wheel | 19 | 2×
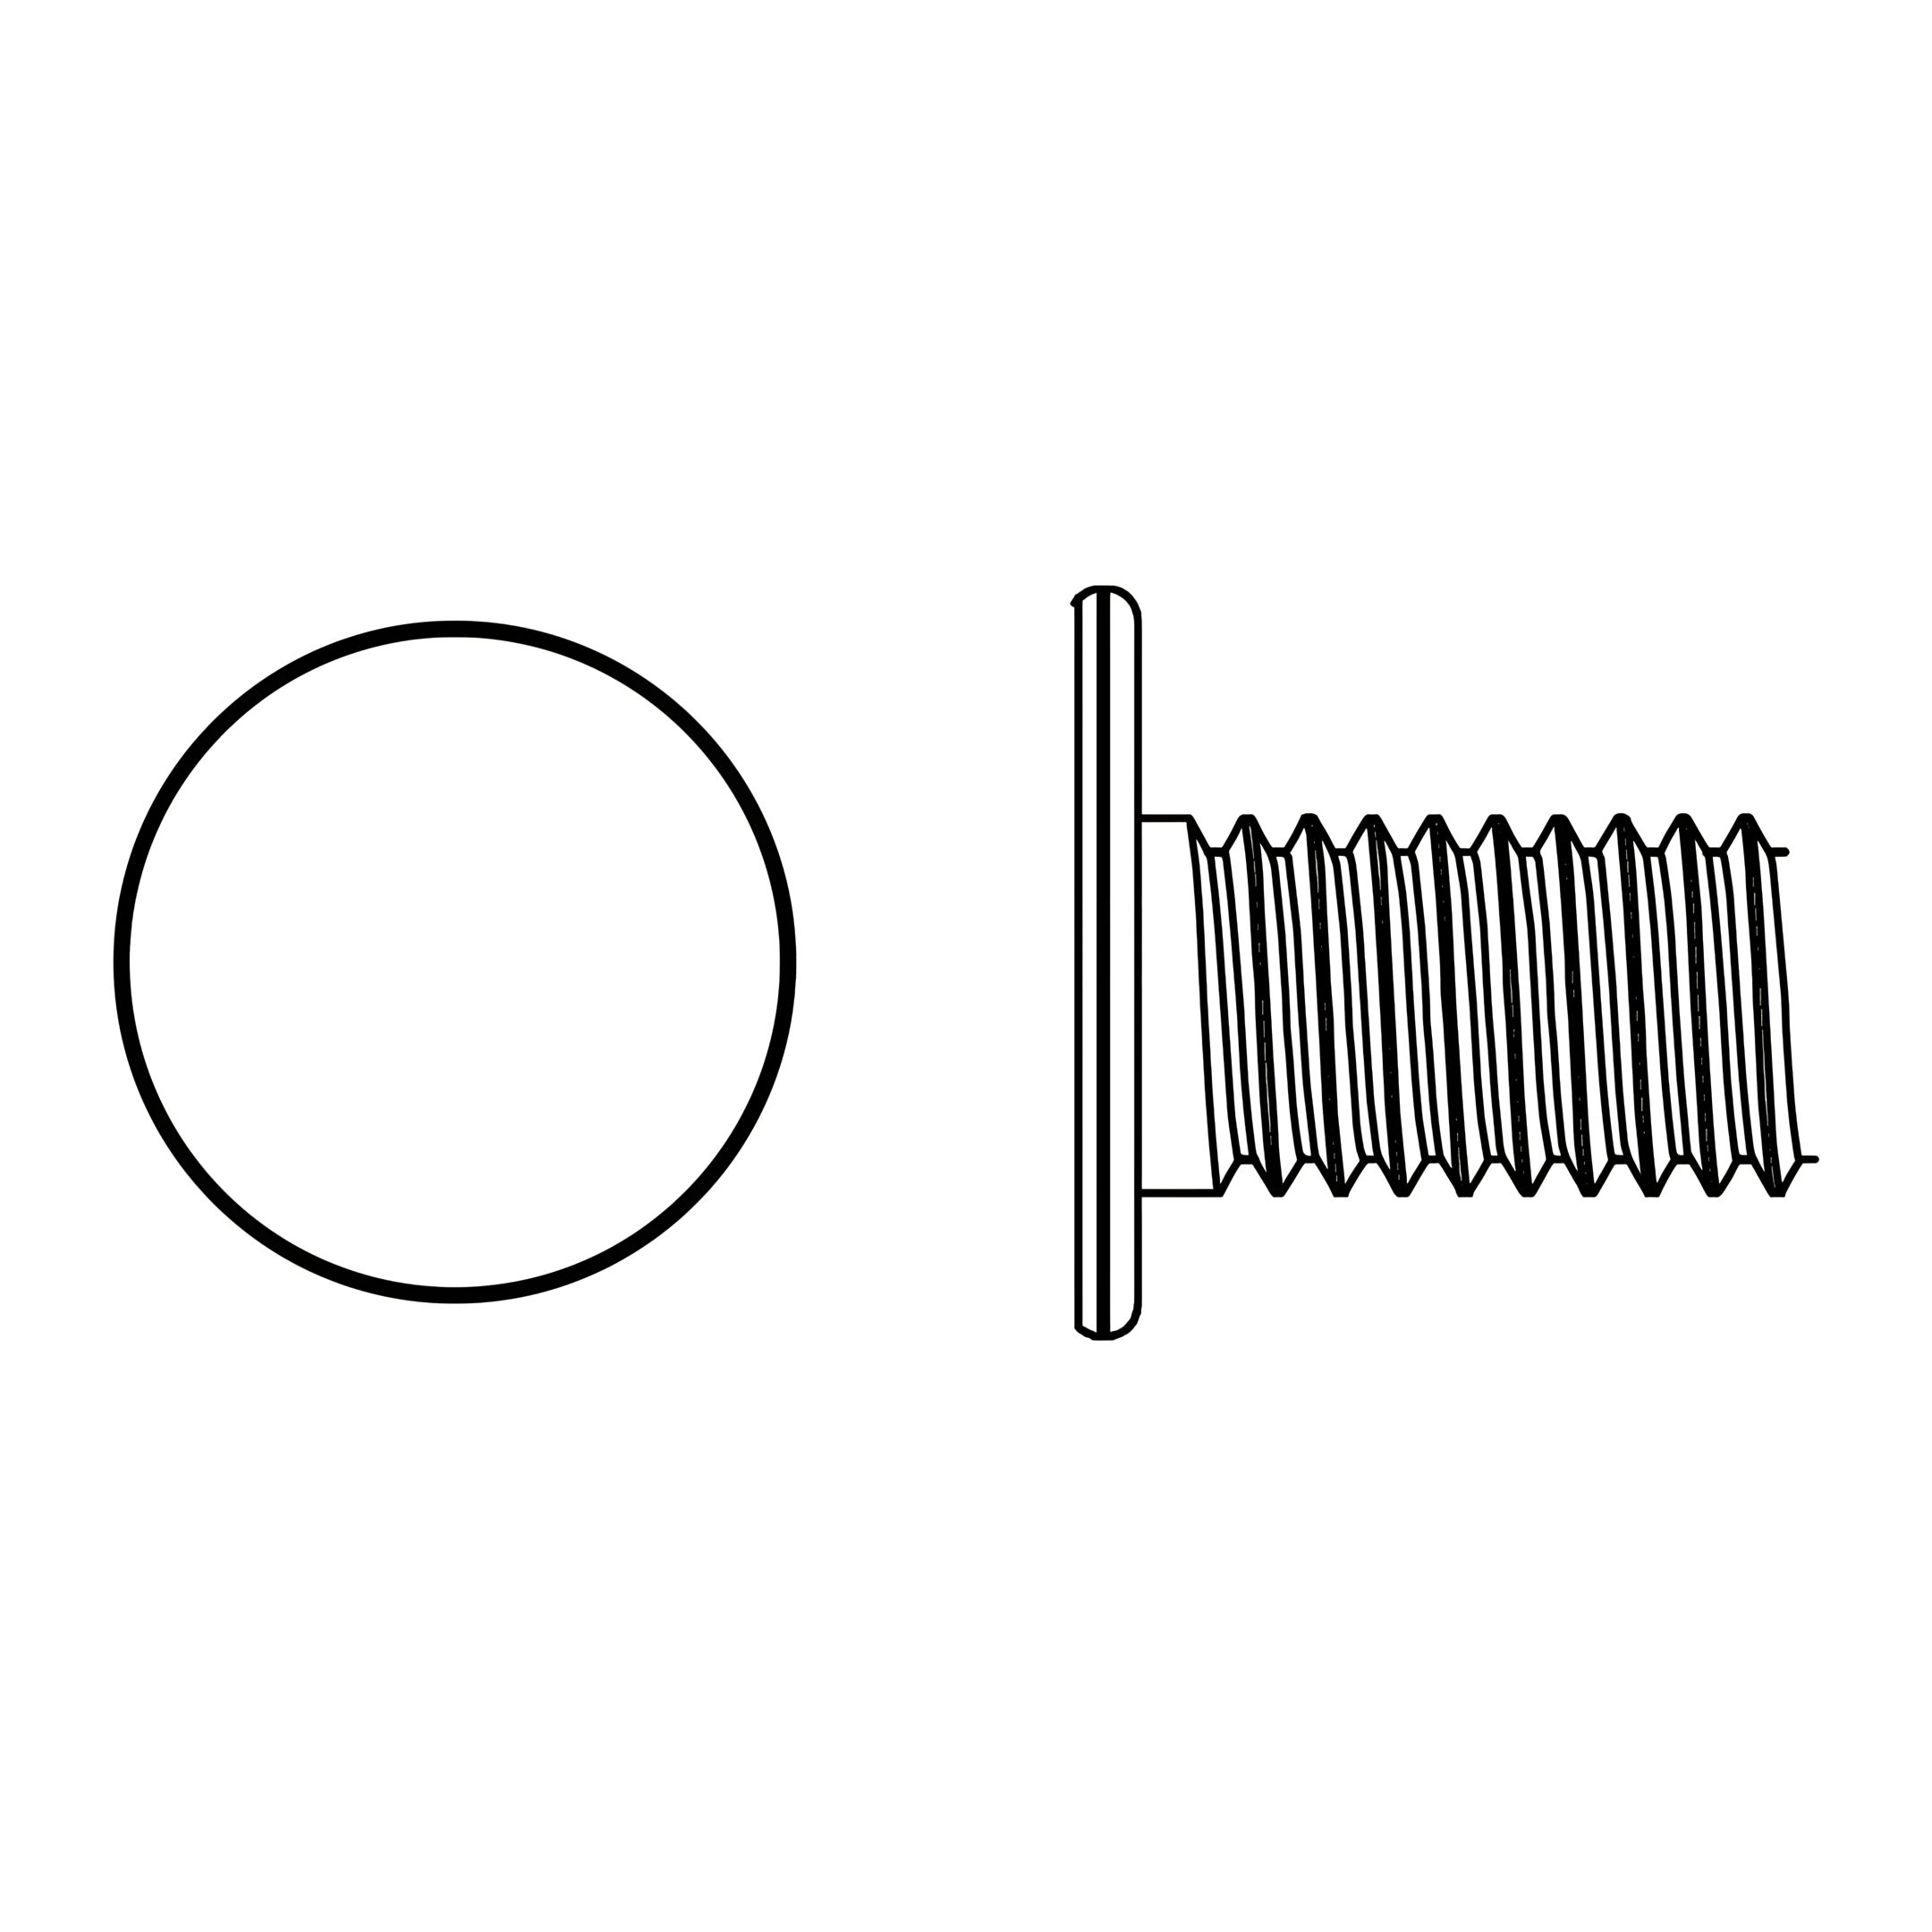
Screws M6×12 | A | 10×
Nuts M10 | H | 2×
4. Assemble the Cart Frame
Position the Corner Panel (Left)(13) and Corner Panel (Right)(15) upright on the Base Panel (17). 
Secure both panels to the base using Screws (A).
Attach the Panel (Center)(14) between the two corner panels with Screws (A).
Fix the Right Leg (23) and the Left Leg (24) to the other end of the base panel using Screws (A).
Attach the Cart Frame Support (27) between the cart legs with Screws (A), ensuring it aligns flush with the side structure.
Parts used:
Corner Panel (Left) | 13 | 1×
Corner Panel (Right) | 15 | 1×
Panel (Center) | 14 | 1×
Right Leg | 23 | 1×
Left Leg | 24 | 1×
Cart Frame Support | 27 | 1×
Screws M6×12 | A | 18×
5. Attach the Bottom Panel
Place the BBQ Body Base Panel(16) on the assembled cart frame.
Align the holes of the panel with the tops of the Left, Right and Centre Panels (13, 14 and 15) and the Left and Right Legs (23 and 24) on the opposite side.
Secure the panel to the frame using Screws (B).
Ensure the panel is facing upward and properly aligned with the cart structure.
Tighten all screws evenly to ensure stability.
Parts used:
BBQ Body Base Panel | 16 | 1×
Screws M6×15 | B | 8×
6. Attach the Front Handle and Side Table
Attach the Handle Bar (12) to the Handle Sides (11)
Once the handle is assembled, attach it to the front of the cart using Screws (B) and Washers (F). Tighten securely.
Place the Side Table (25) on top of the bracket and secure it firmly using Screws (C).
On the right side of the cart, mount the Side Table Support (26).
Check that the Side Table can fold smoothly and lock into place with the support when raised.
Parts used:
Handle Sides | 11 | 2×
Handle Bar | 12 | 1×
Side Table | 25 | 1×
Side Table Support | 26 | 1×
Screws M6×15 | B | 4×
Screws M6×15 | C | 2×
Washer Ø19 | F | 4×
7. Install the BBQ Body and Tool Holder
Carefully lower the BBQ Body (31) into the circular opening on the BBQ Body Base Panel(16).
Align the mounting holes of the BBQ Body with the holes on the BBQ Body Base Panel.
Secure the BBQ Body using Screws (B) and Washers (E). Tighten evenly to ensure stability.
Attach the Side Basket (18) to the left perforated panel.
Confirm that the BBQ Body is firmly seated and does not wobble.
Parts used:
BBQ Body | 31 | 1×
Side Basket | 18 | 1×
Screws M6×15 | B | 3×
Washers Ø16 | E | 3×
8. Assemble the Ash Collector and Vent System
Place the Air Vent (30), Gasket Ring (29) and the Ash Collector (28) underneath the BBQ Body (31), aligning the holes with the base openings.
Secure all components together with Screws (B), Washers (E) and Nuts (H).
Parts used:
Air Vent | 30 | 1×
Gasket Ring | 29 | 1×
Ash Collector | 28 | 1×
Screws M6×15 | B | 3×
Washers Ø16 | E | 3×
Nut M10 | H | 3×
9. Assemble the Lid Components
Place the Lid (3) on a flat surface with the outer side facing down.
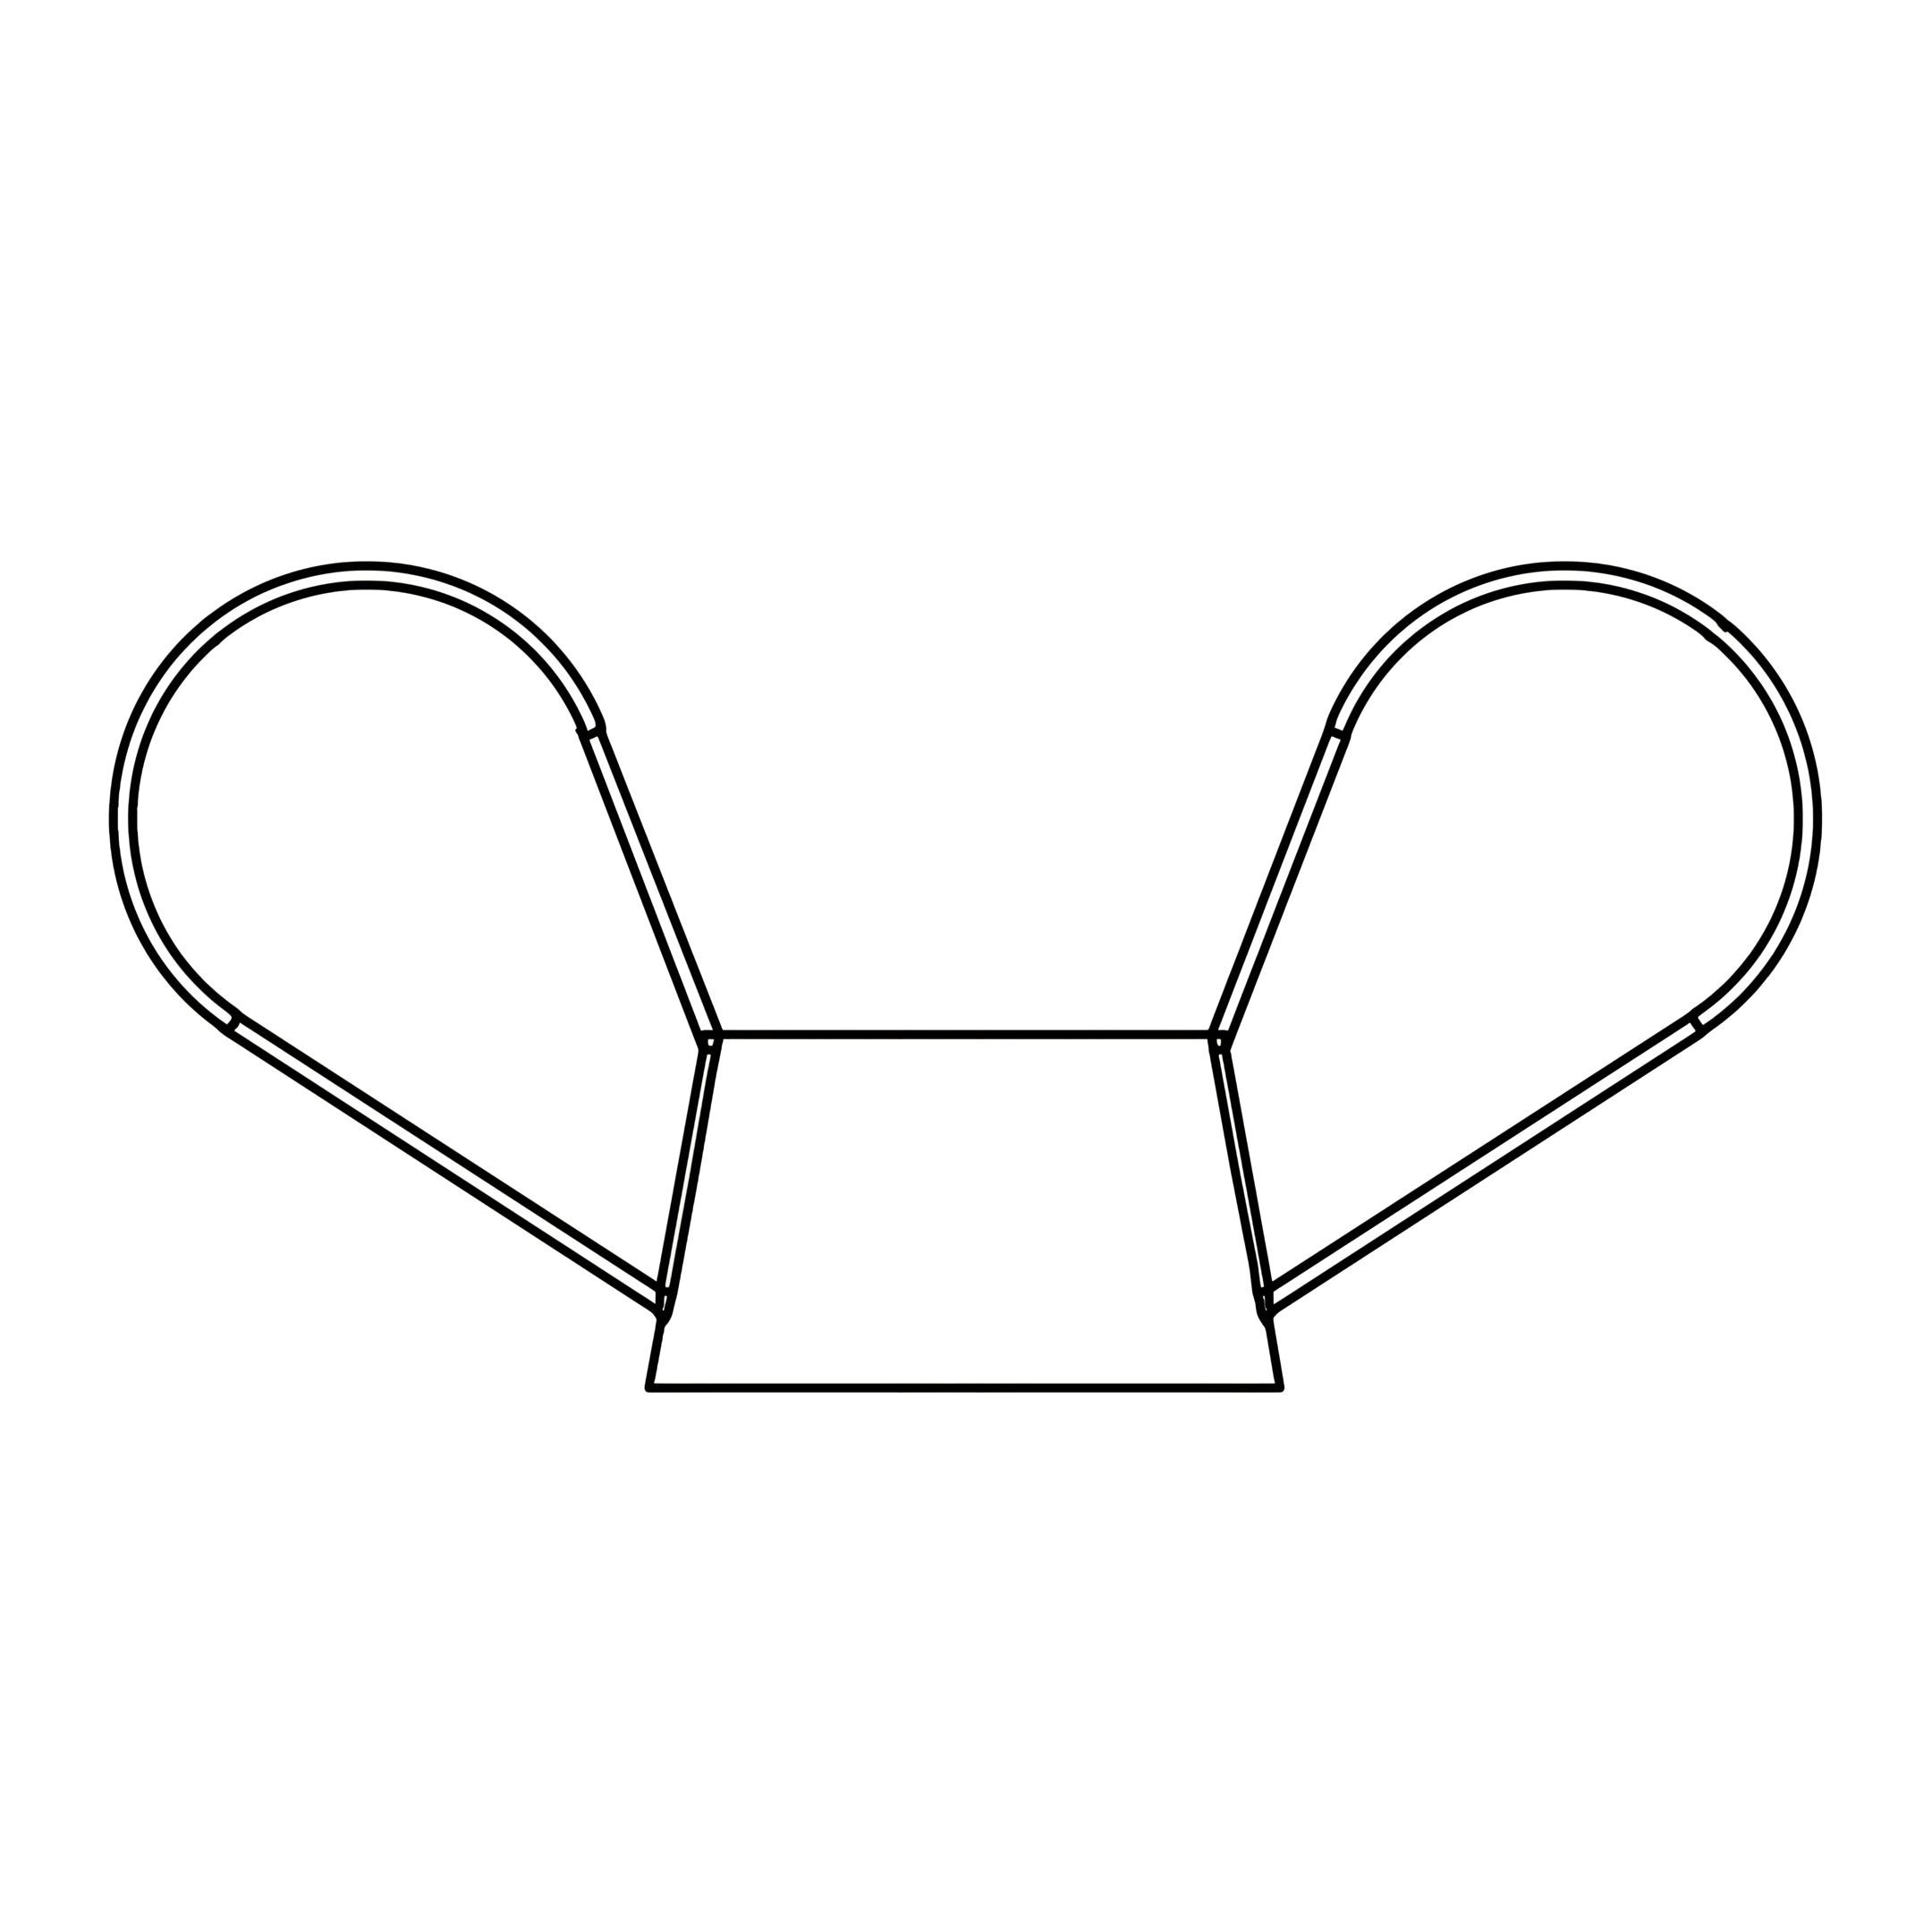
Attach the Lid Handle (1) to the top of the lid using Washers (E) and Wing Nuts (G).
Mount the Handle Washer (2) and the Air Vent (Top Vent)(4) on the the lid using Washers (E) and Wing Nuts (G) too.
Secure the Hinge (32) to the rear side of the lid using Screws (B) and Washers (E). Tighten all connections firmly.
Parts used:
Lid Handle | 1 | 1×
Handle Washer | 2 | 1×
Lid | 3 | 1×
Air Vent (Top Vent) | 4 | 1×
Hinge | 32 | 1×
Screws M6×15 | B | 2×
Washers Ø16 | E | 6×
Wing Nuts M6 | G | 4×
10. Attach the Lid to the BBQ Body
Align the Lid Supports (10) on the BBQ Body (31) and attach with Screws (D) and Wing Nuts (G).
Assemble the Lid (3) using the Hinge (32) with Screws (B) and Washers (E).
Tighten all connections evenly to ensure the lid opens and closes smoothly.
Check that the hinge mechanism allows the lid to stay open at the correct angle without obstruction
Parts used:
Lid Supports | 10 | 2×
Lid | 3 | 1×
BBQ Body | 31 | 1×
Screws M6×15 | B | 2×
Screws M6×15 | D | 4×
Washers Ø16 | E | 2×
Wing Nuts M6 | G | 4×
11. Install the Internal Grill Components
Position the Cooking Grill Grid (9) inside the BBQ Body (31).
Place the Center Rod (8) inside the BBQ Body (31) too, positioning it vertically in the central mount.
Slide the Charcoal Plate (7) onto the Center Rod and rest it securely at the designated level.
Place the Heat Shield Panels (5 and 6) around the perimeter of the grill.
Confirm that all internal parts are seated properly and that the lid can close smoothly without interference.
Parts used:
Heat Shield Panel (Left) | 5 | 2×
Heat Shield Panels (Right) | 6 | 2×
Cooking Grill Support Frame | 7 | 1×
Center Rod | 8 | 1×
Cooking Grill Grid | 9 | 1×
12. Before Grilling
Cleaning the BBQ Grate
Prior to first use, wash the BBQ grate and the warming grill with warm soapy water.
Pre-Fire
Before you use the charcoal grill for the first time, it needs to be conditioned (pre-fired) for at least 30 minutes at a temperature of 100°C–200°C.
Pre-firing is necessary in order to prepare the inside of the kettle barbecue for barbecuing.
13. Caution: Risk of Burning
The charcoal grill, the charcoal, and the food become hot during use. Any contact can result in serious burns.
Keep sufficient distance from the hot parts, since any contact can lead to severe burns.
Always wear oven or BBQ gloves when grilling.
Use only long-handled utensils with heat-resistant hand grips.
DO NOT wear any clothing with wide sleeves.
Only operate the barbecue with charcoal in accordance with DIN EN 1860-2.
Use only dry lighters or special fluid lighters compliant with EN 1860-3 as firelighters.
14. Operation
1. Open the lid and lift out the BBQ grill grid. 2. Place 2–3 solid fire starters in the middle of the charcoal plate. Pay attention to the manufacturer’s instructions on the packaging. 3. Layer approximately 70% of the fire box with charcoal around the firelighters. 4. Open the air inlet of the BBQ body and light the firelighters using a long-stemmed match. 5. WARNING! Avoid letting the flames get too high in order to avoid damaging the lid seal. 6. Insert the BBQ grill grid into the body of the kettle barbecue.
15. Cooling Down the BBQ
1. Close the air controller in the lid and the air inlet on the BBQ body completely after barbecuing, so that the embers extinguish. NEVER EXTINGUISH THE EMBERS WITH WATER. 2. It will take a few hours for the BBQ to completely cool down.
16. Temperature Control
1. Close the lid. 2. Open the air controller in the lid and the air inlet on the BBQ body. 3. Monitor the temperature on the thermometer. As soon as the BBQ temperature approaches the desired level, close the lid’s air controller and the air inlet on the BBQ body in order to maintain this temperature. Leave both completely closed until the cooking temperature has been reached. 4. Then regulate the temperature using the air controller. 5. In order to reduce the temperature drastically, briefly and carefully open the lid.
17. Cleaning
WARNING
Health Risk
* DO NOT use any decolourants or thinners to remove stains. These are harmful to health and may never come into contact with food.
* Risk of Burning The charcoal grill and the charcoal are very hot even after grilling. Any contact can result in serious burns.
* Allow the charcoal grill to cool down completely before cleaning.
* Only remove the ash when the charcoal has completely burned out.
Risk of Rust
* Your kettle BBQ is designed for outdoor use, bringing the joy of grilling to your backyard or patio. Over time, it is natural for minimal rust to form on certain surfaces of the BBQ due to exposure to the elements.
* To mitigate this, we recommend using a cover when storing your kettle BBQ. The cover acts as a protective shield, safeguarding your BBQ from the effects of weather and preventing unnecessary rusting.
* To ensure the longevity and performance of your barbecue, make it a practice to cover it after each use or when not in active operation. This simple step will contribute to preserving the appearance and functionality of your kettle BBQ, allowing you to enjoy countless delicious meals for years to come.
Risk of Damage
DO NOT use any strong or grinding solvent or abrasive pads, since these can attach to the surfaces and leave behind scrape marks. Remove the cold ashes. It is very important that you remove the ash before moisture combines with the cold ash. Ash is saline and, when moist, will attach to the inside of the ash collection tray. Thus, over the course of years, the ash collecting tray can sustain damage through rust. Remove the BBQ Grill Grid, clean it thoroughly with soapy water, and rinse it down with clean water. Carefully dry off the BBQ
18. Warranty
For warranty claims or spare parts, please contact: customerservice\@grllr.com
To register your GRLLR product, please go to [www.grllr.com](https://grllr.com/)